Outdoor Renovation Reveal
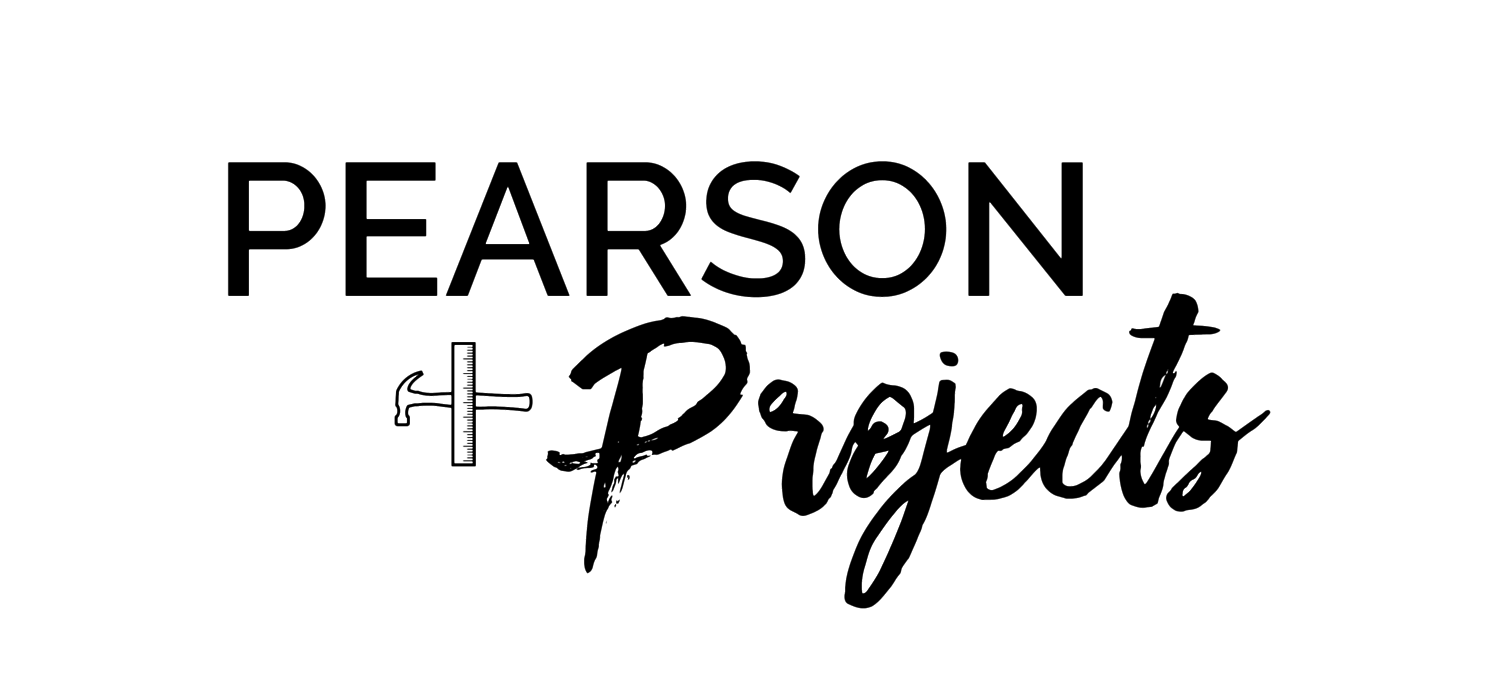
It seems to be the way – it’s just starting to get cold and we have completed our outdoors projects! Putting aside our disregard for seasons – we love it and what a vast improvement and transformation from when we purchased our home. After a year in the house, we had a pretty clear idea of what didn’t work with the outdoor layout and what was a priority for us - this formed a clear plan for our renovation. The hero of our outdoor design is the stunning deck which became the feature and centre for our outdoor design and landscaping. From there we looked at ways to finish the rest of the project with minimal cost, which included getting creative with exterior painting, using recycled elements (check out those pavers) and getting hands on ourselves.
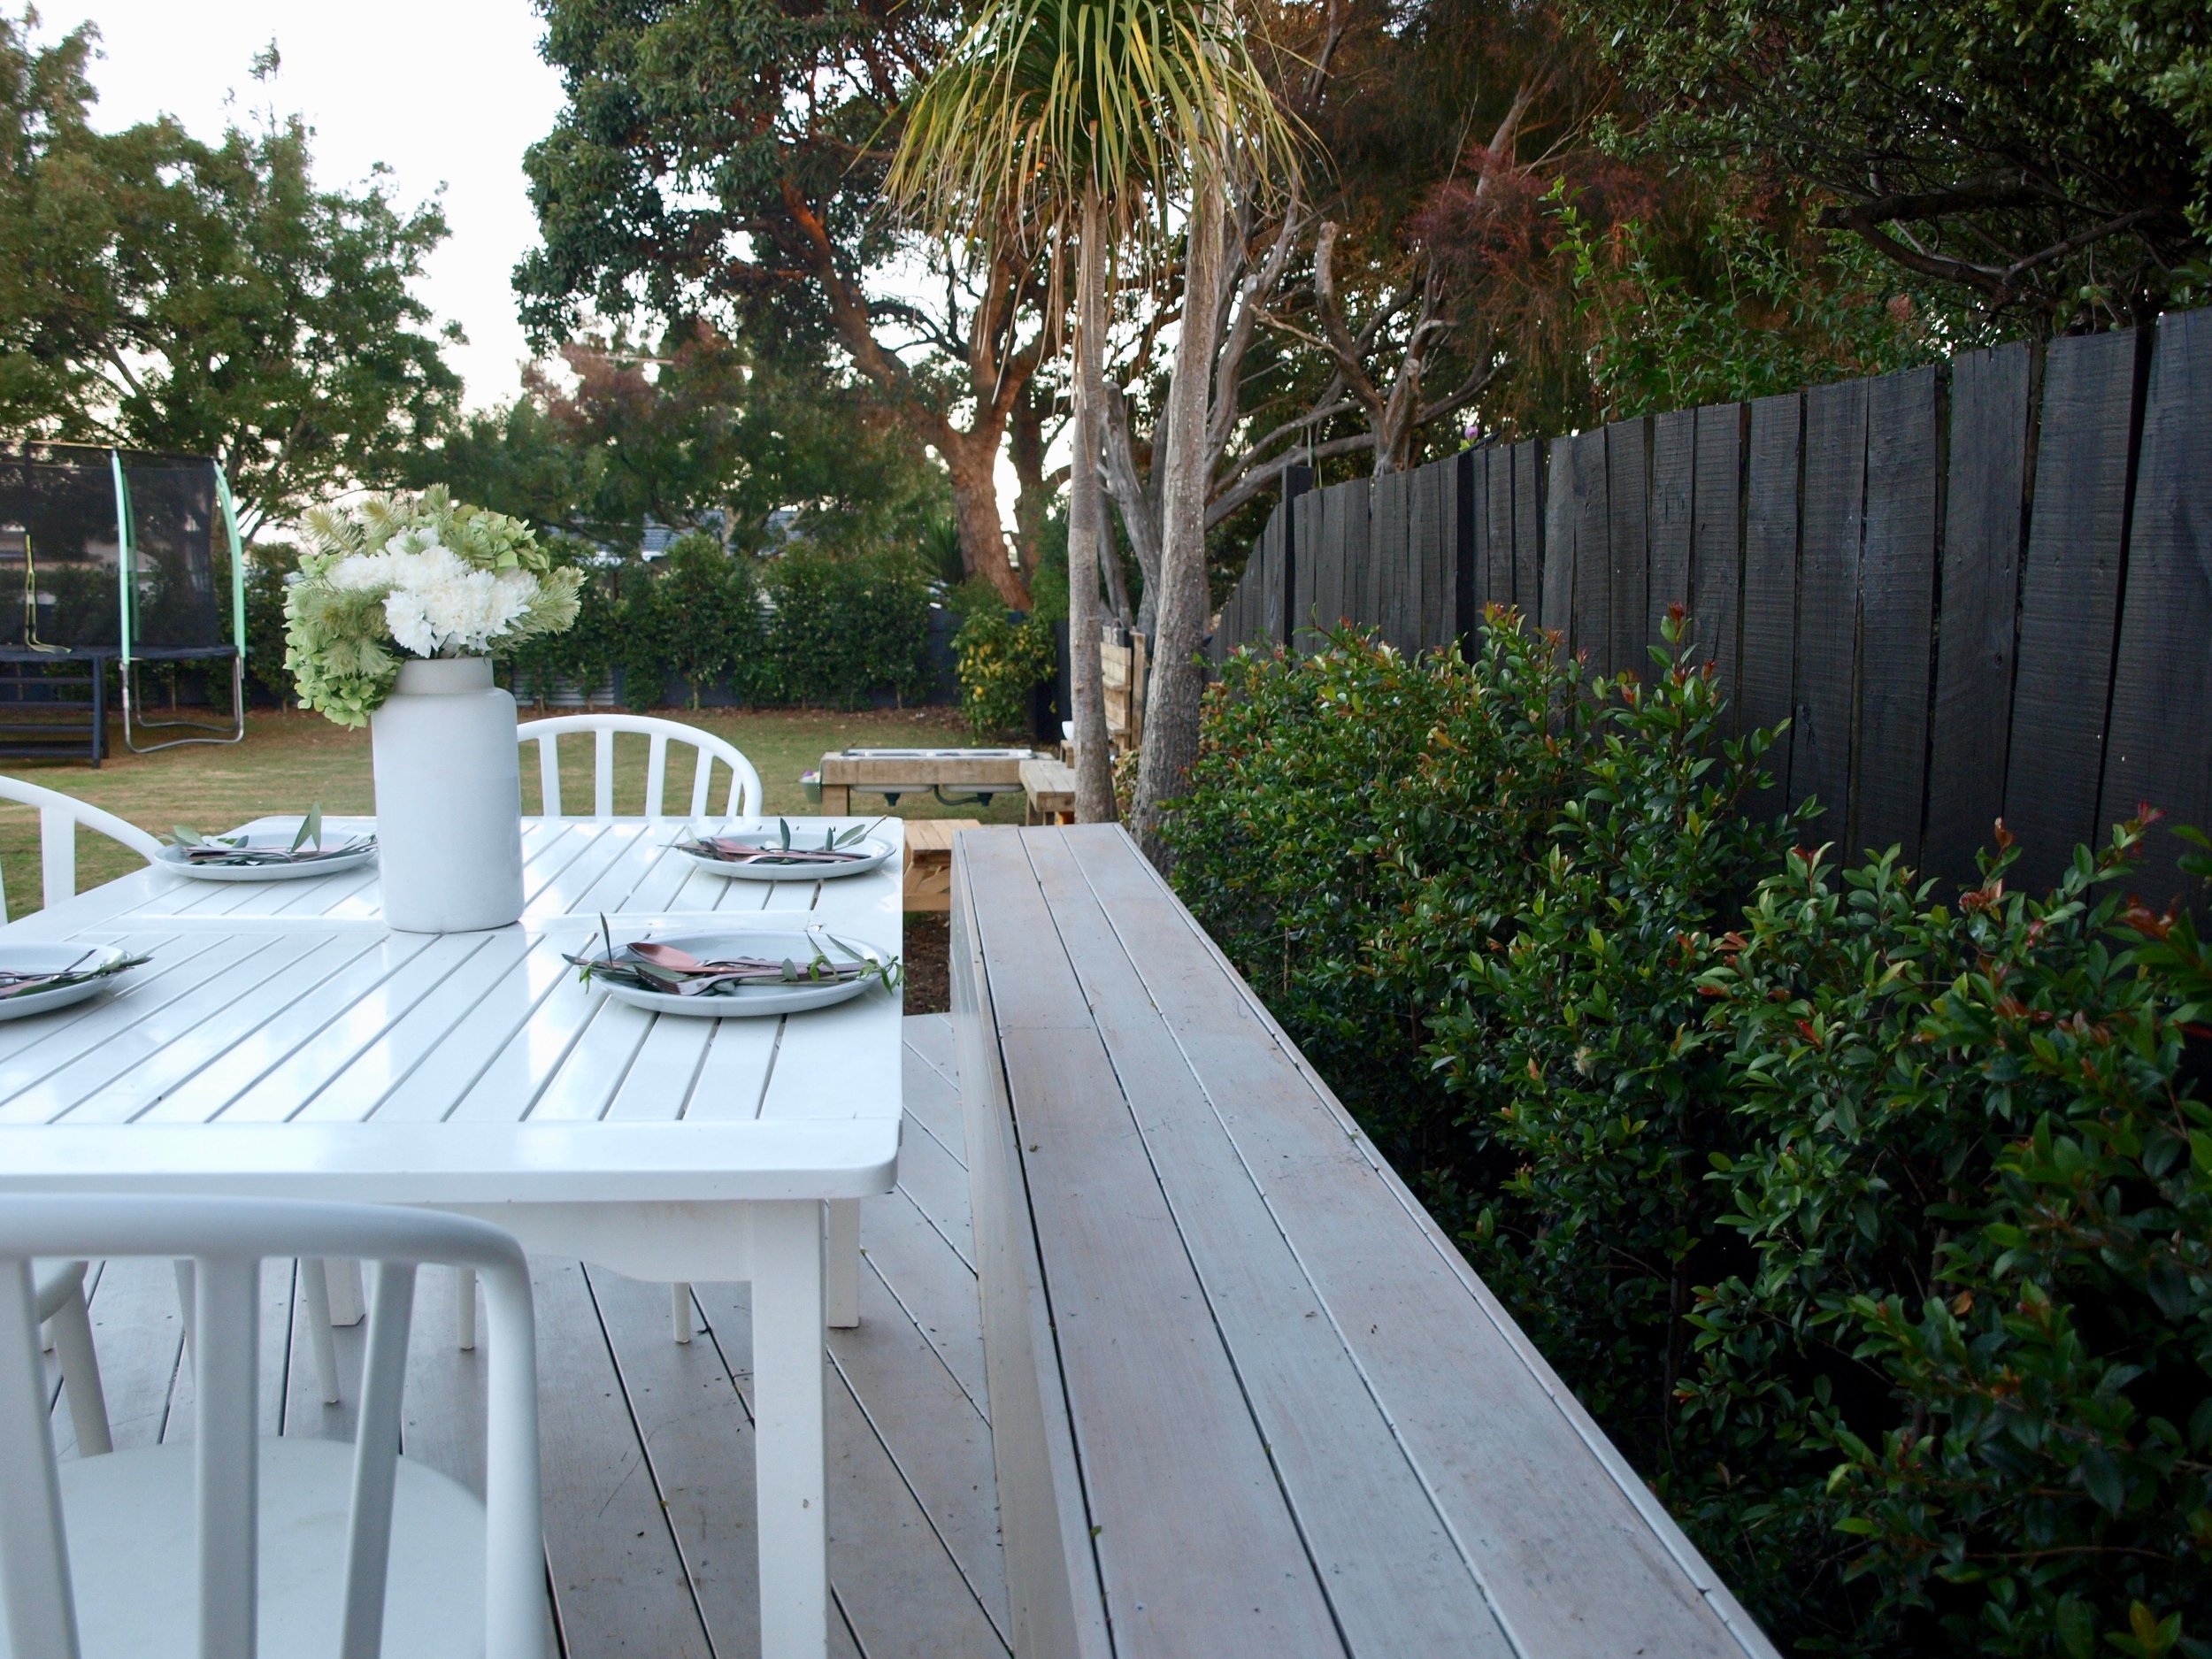
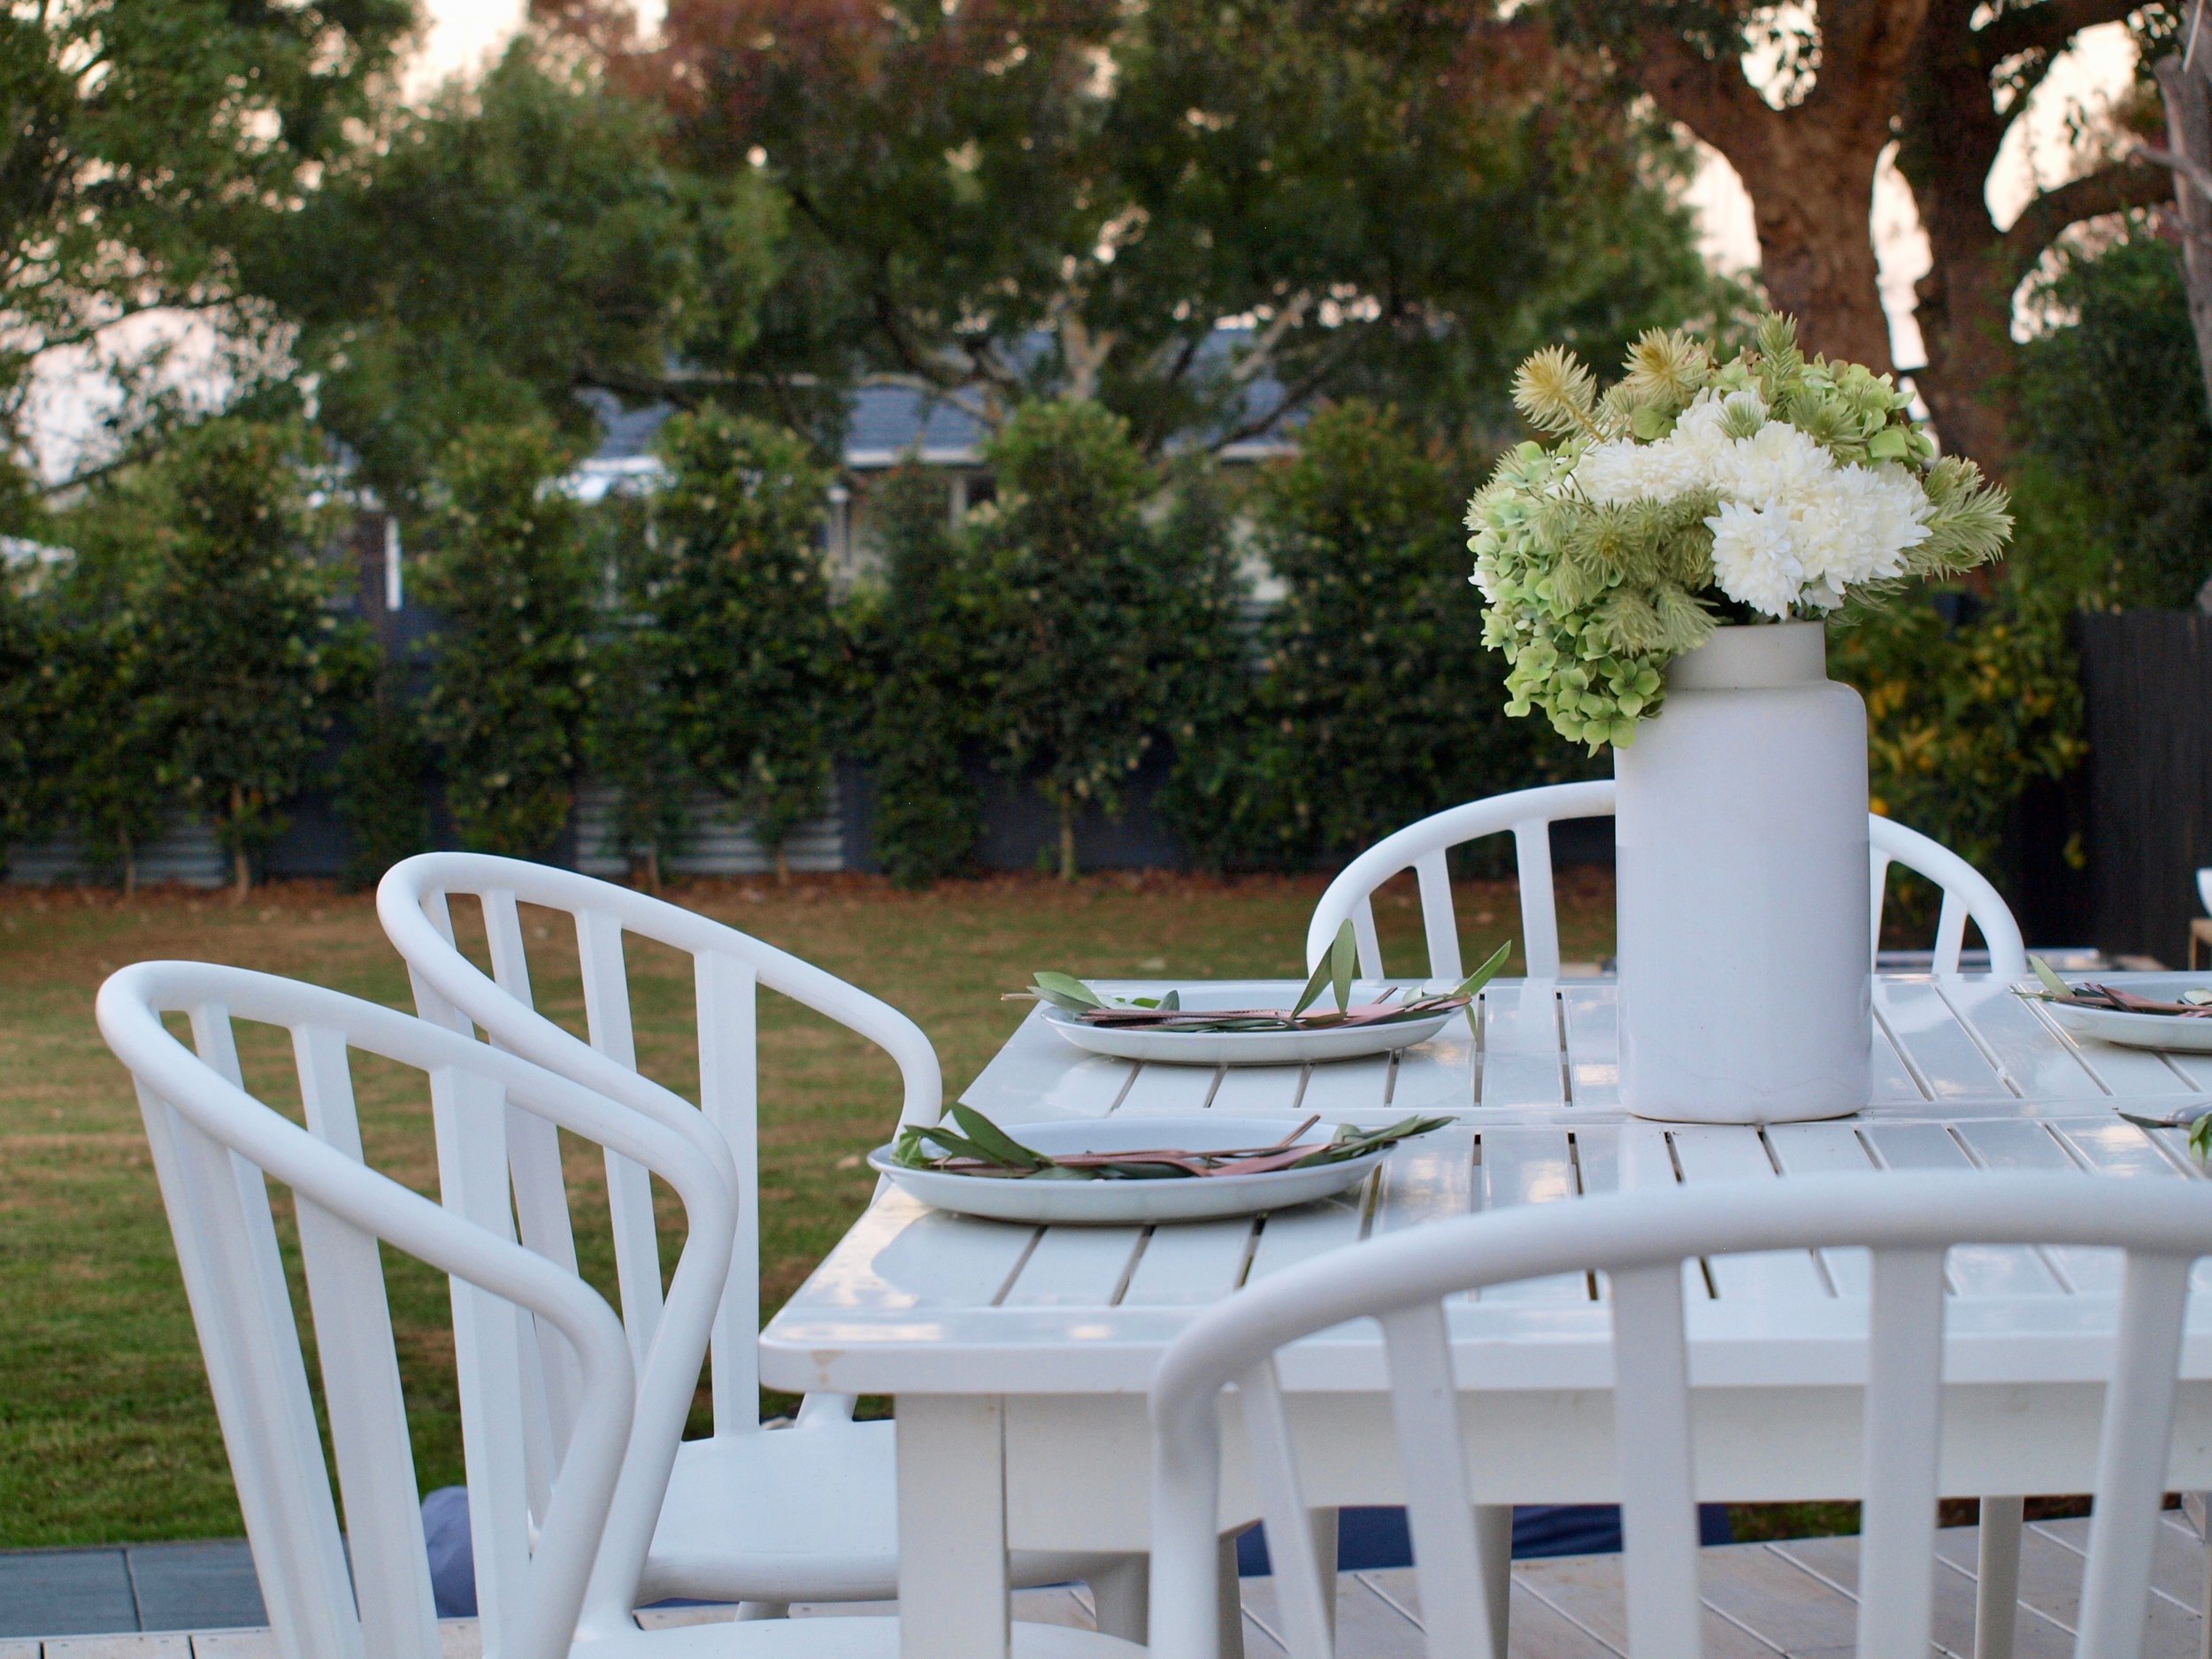
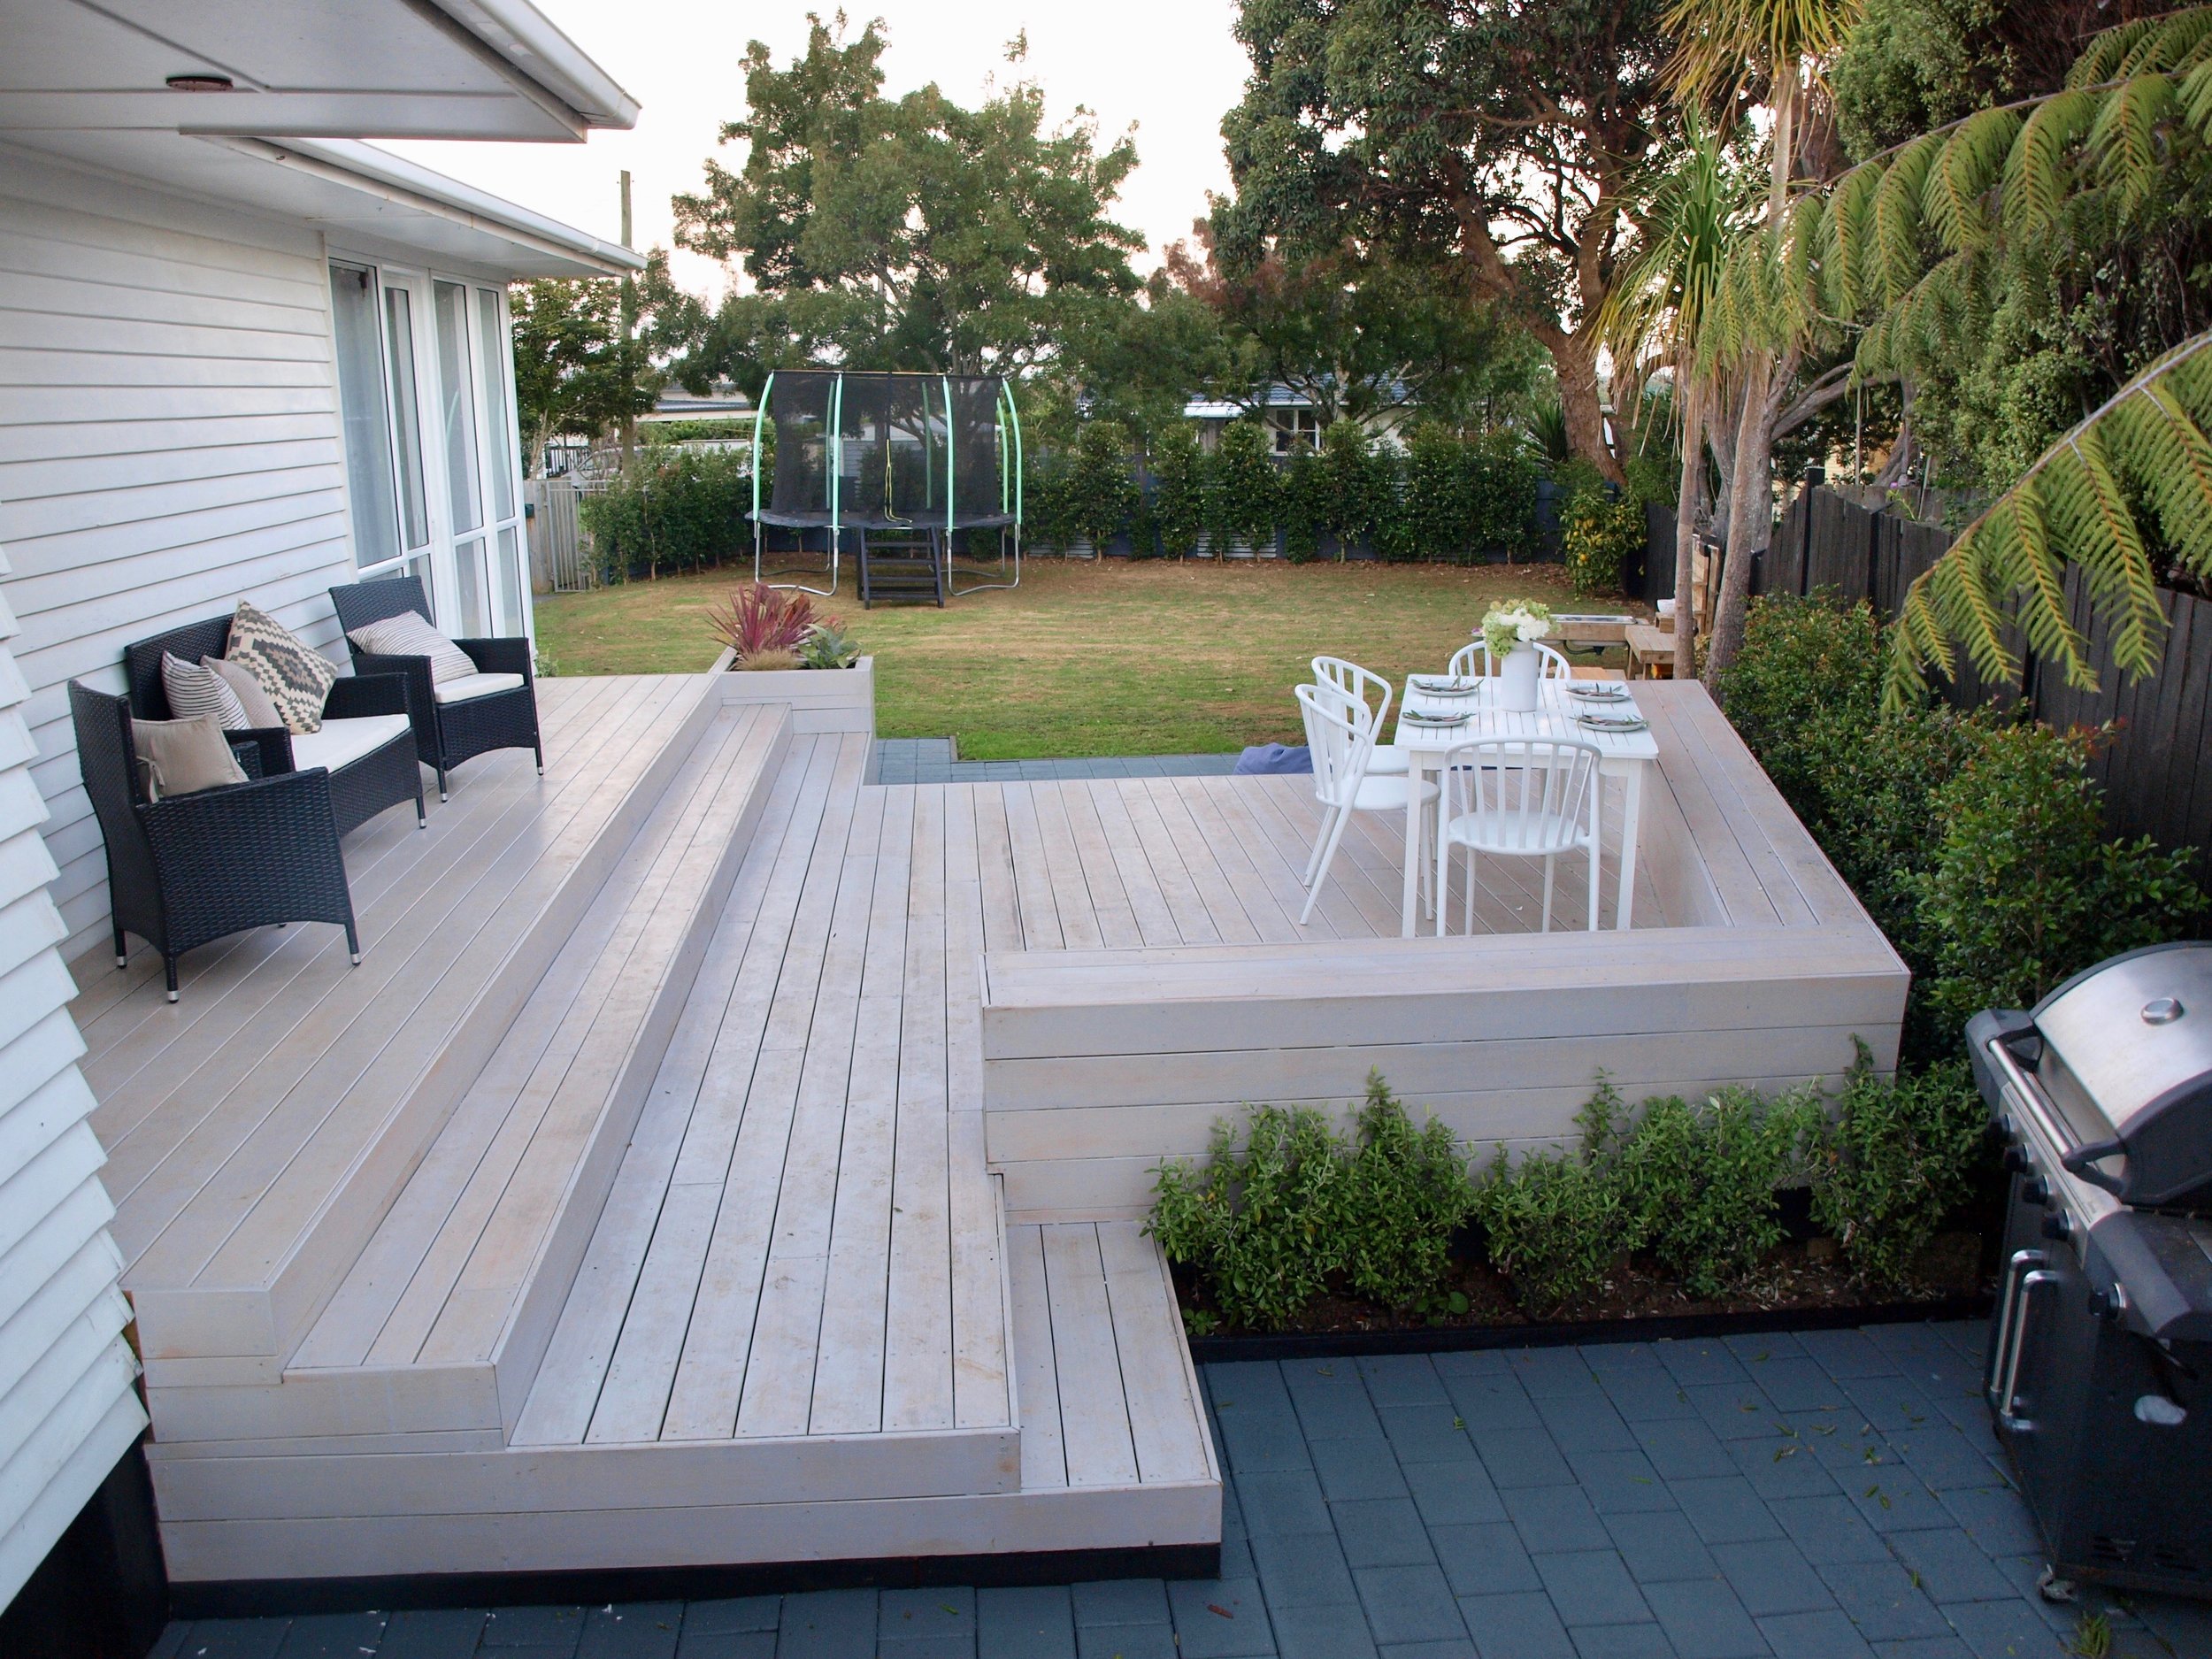
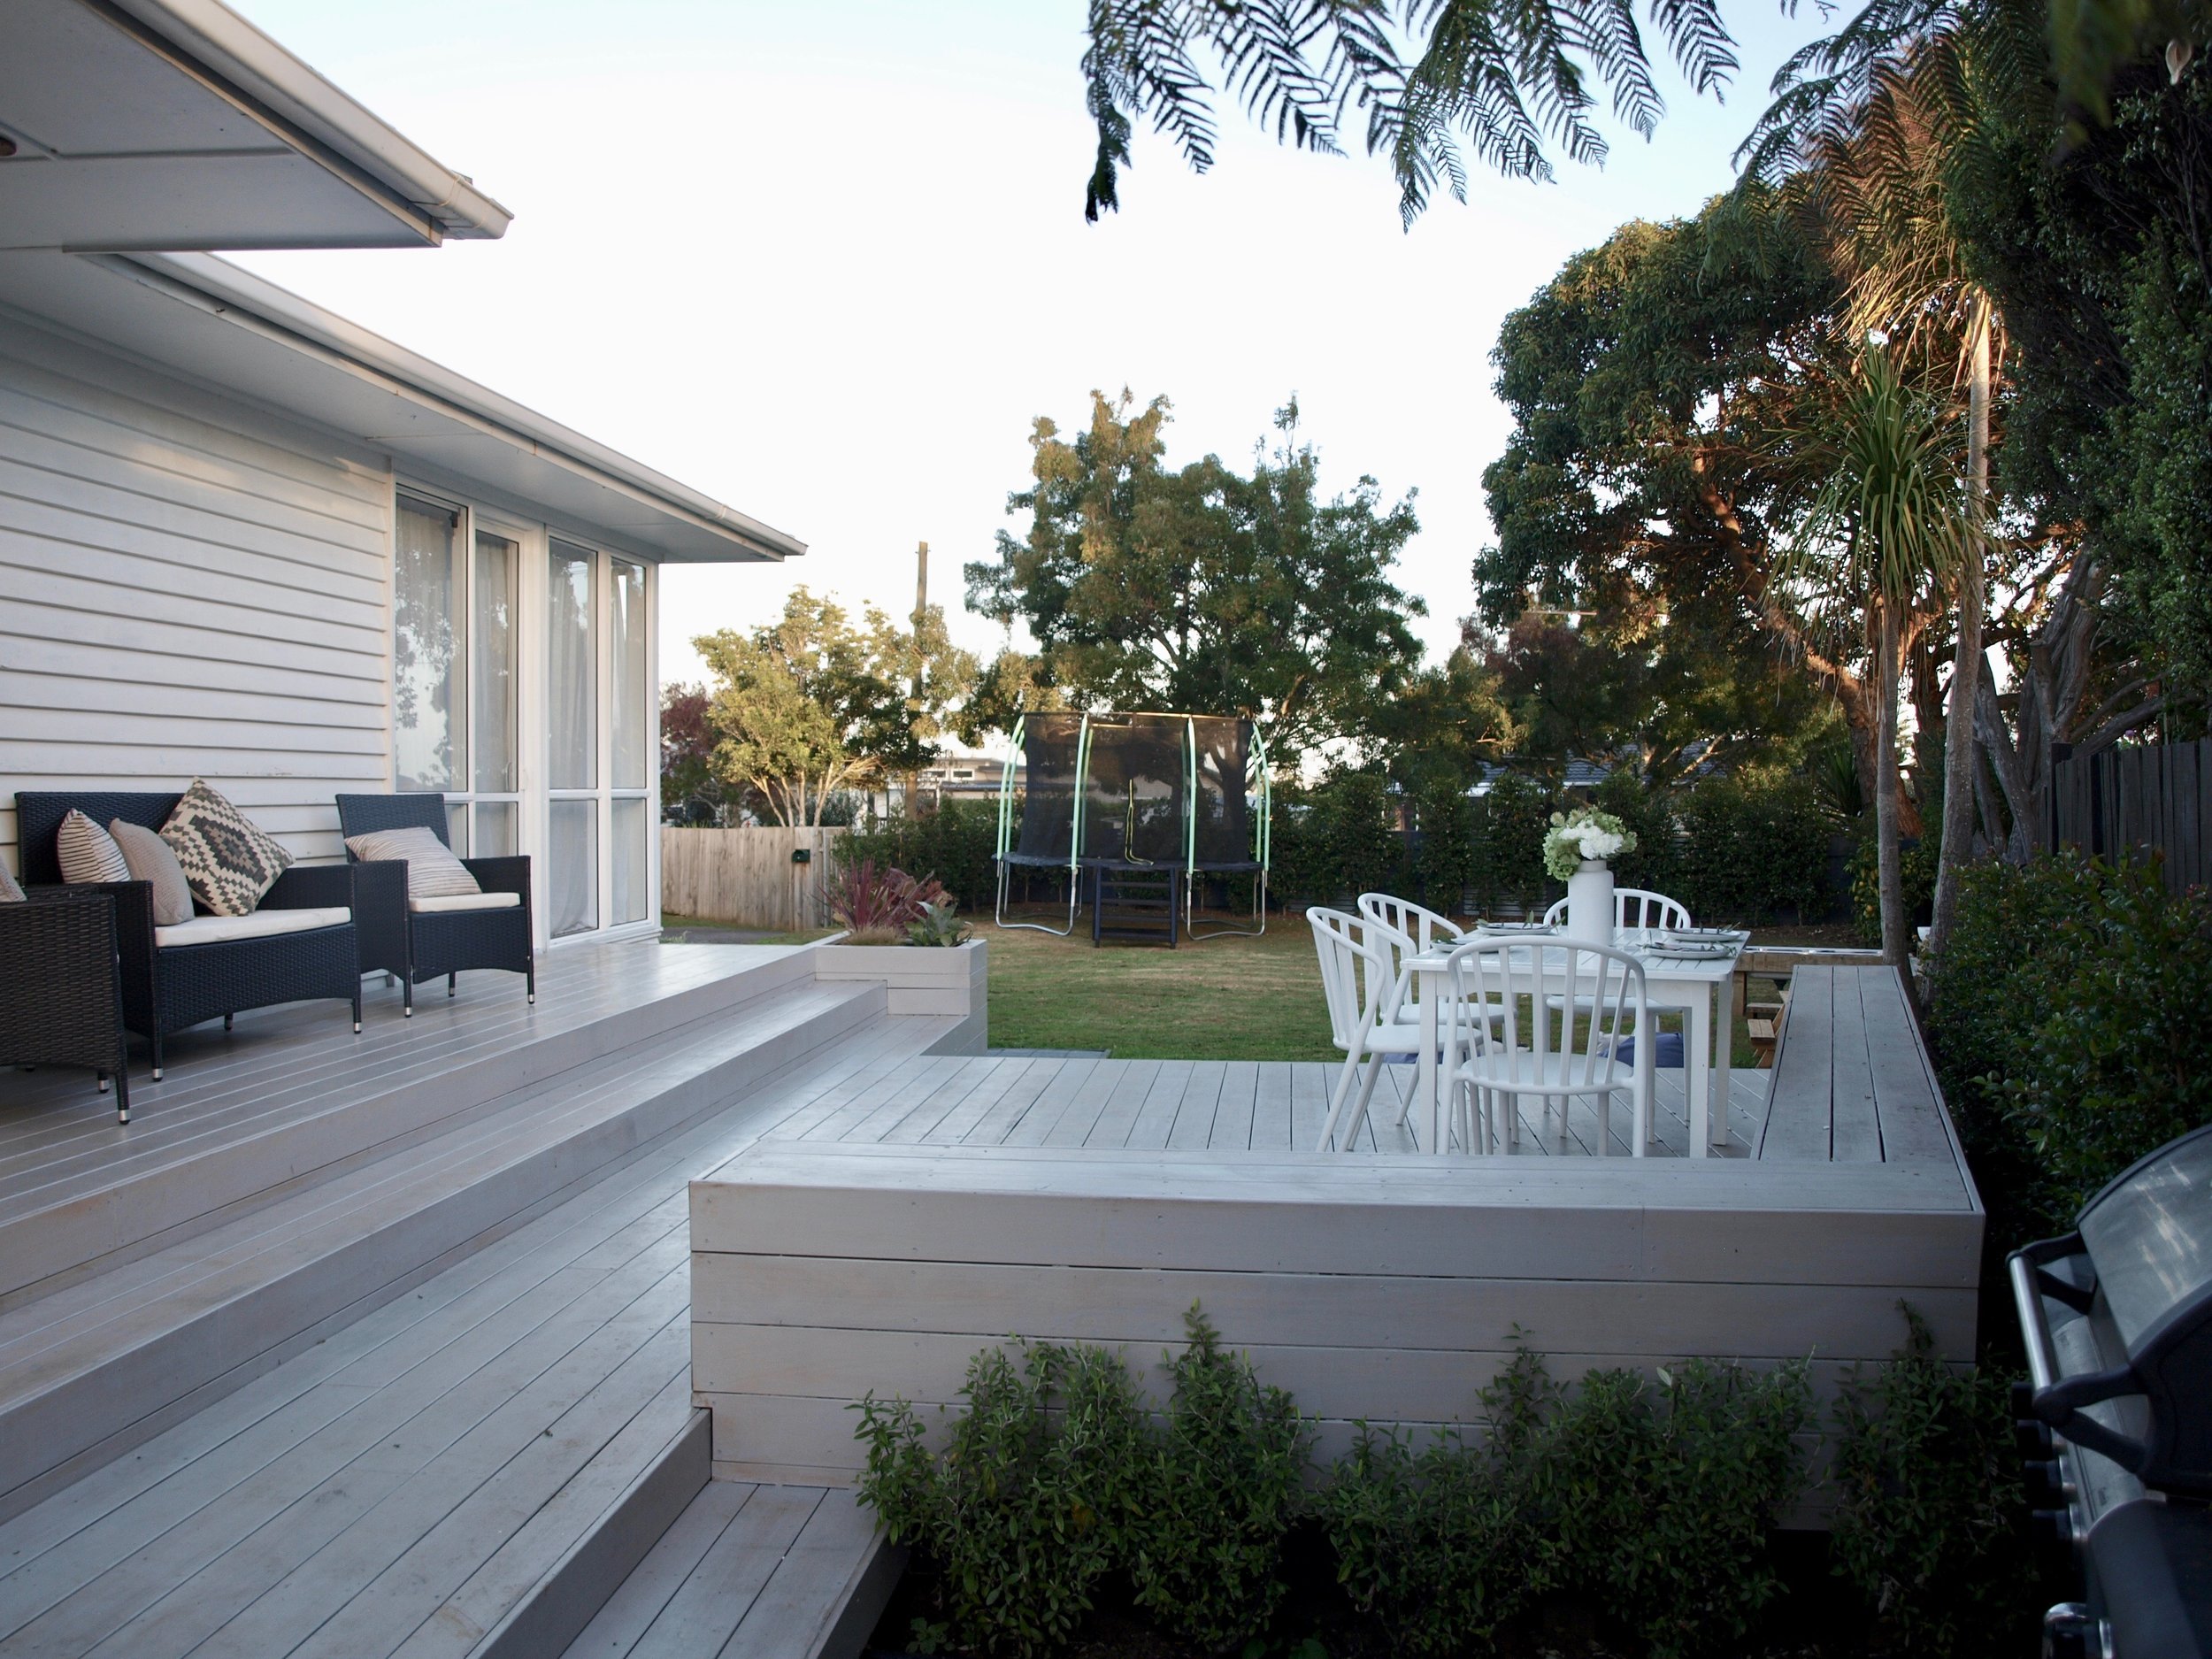
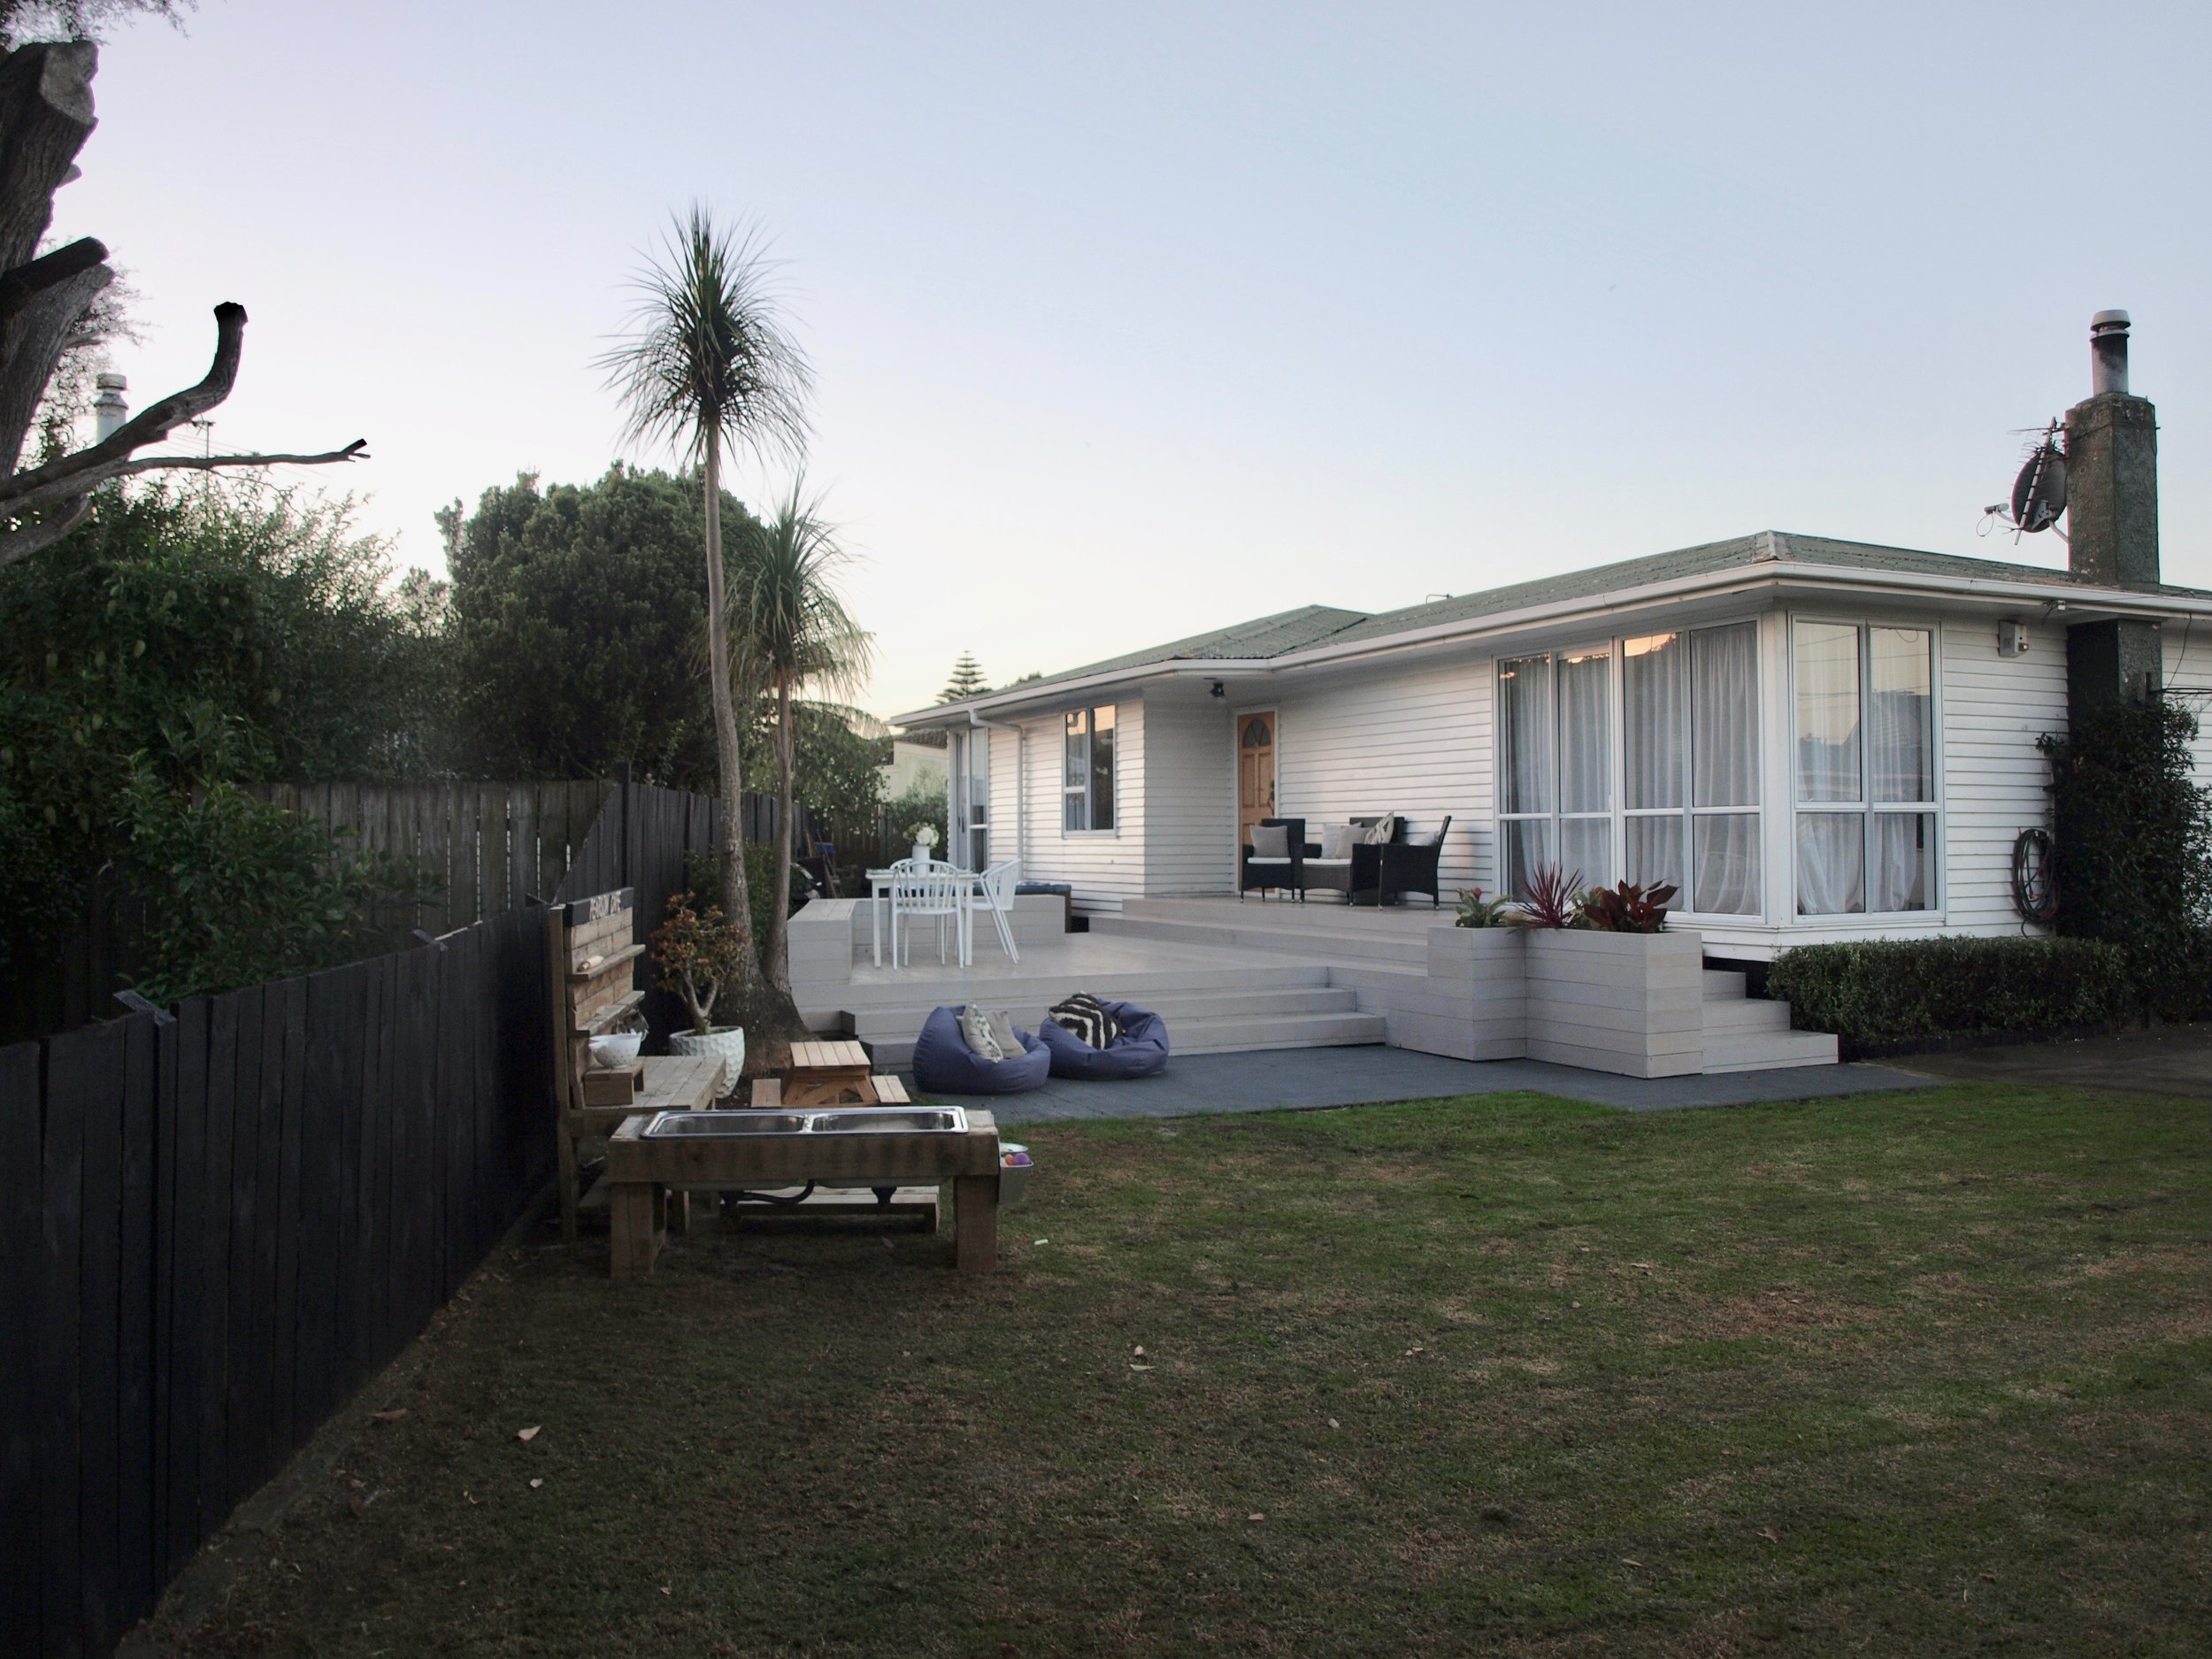
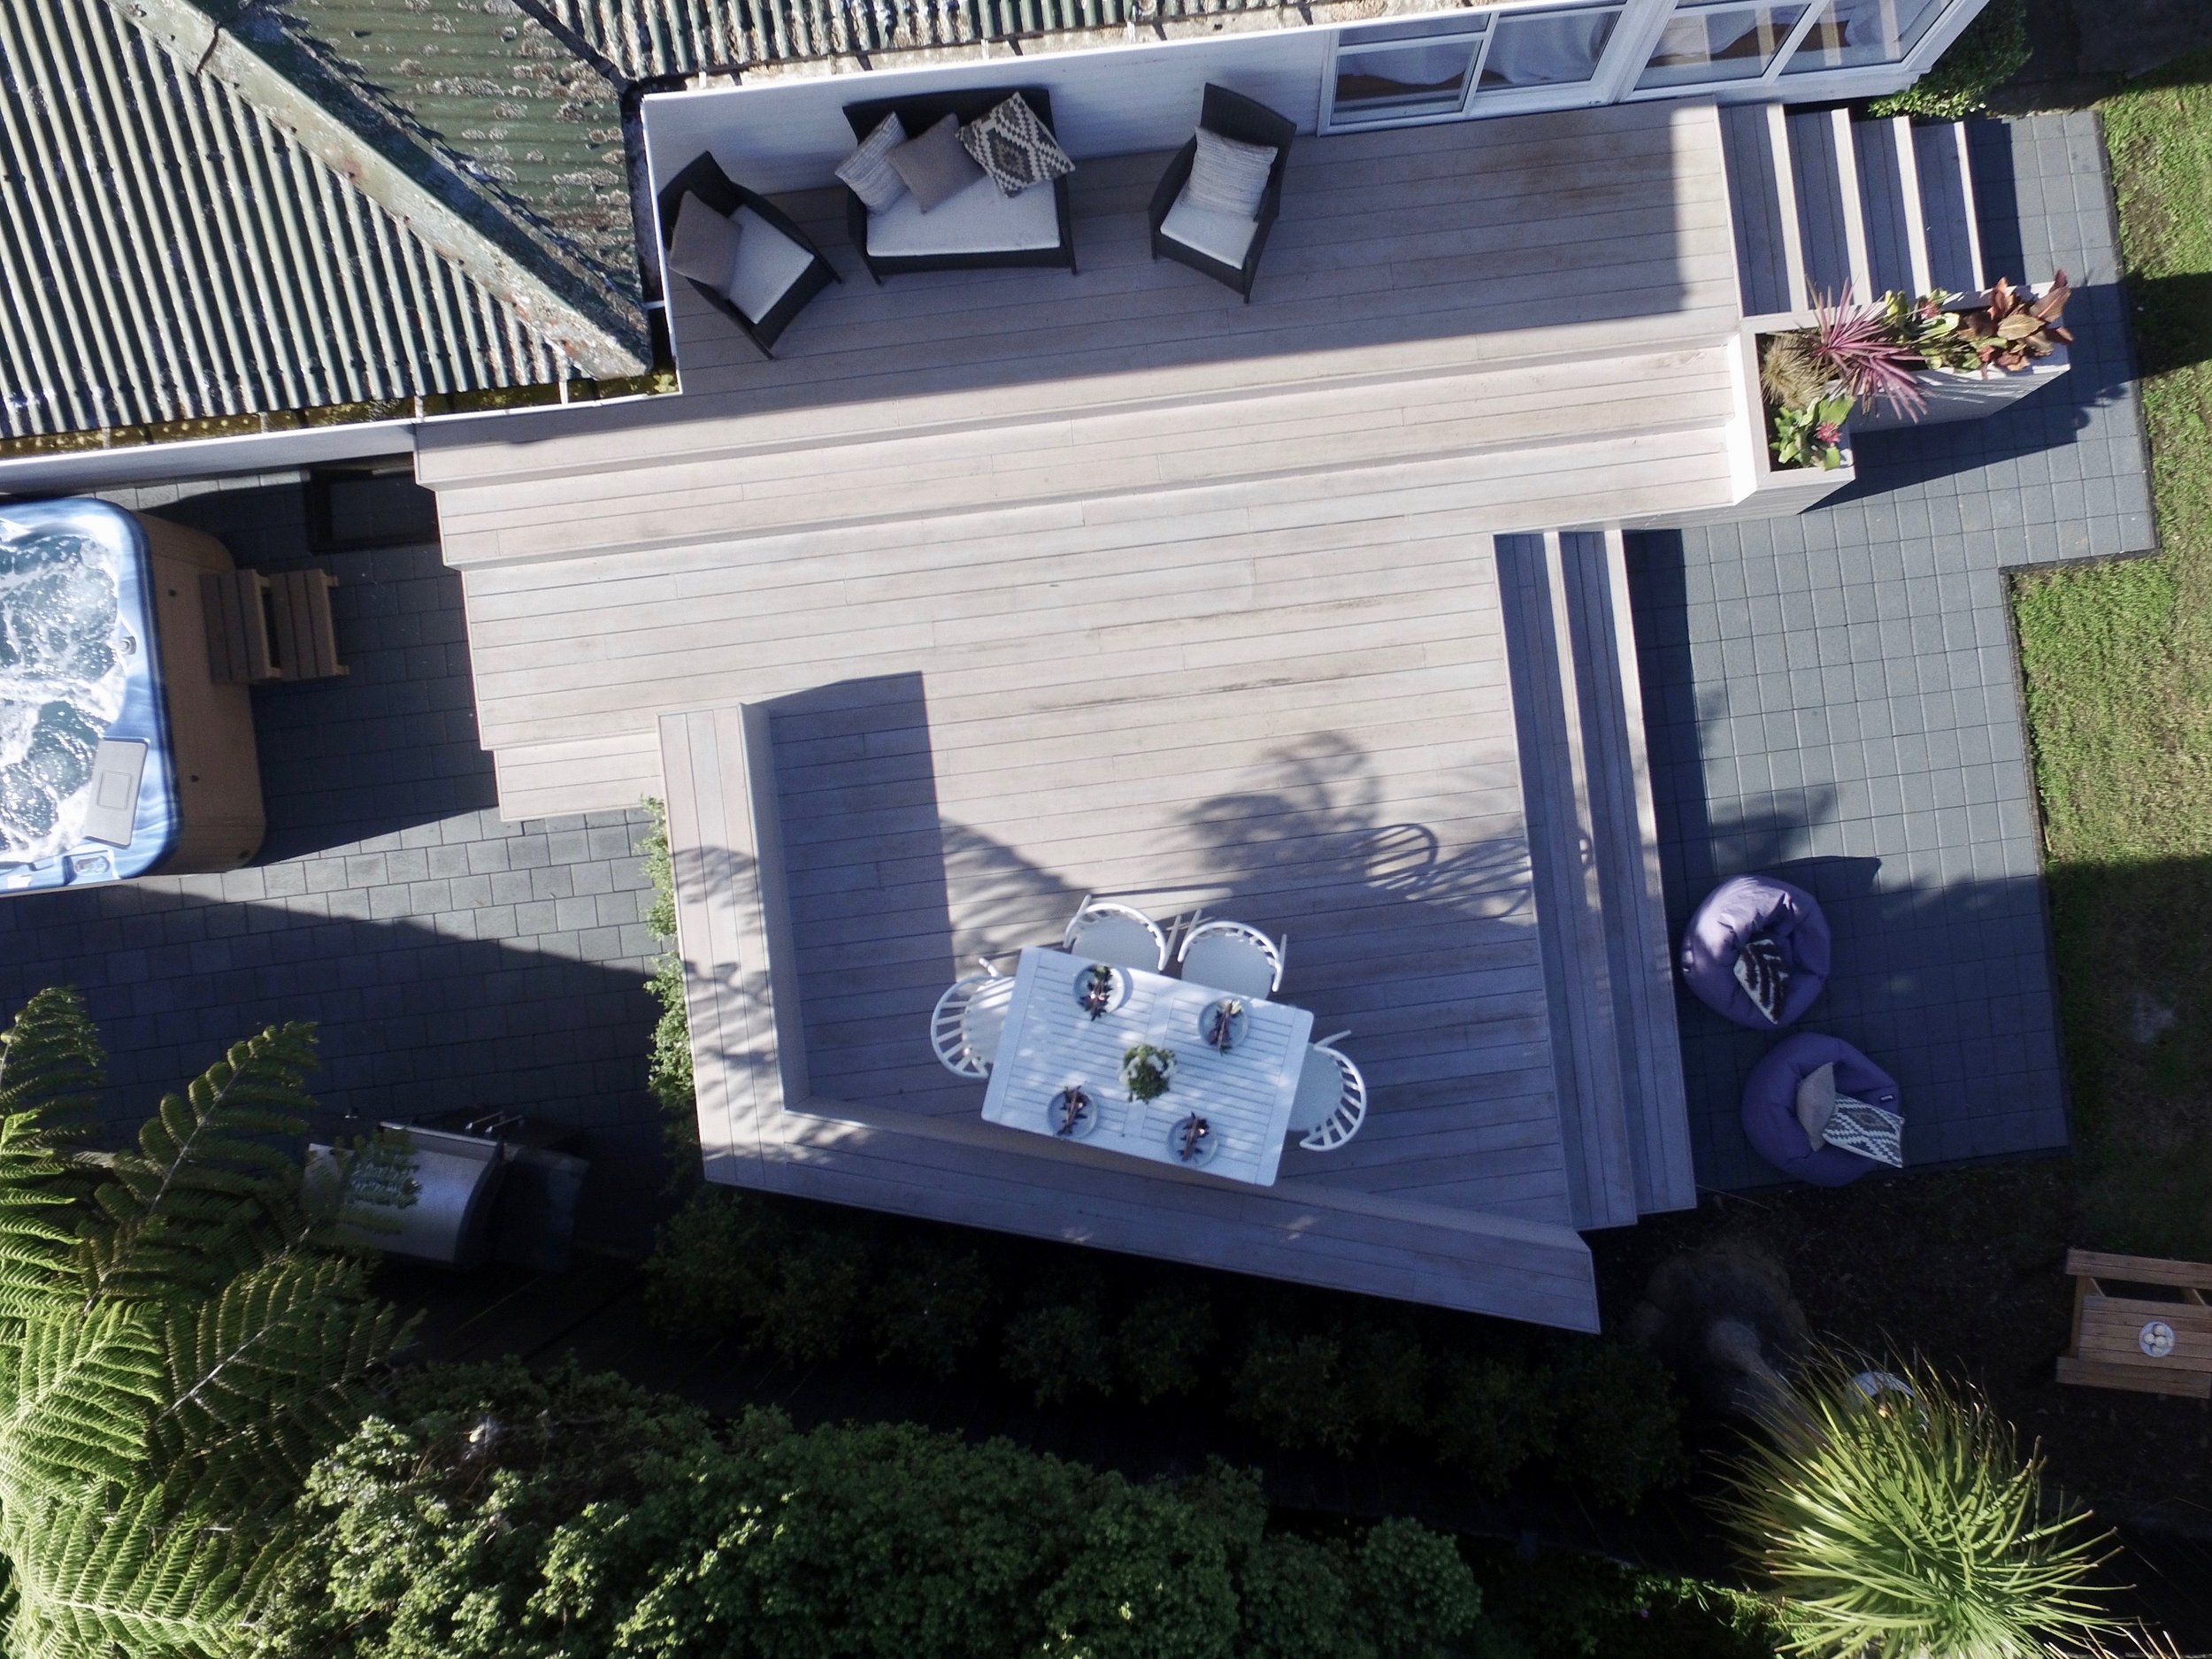
The deck is certainly the hero of our outdoors – it serves as our main entertainment area, a point of elevation for outlook over the property, linking our living spaces and an entrance to our house. It really has become the centre of our section and the strong connections between the existing and new living spaces created is what has made it so special for us. At the end of a project, it has to be practical as well as look good. For me, this emphasises the importance of knowing what you want and spending time planning to get the design right. The details with the layout, steps and levels may not be stand out in photos, but have made it a very liveable space for our family.
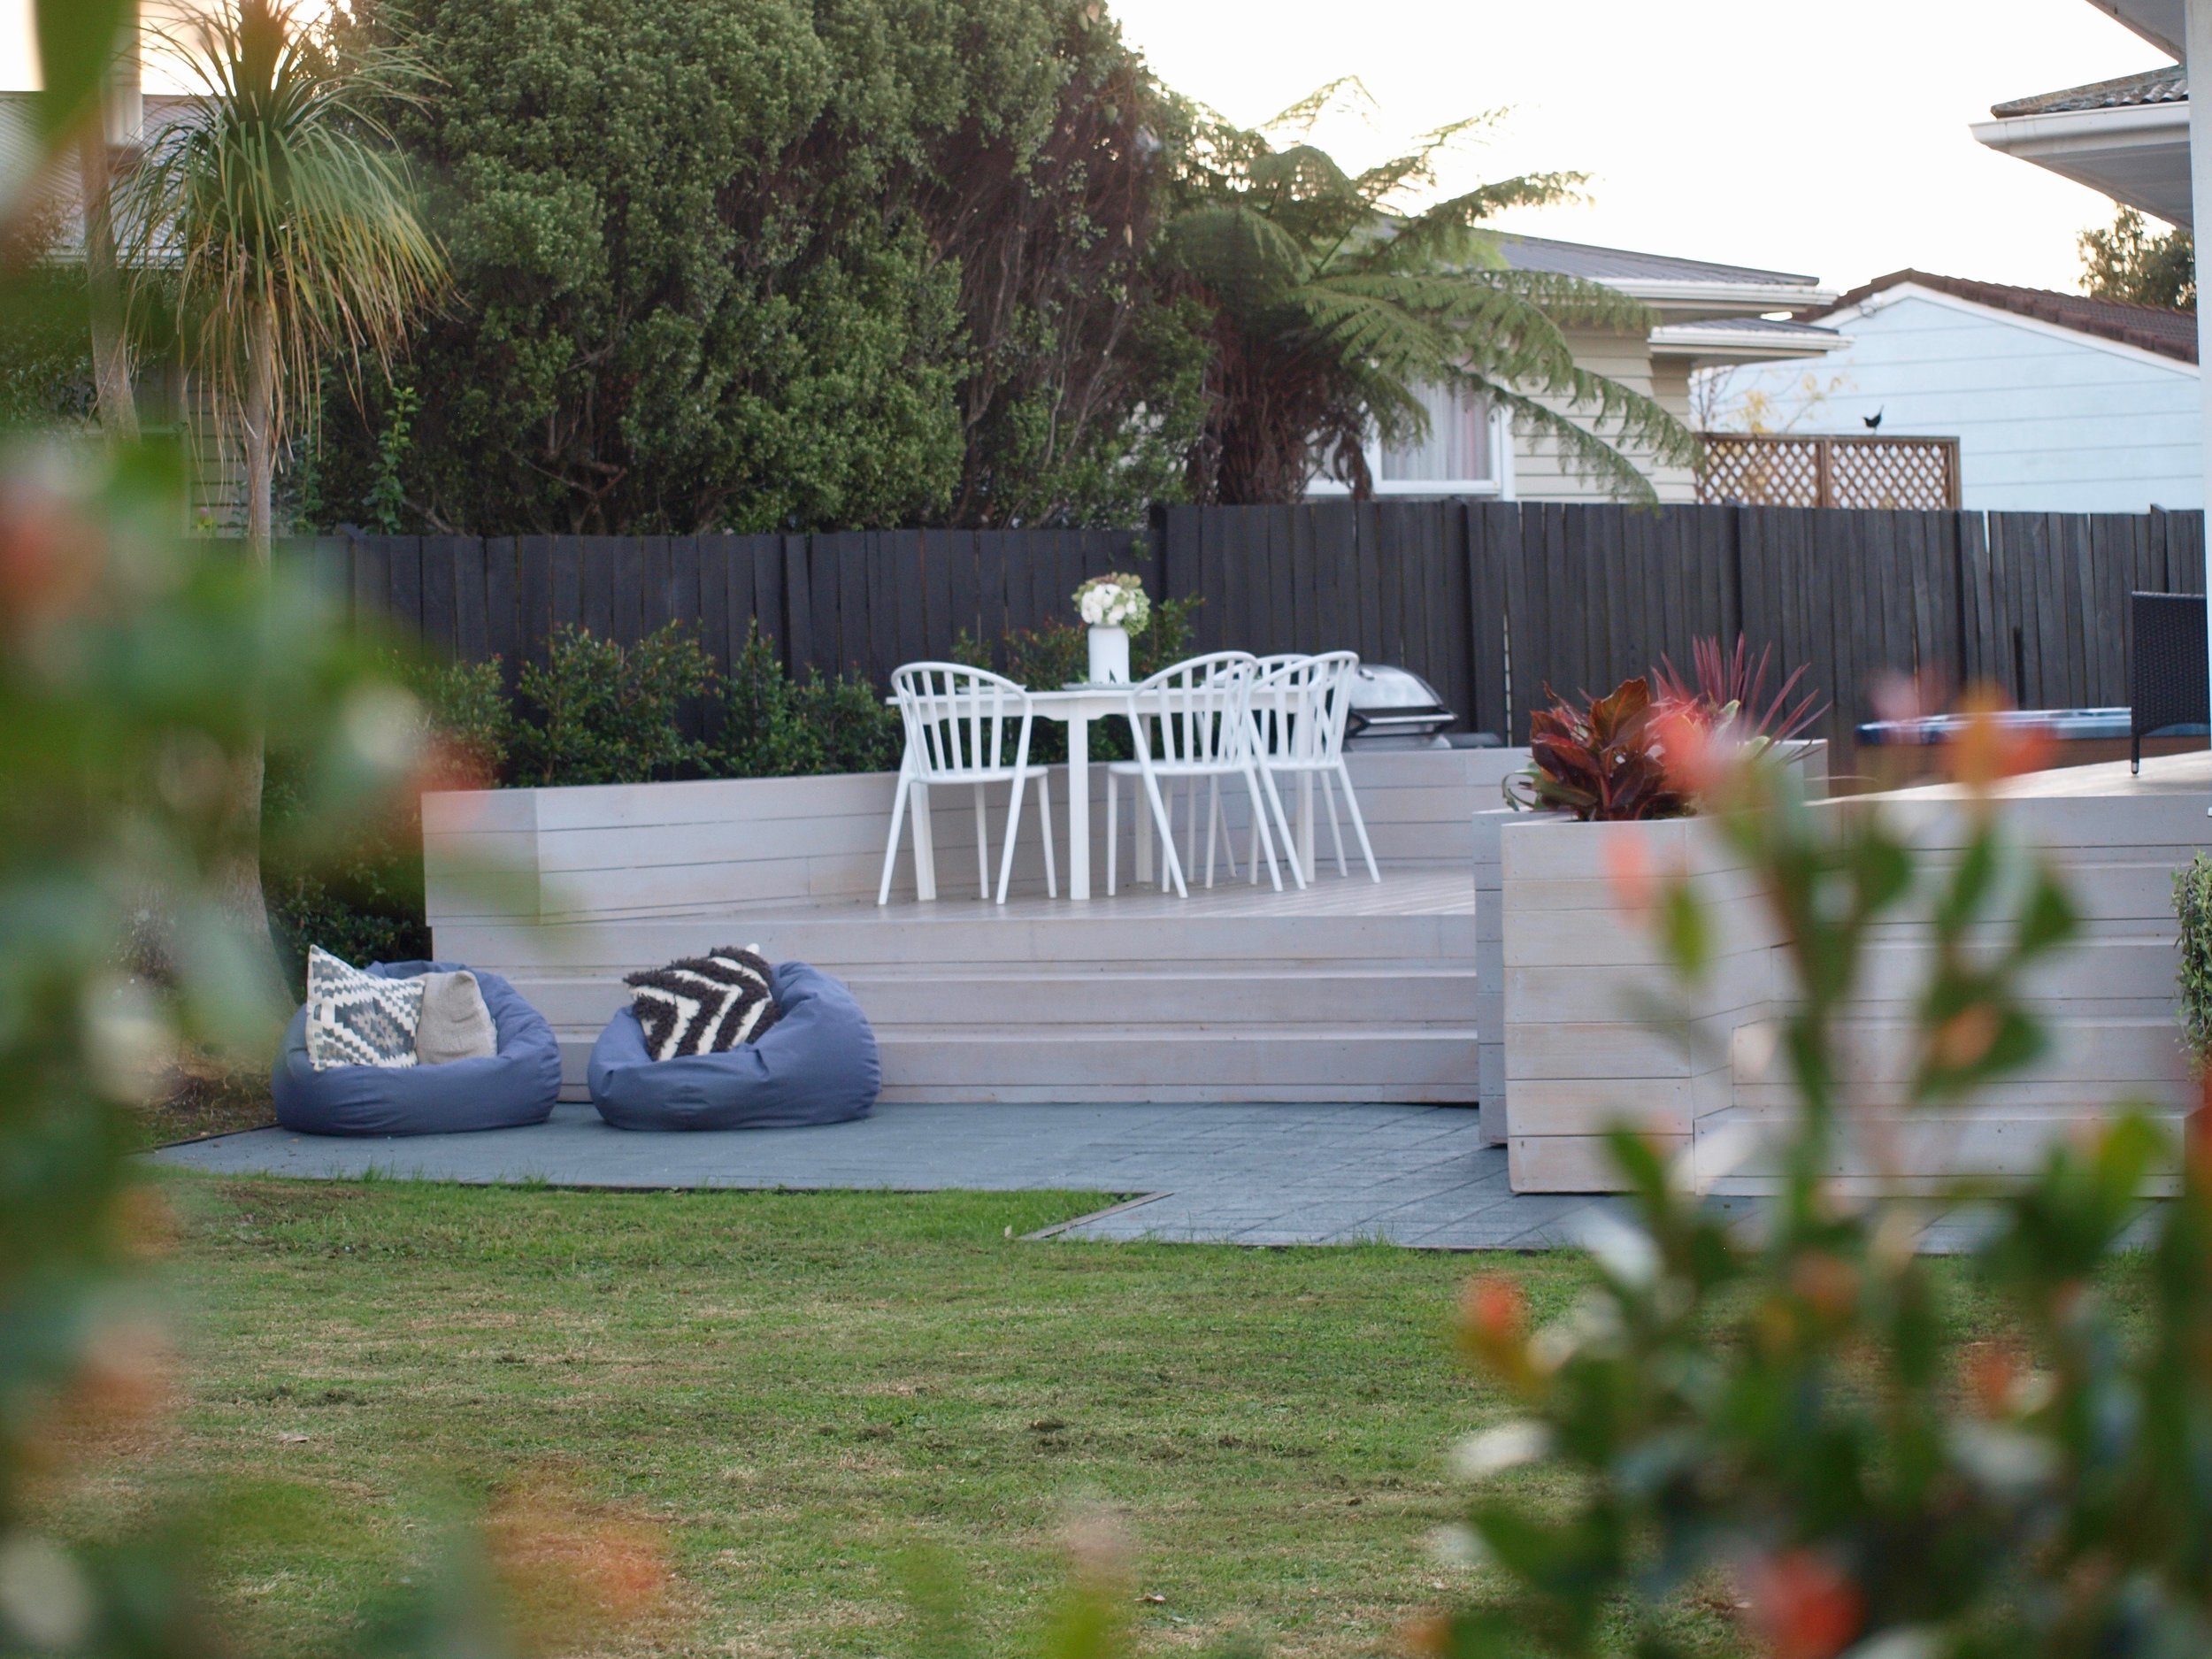
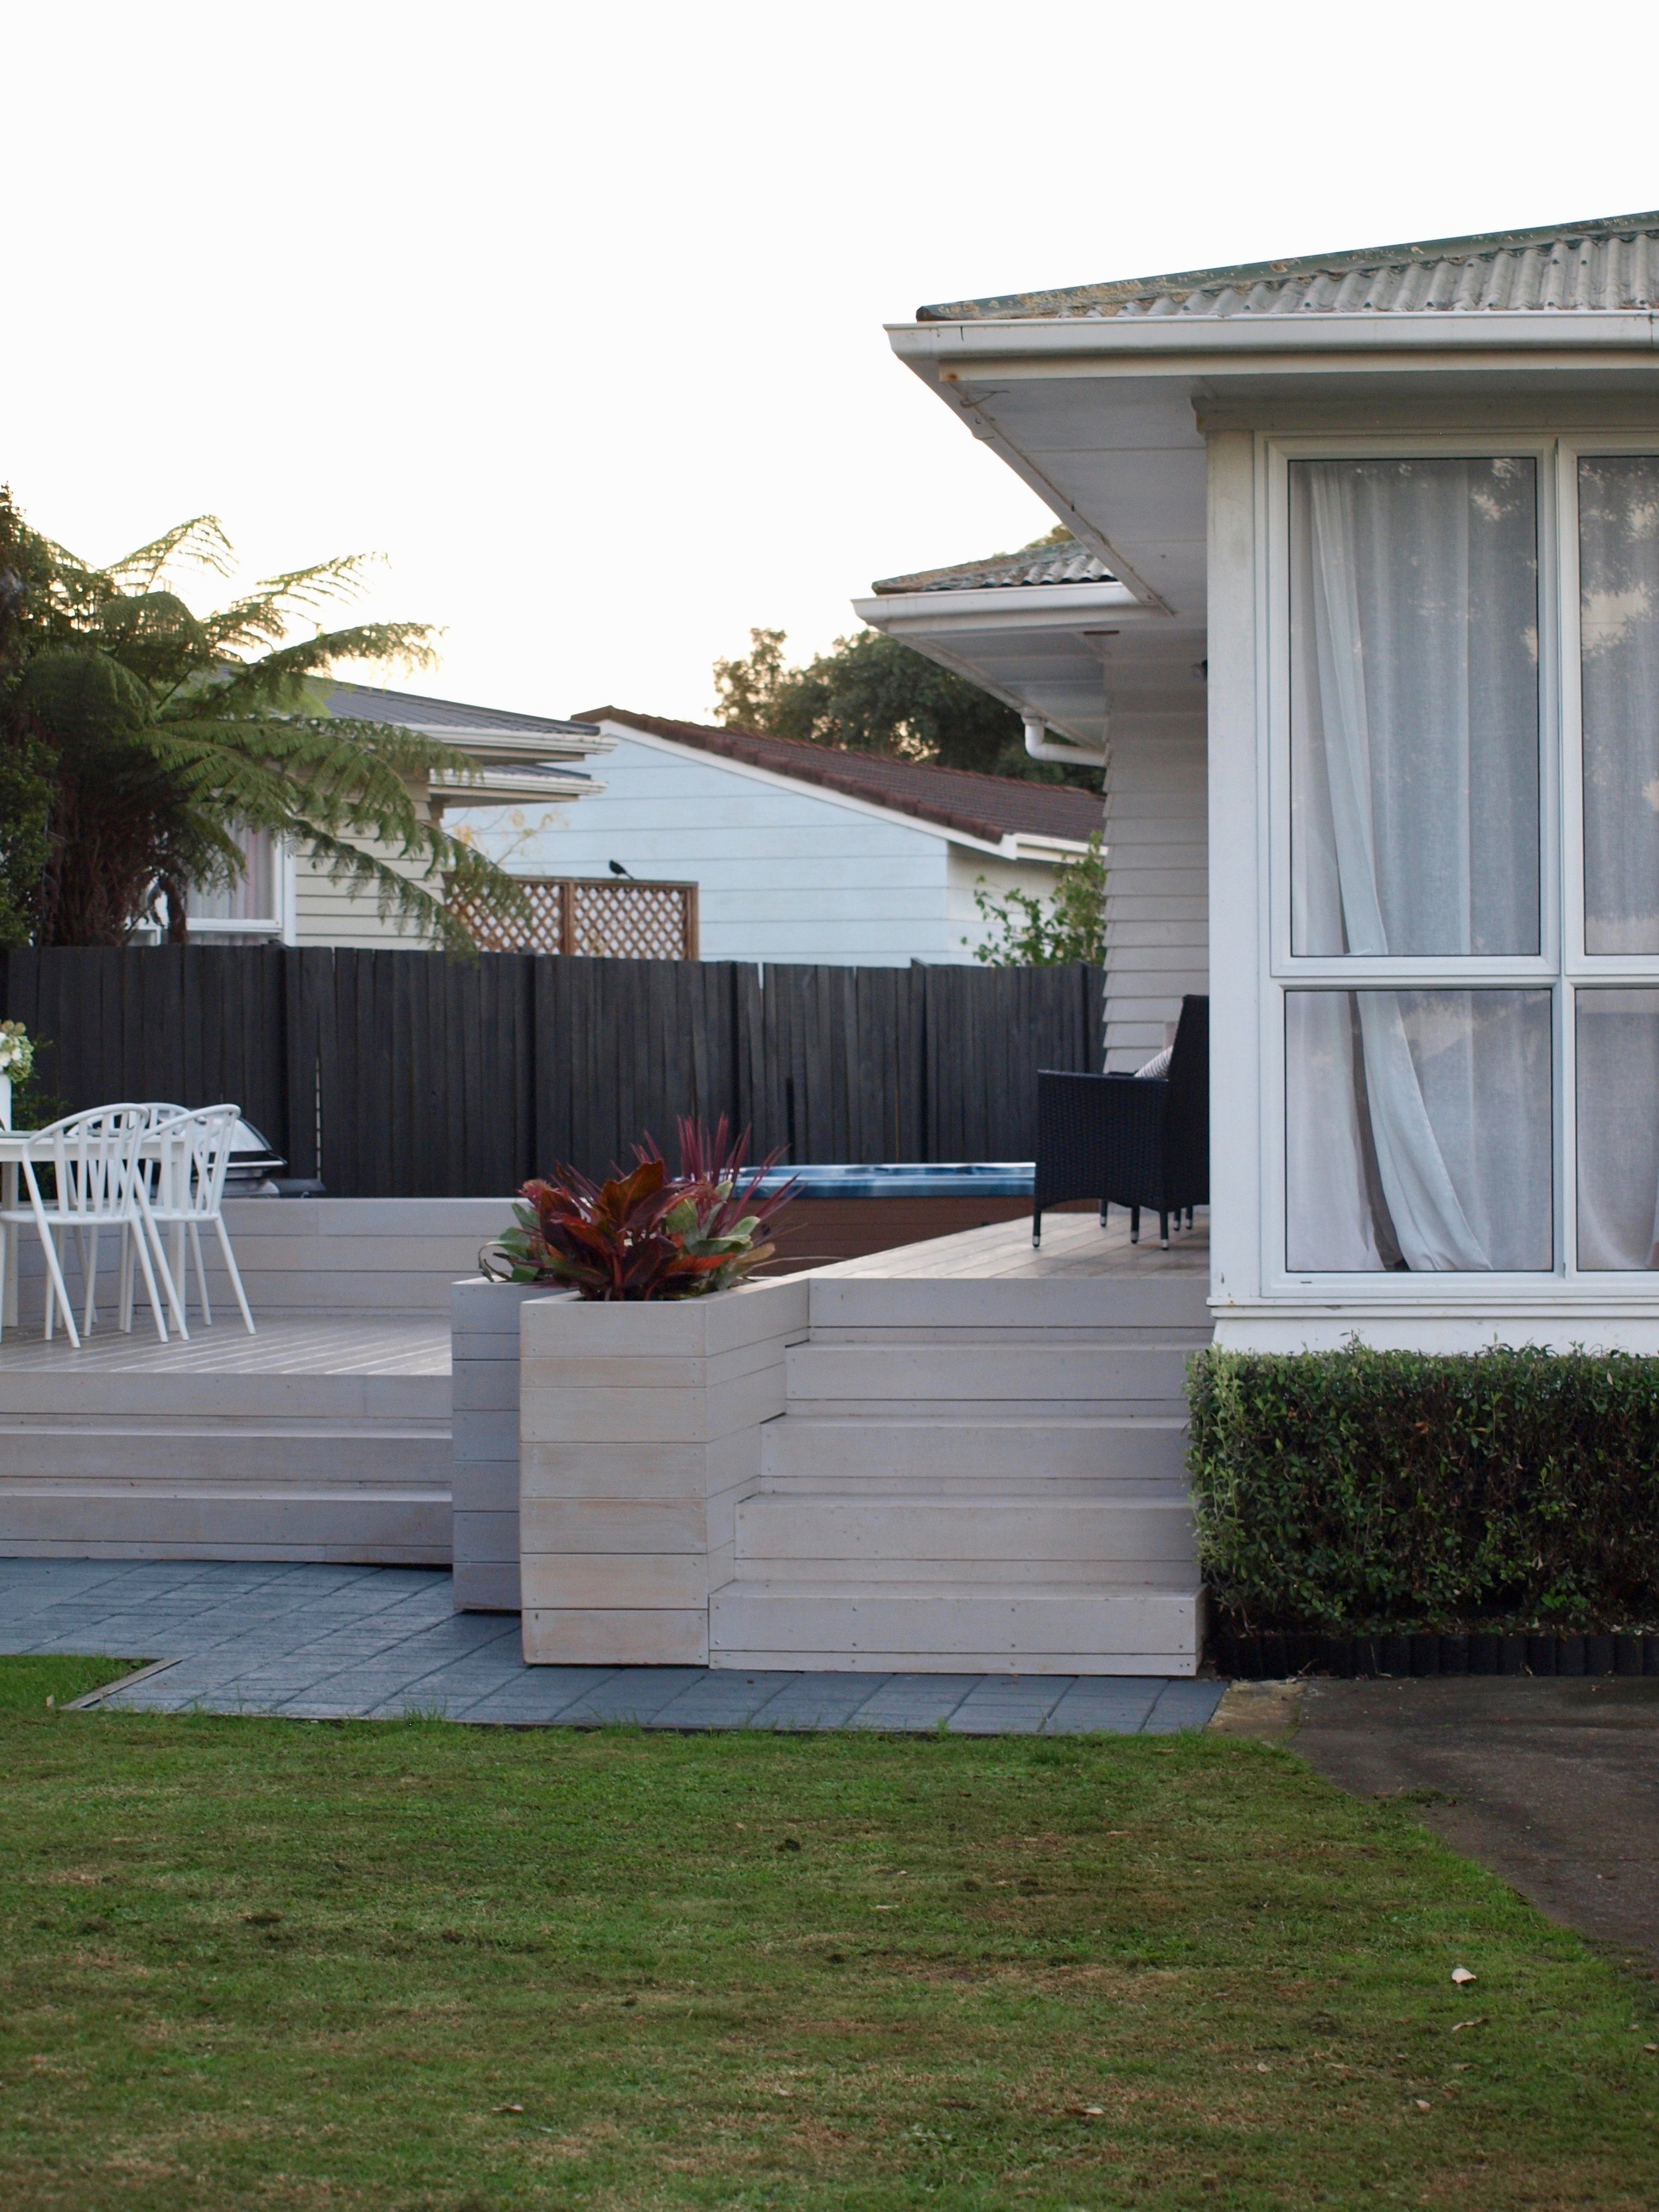
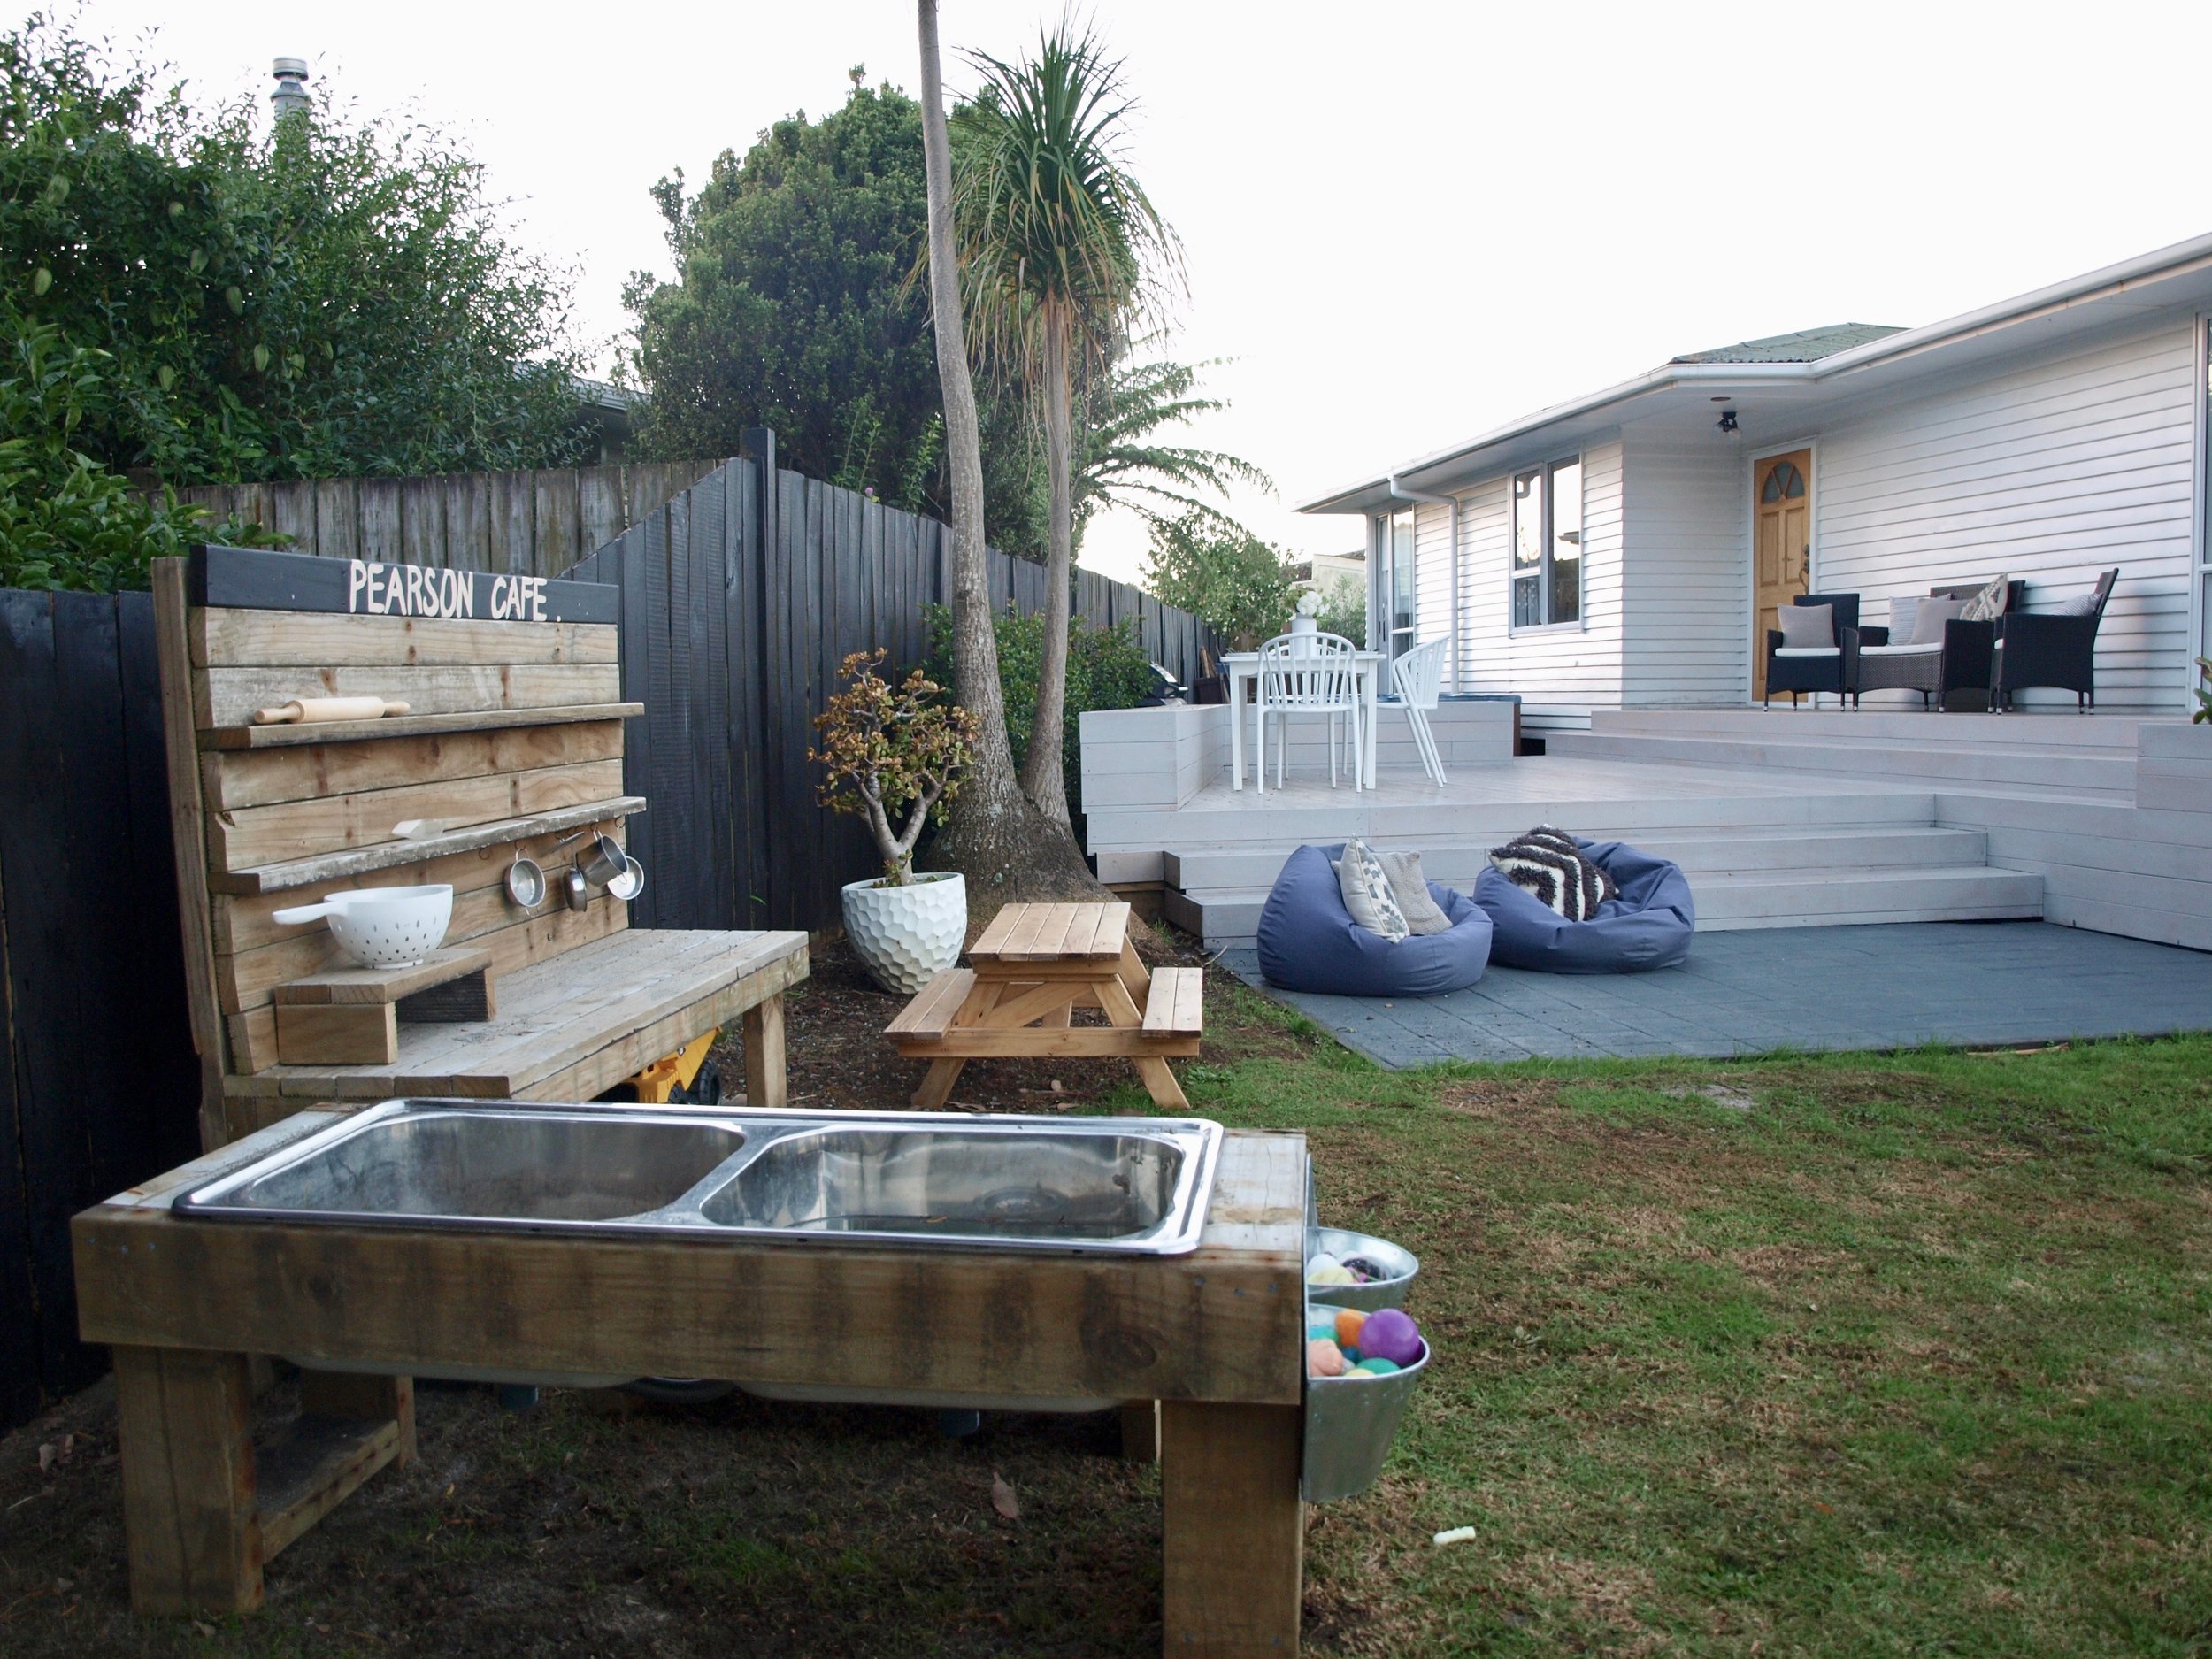
We created a defined and obvious entrance way for guests into our home - designing an entry point onto our deck which is obvious for first time visitors. Structured paving around the front of the deck connects the deck to our lawn and a built in planter box creates a subtle barrier to the stairs and adds a low maintenance layer of greenery . In our front yard we made the most of our lawn, keeping it open and creating some fun elements for the kids using recycled materials from the previous deck. Stairs to the tramp from the old deck (much easier for the kids to use than a ladder) and an outdoor mud kitchen.
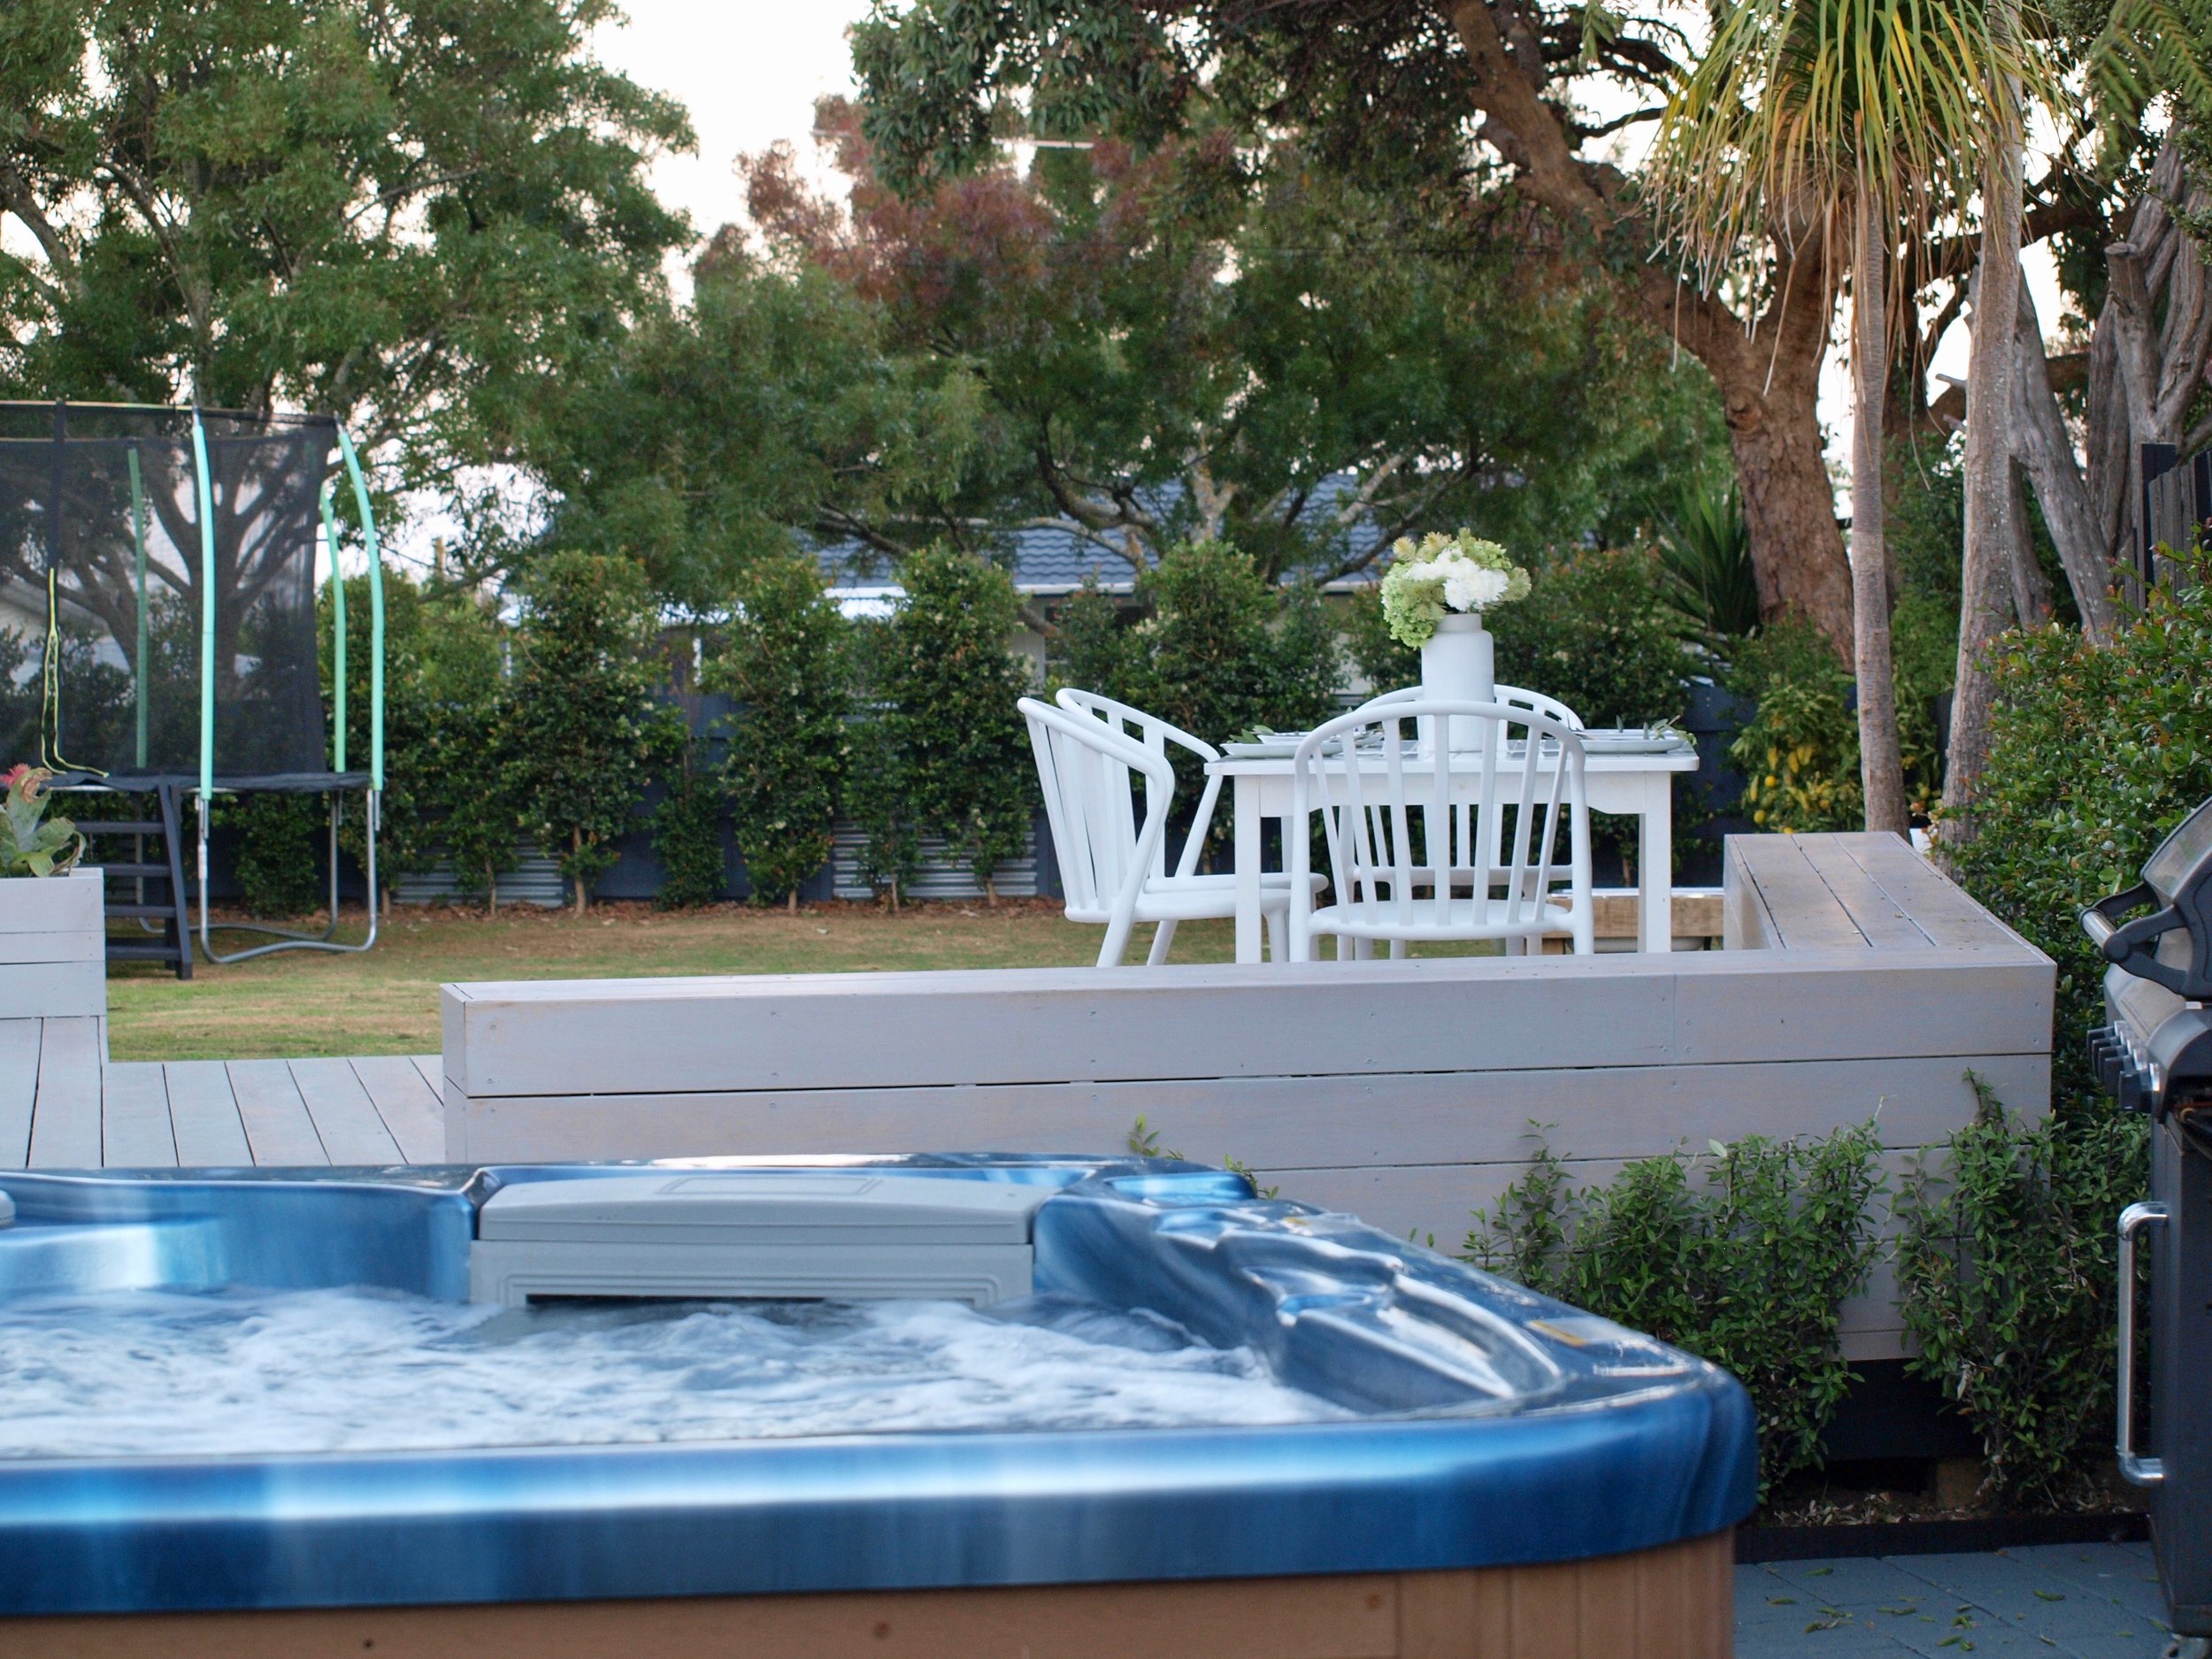
Behind the deck is a separate paved area where the spa and BBQ is located. A more enclosed space than the front yard, we have taken advantage of this to create some privacy for our blissful Vortex Spa and hide the BBQ away when not in use. For planting we kept it simple – eugenia ventenatii (or lilly pilly) as a hedge screen for our boundary along the road and along the fence line; a range of plants and flaxes with some colour for our planter box, and a low box hedge of corokia to the back of the deck (reusing existing plants already on the section).
Suppliers and cost overview are at the bottom – because we know you like to know how much it costs and where it came from!

Cost and Supplier Overview
Deck Construction. Built by Amen Contractors. 140mm wide Vitex hardwood decking. Cost: $16,000
Deck Stain by Cabot's Silver Beech Water Based Deck and Exterior Stain 14L. Cost: $145.00
Eugenia Hedge along fenceline from Rogers Plant Garden. Cost: $340
Plants for Planter Box from Rogers Plant Garden. Cost: $114
Paint for Pavers by Dulux Timbacryl Ponga 14L. Cost: $258
Paint for Fence, baseboards and paving edging Dulux Timbacryl Ebony 20L. Cost: $326
Extra Pavers (x100) from Trademe. Cost: $100
Base course and sand for paving from Central Landscaping. Cost: $300
Outdoor Kitchen, recycled timber and kitchen sink from Trade Depot: Cost: $69
Total Outdoor Cost: $17,652
The deck was where we wanted to ensure longevity and workmanship, hence being 90% of our costs. Before committing, we reviewed this with our contractor and looked at the key options to reduce the cost - using pine, reducing amount of steps and details, reducing size, doing work myself. Whilst a big cost, ultimately we decided this was what we wanted to spend our money on and not compromise - the part of our outdoors that would be around the longest and wouldn't need to be changed for decades to come - we think it has been a decision well made.