The Experts Living Spaces Project Reveal | The Reno Race

The last 10 months we have been renovating and living in our Relocatable Reno, a project where we subdivided empty section developed it into a 3 bedroom renovated house.
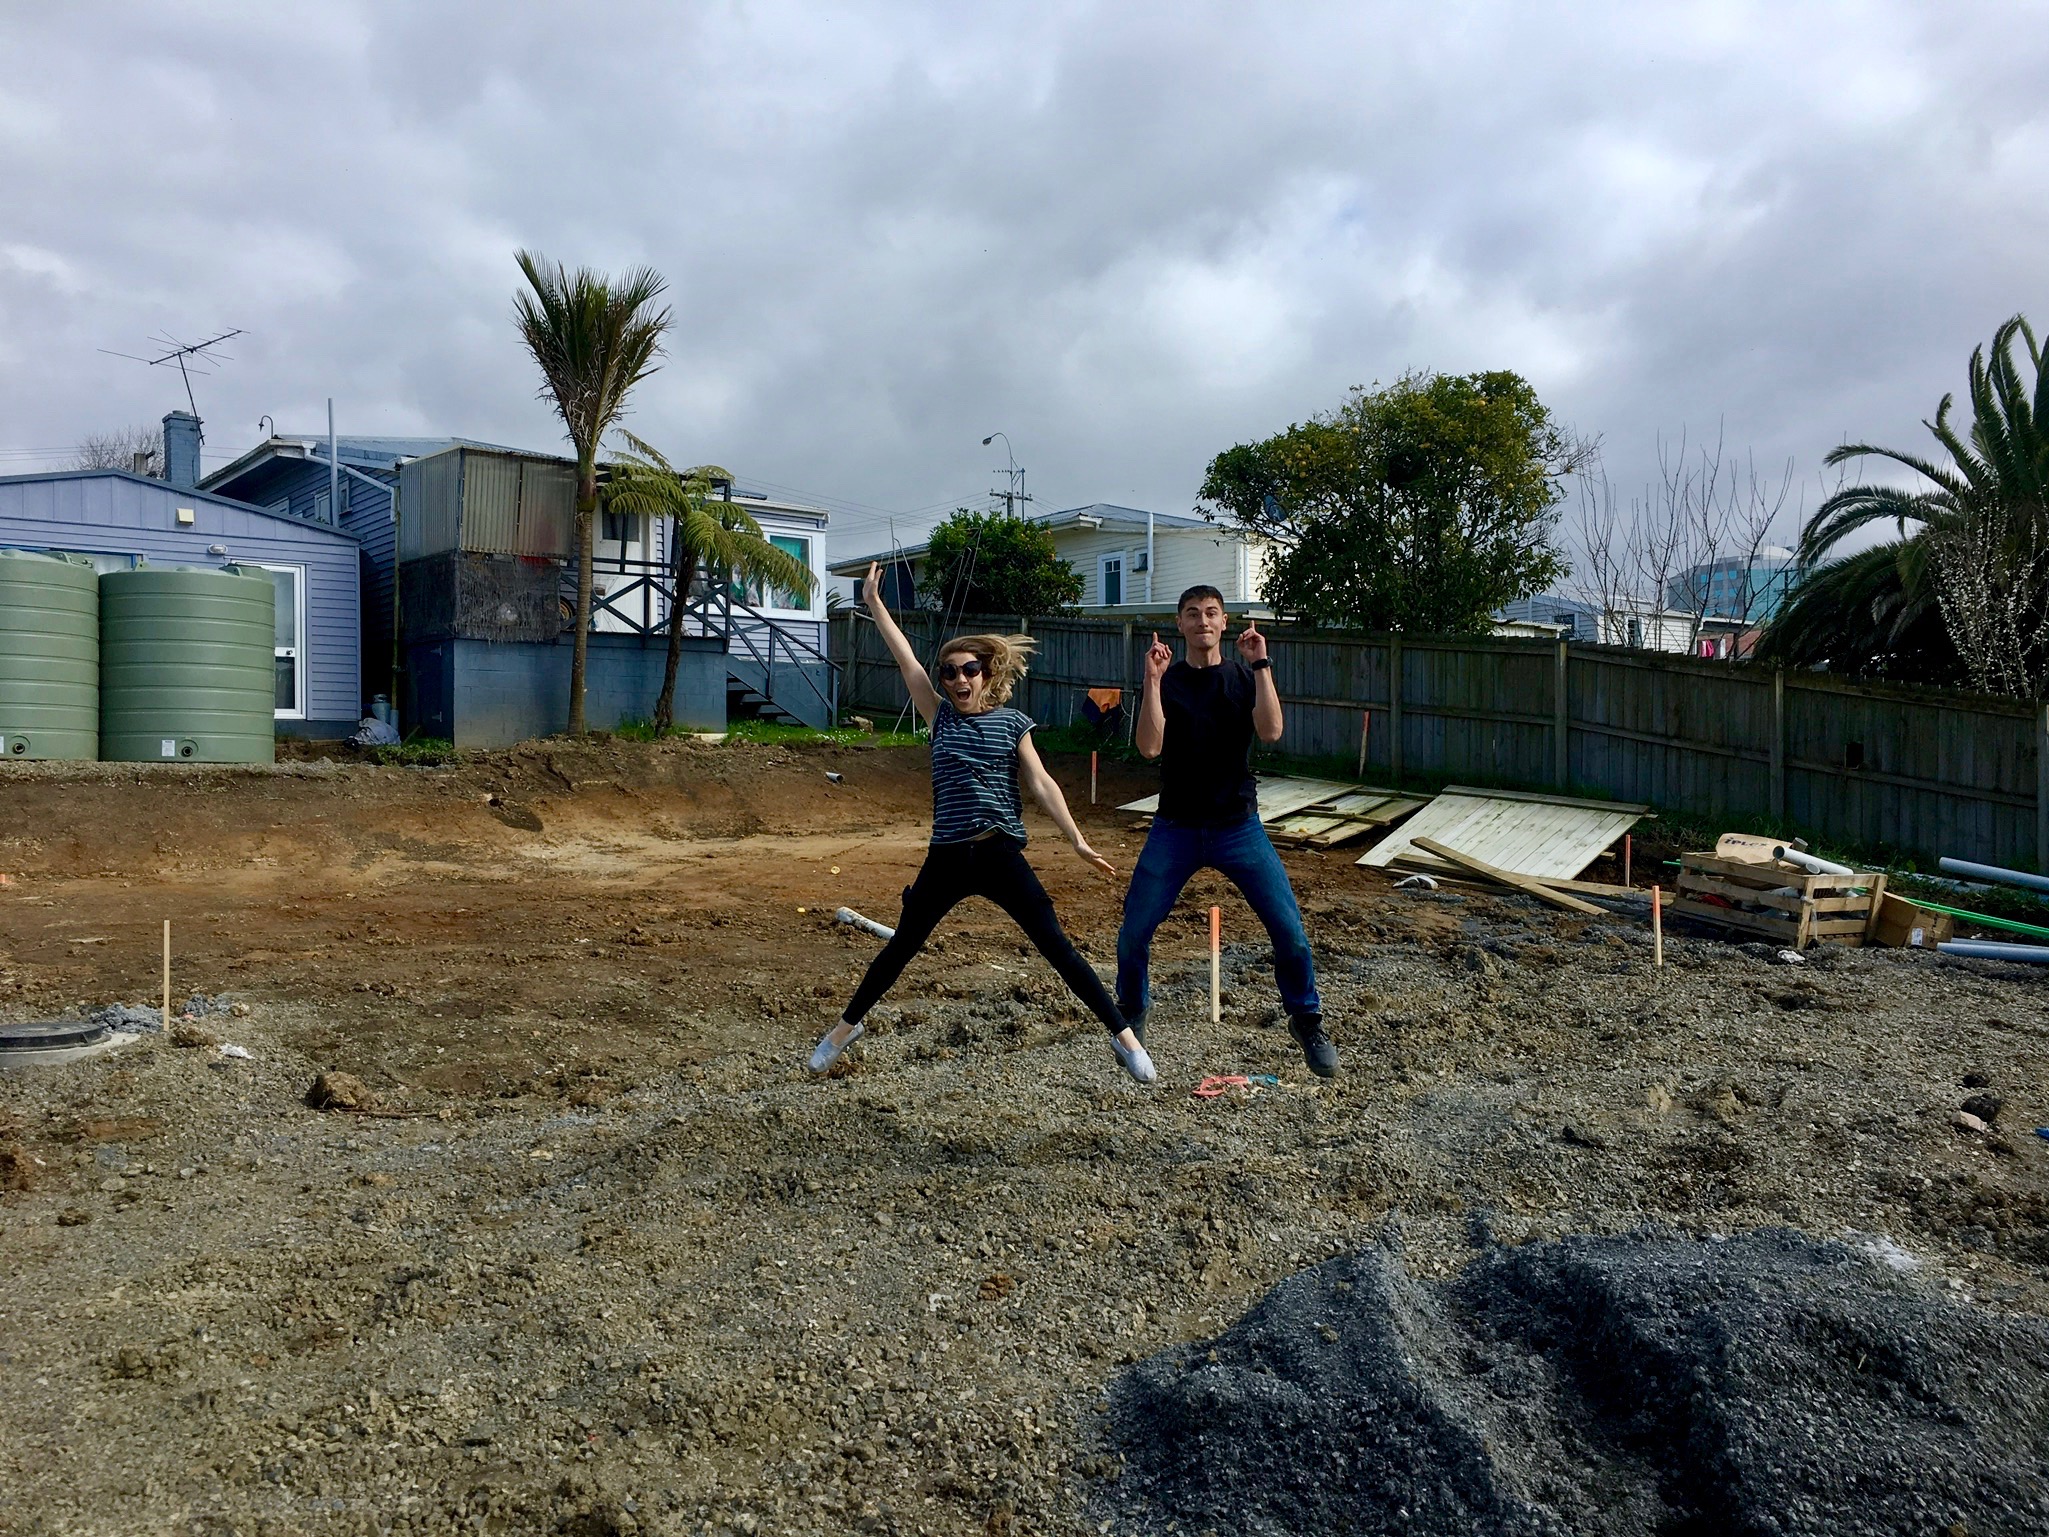
But that is only one part of the development, because the next project requires a renovation of the original 1930s house, 3 bedrooms, 1 bathroom, separate kitchen and dining, approximately 90m2 on it new smaller section. While we worked on The Relocatable Reno, the original house waited patiently with tenants, ready for it’s turn for a renovation.


And after owning the property since September 2016, we finally got to work. We had a clear idea of how we were going to approach this renovation, it was a budget cosmetic makeover. The priority was to do it as effectively as possible - both in spending as little as possible and doing it as quickly as possible. The renovation started with investing time in managing our budget and the program. In short our goal was to do the full project, interior and exterior in 3-4 weeks with a budget of $33K.
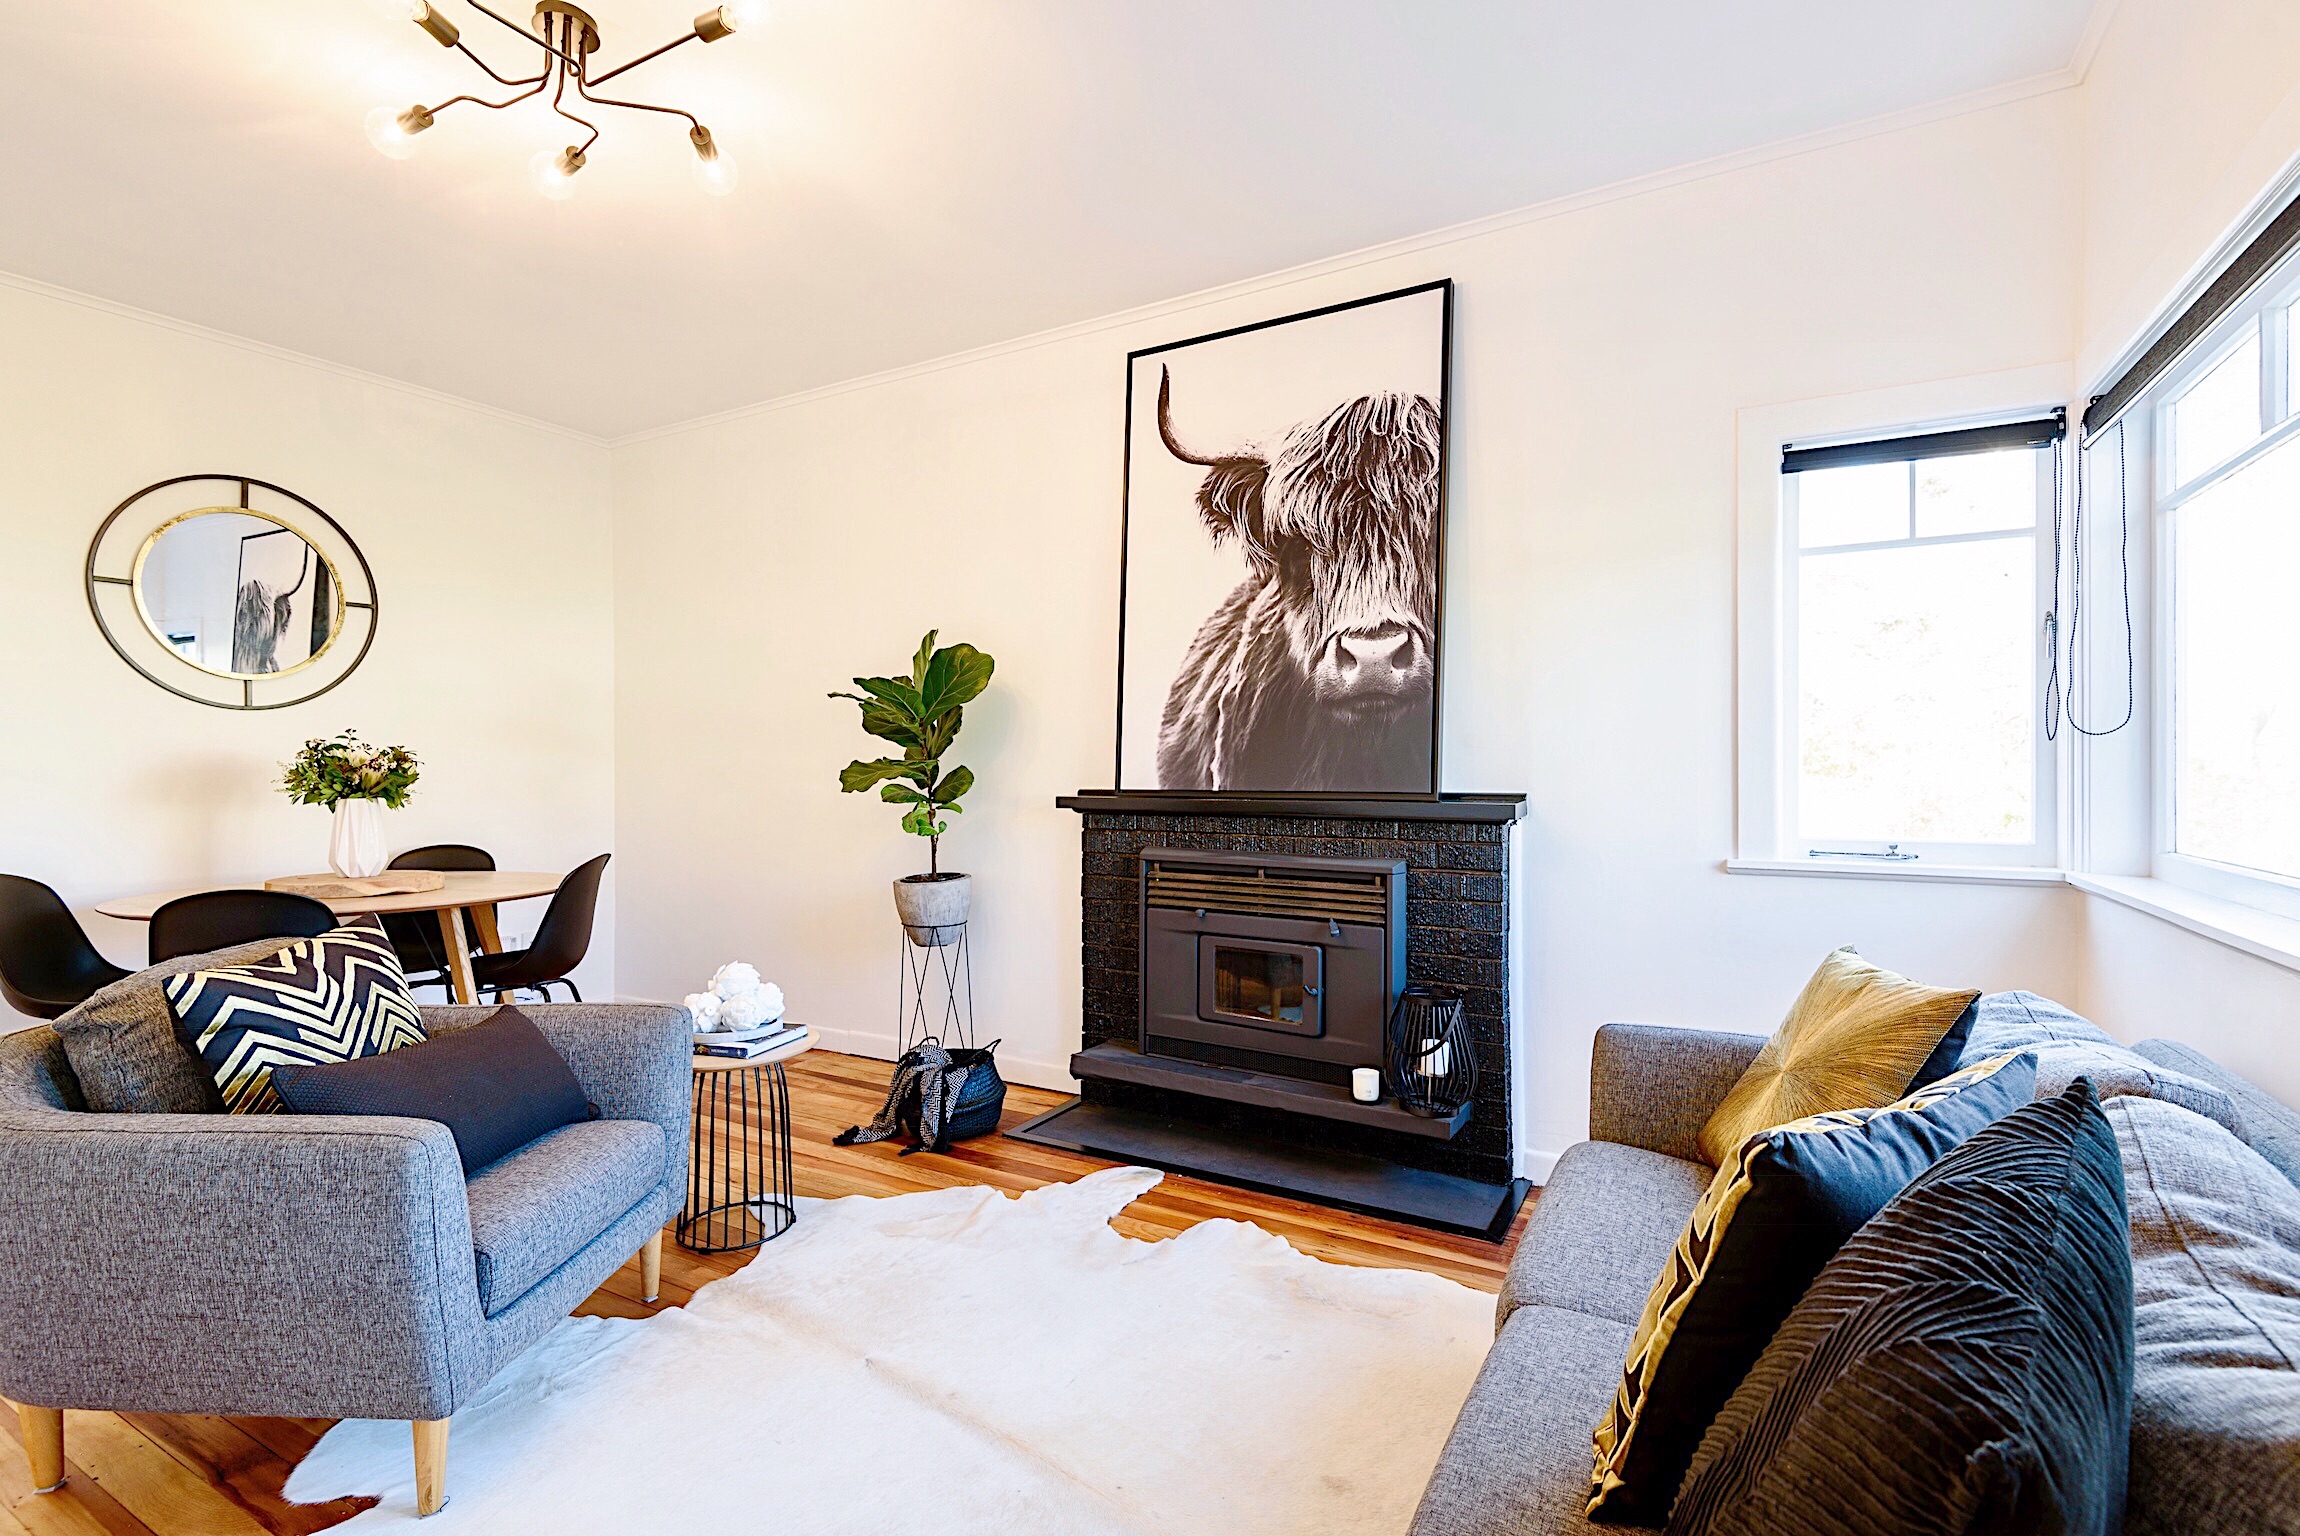
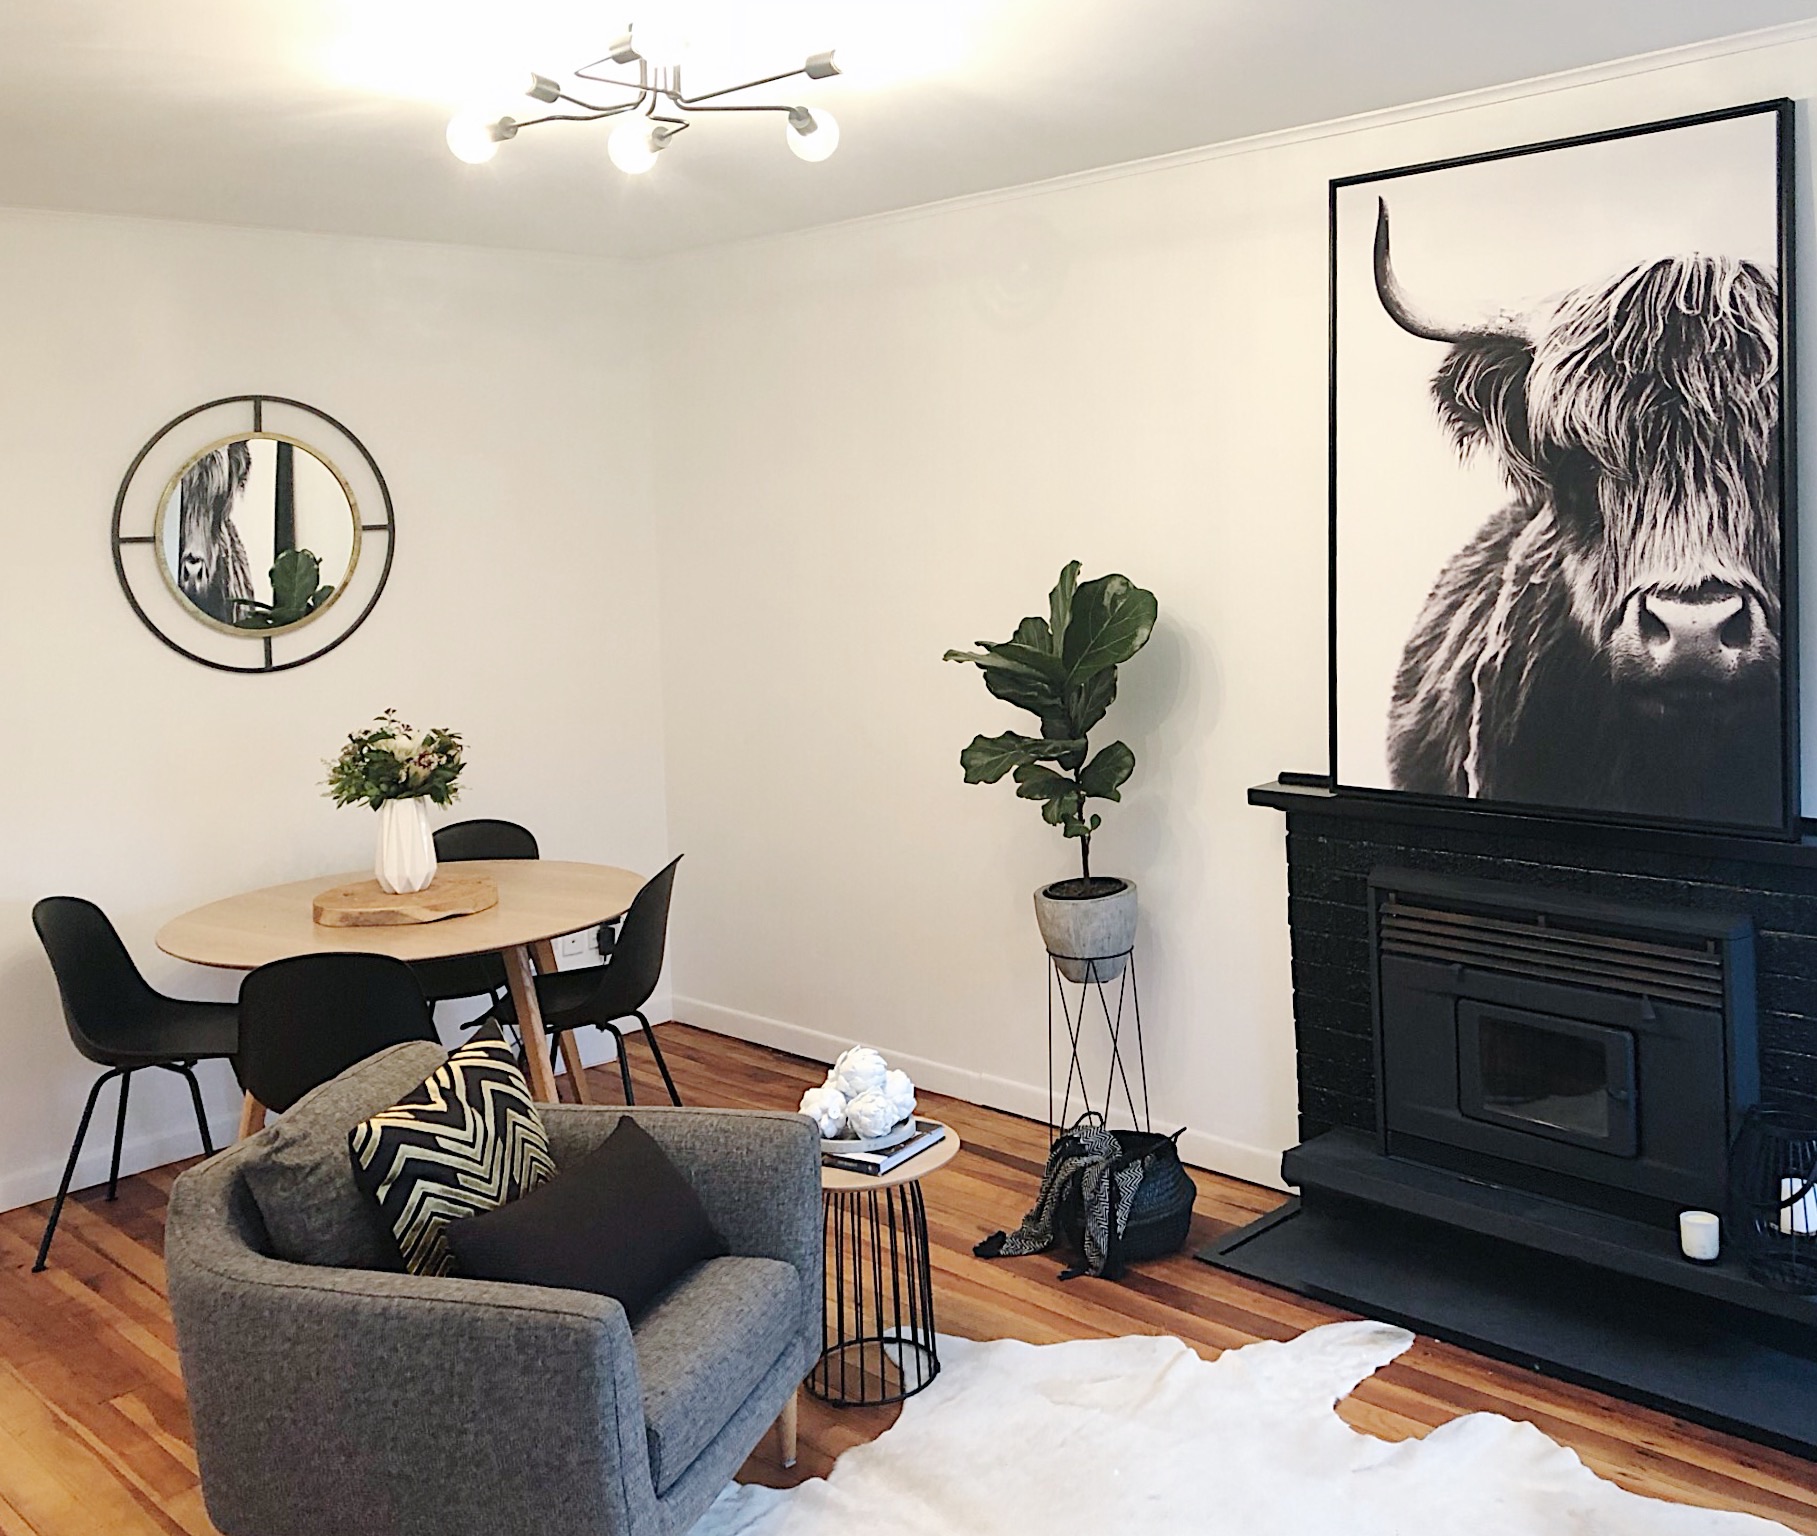
Experience has taught us a fair few things about renovation. Our next blog series we will show you the result of our renovation and three main objectives that made a fast and cost effective renovation possible. We will start with the living spaces, the lounge, dining, hallway, bathroom and laundry. So first the images and then our key advice and a full breakdown of costs and where it came from.
Work with what you have got
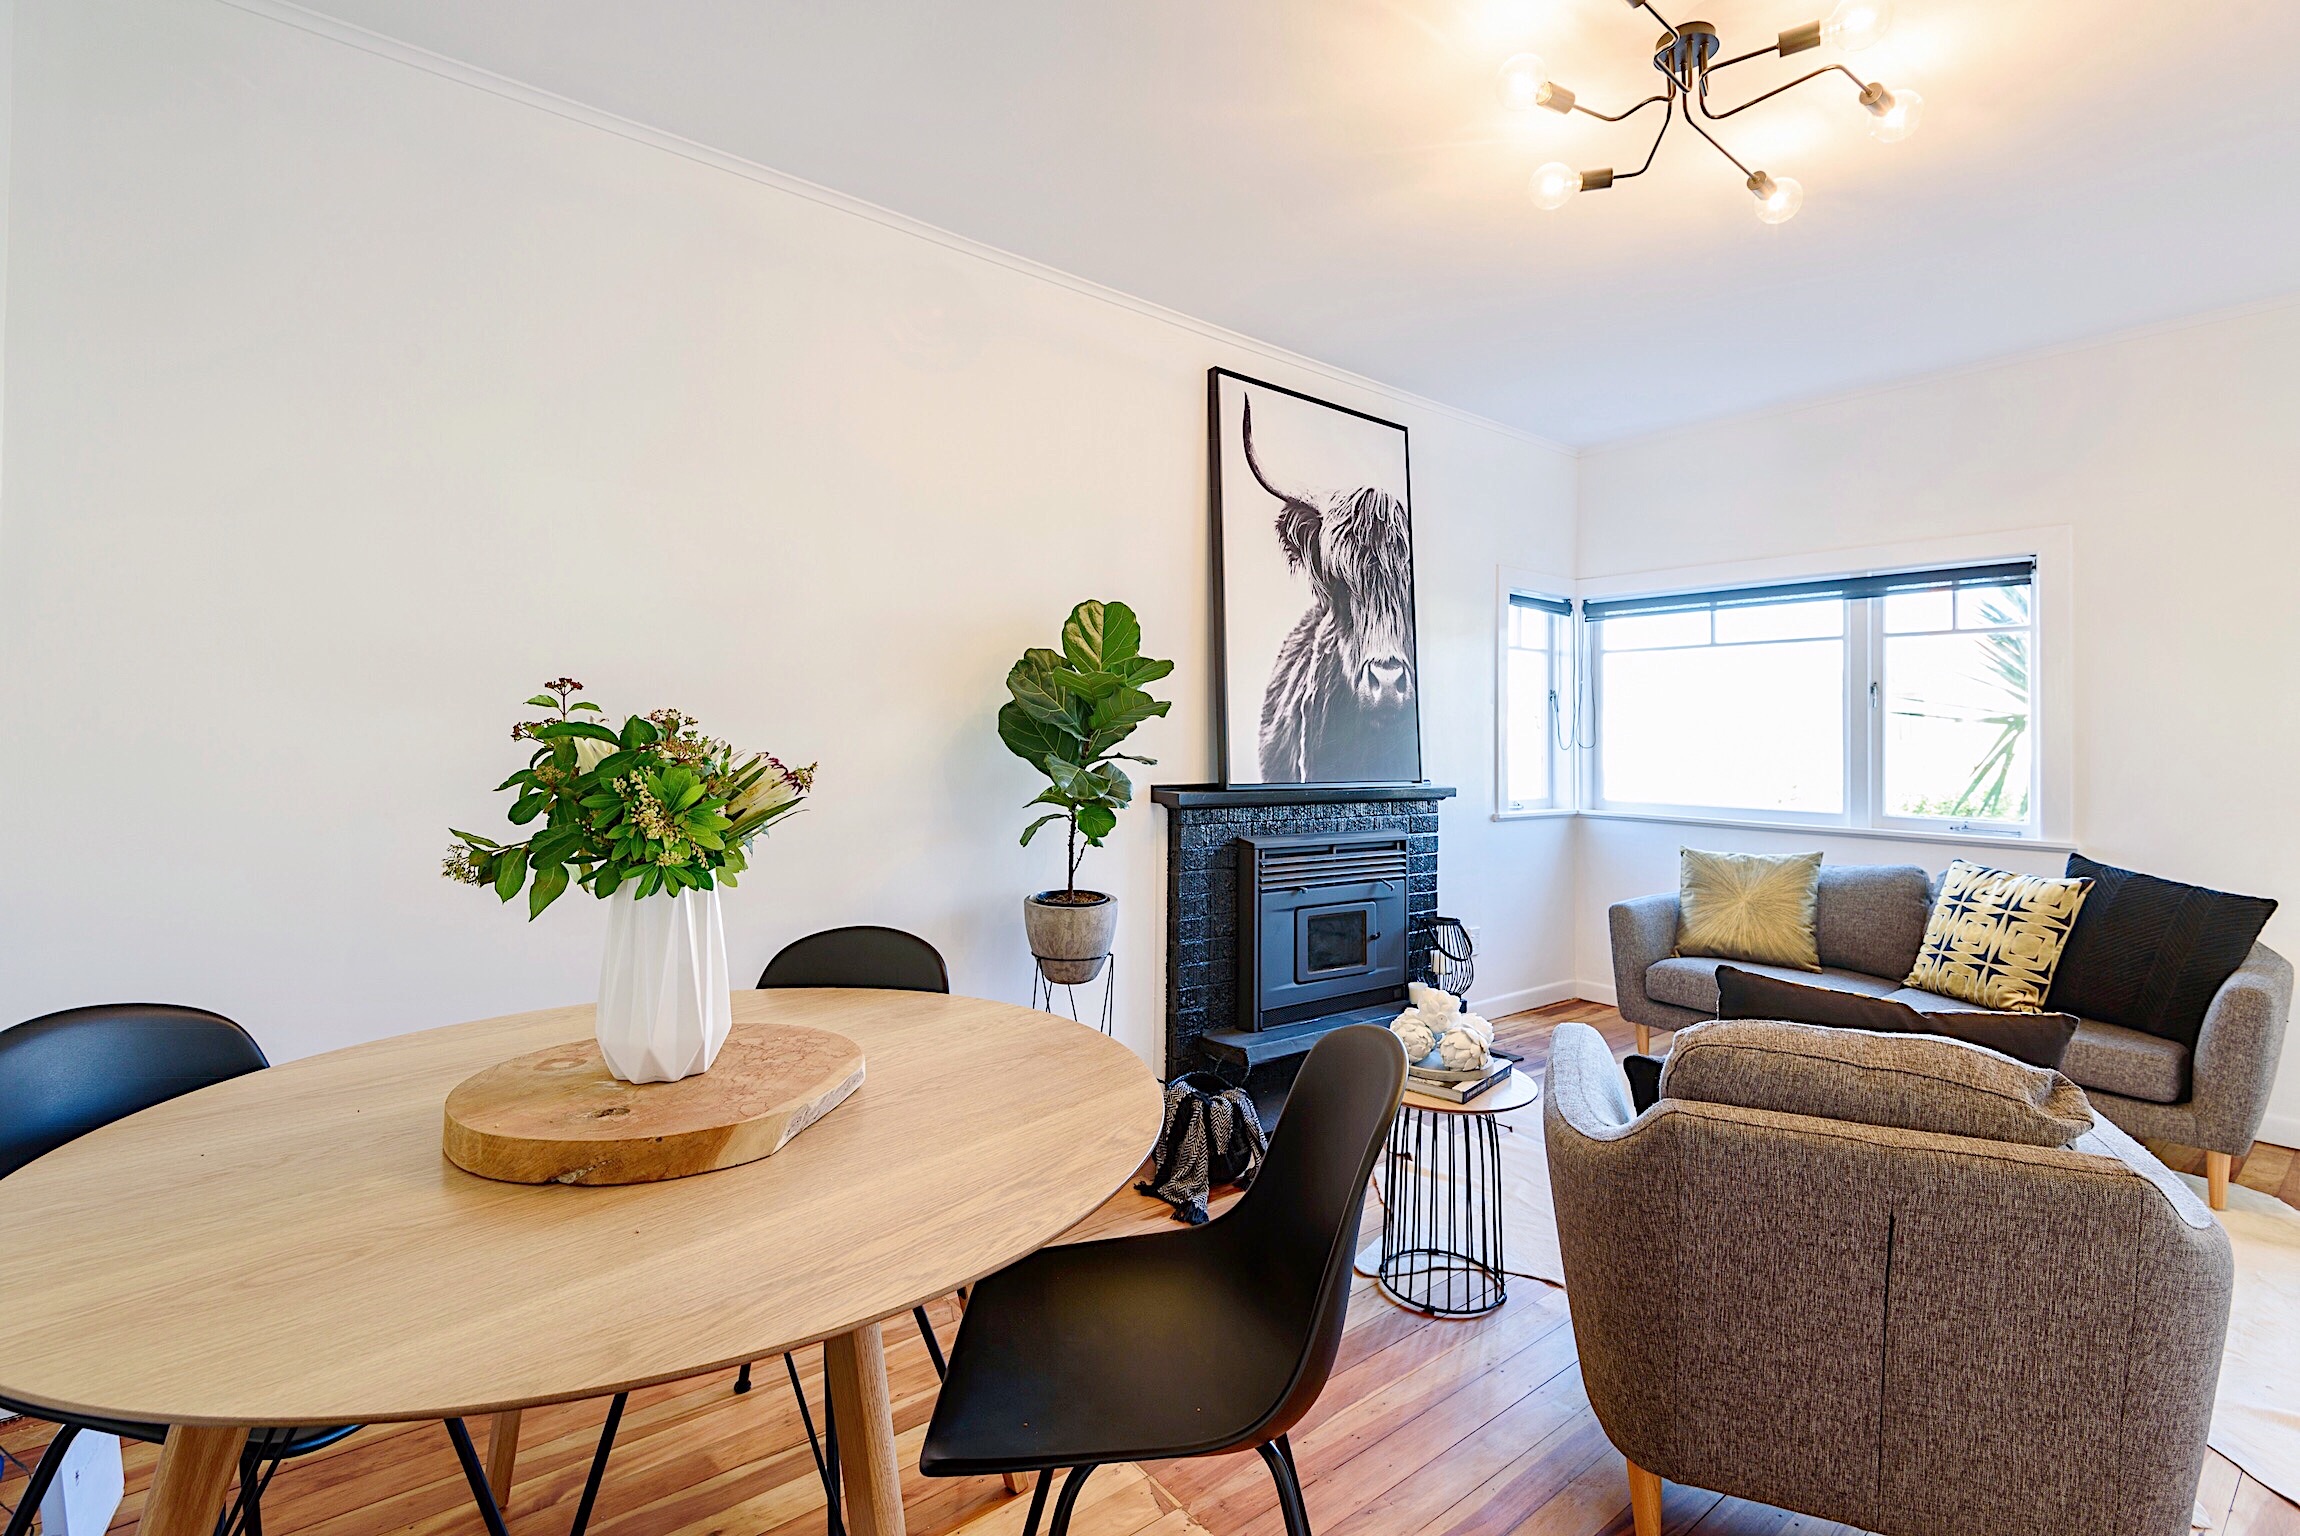
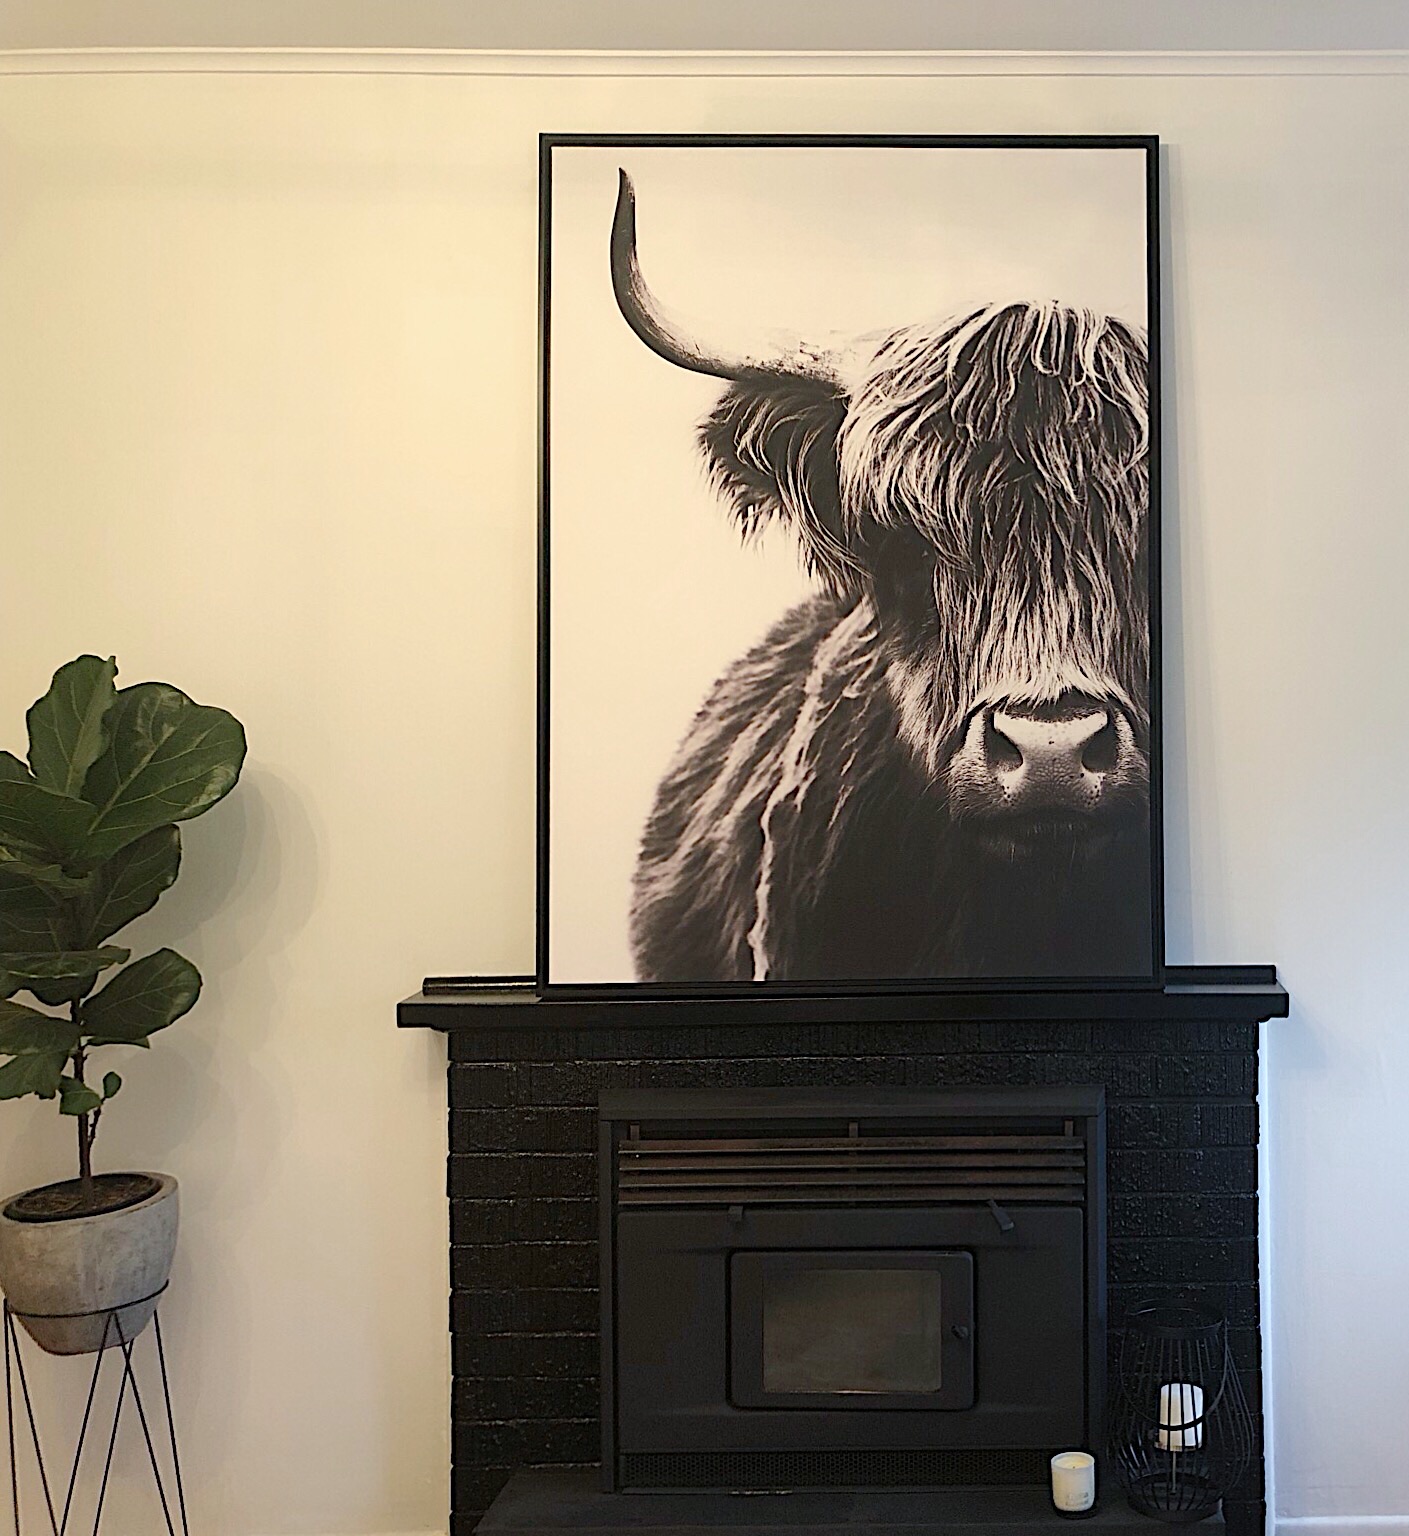
The simple strategy to a low budget renovation is not making any changes that will require trades. Our fireplace is a great example of this, it had to be replaced due to damage. If we repaired/replaced the fireplace or removed it completely, it would mean money we didn’t want to spend and would delay our schedule, so we decided to leave it. What we did do however was give it a full makeover, painting both the fireplace and surround making it a statement in the living space.
With the team at Active Floor Sanding Services we restored the old floorboards and had them oiled. The floorboards weren’t perfect but keeping the original flooring meant we saved cost and it was completely restored in 4 days.
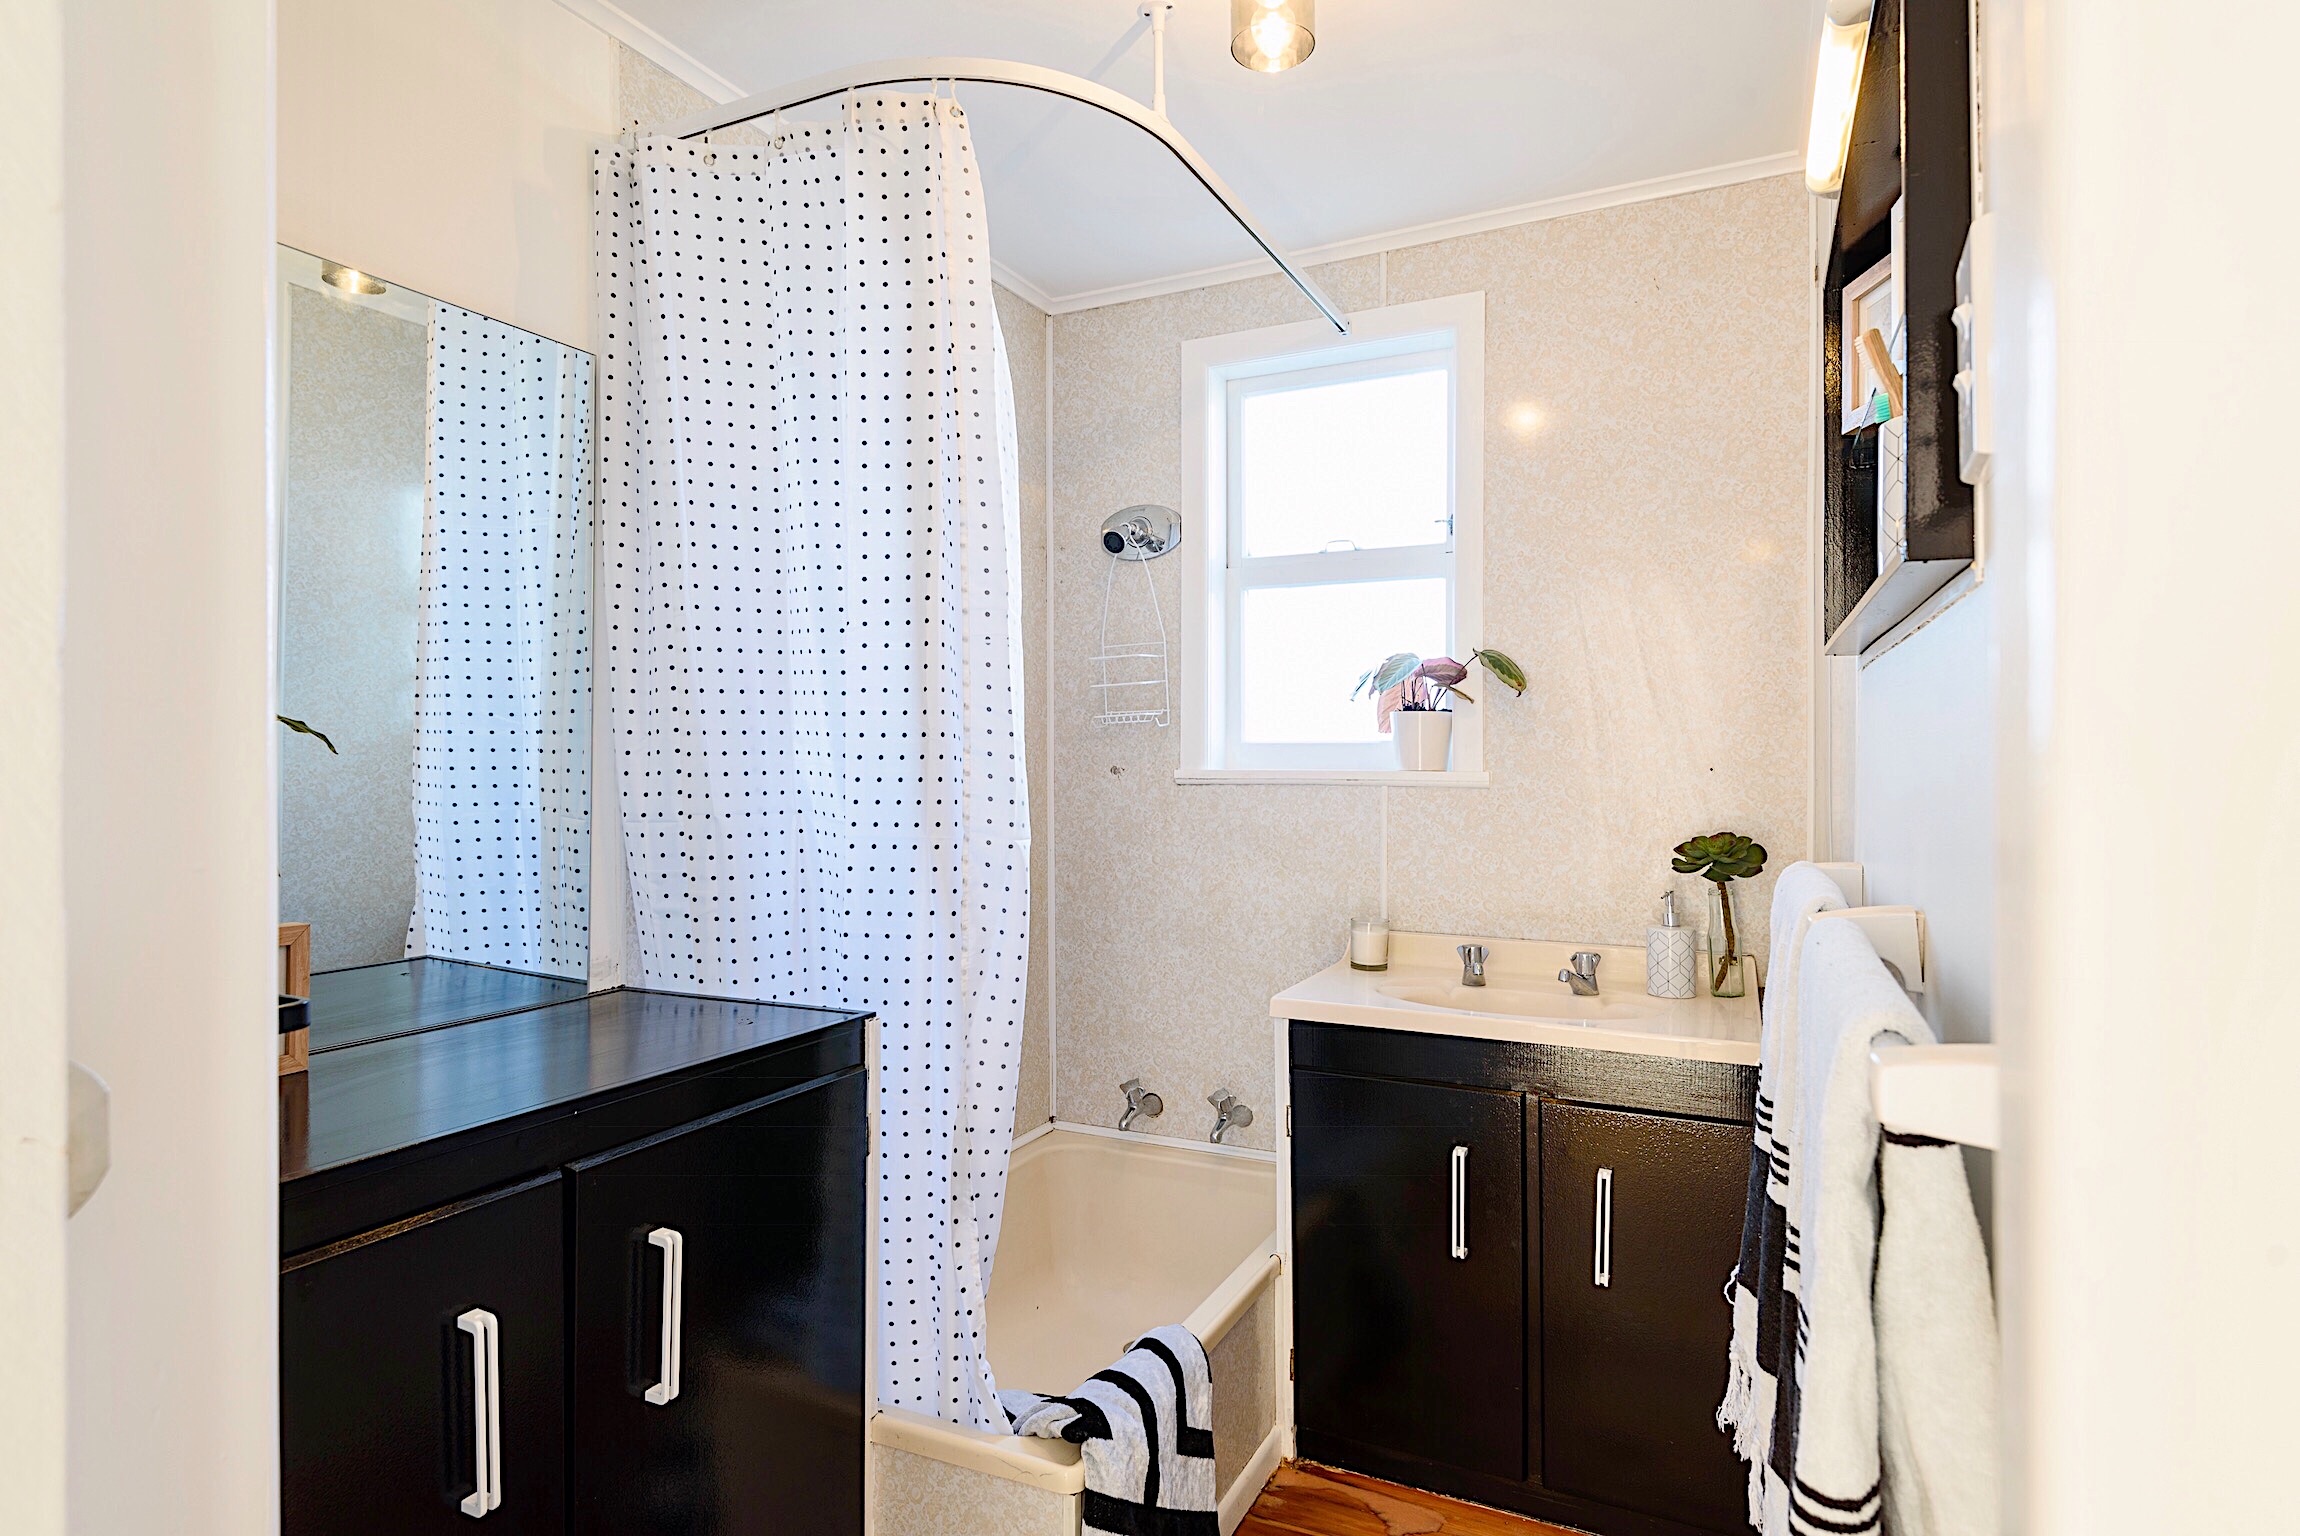
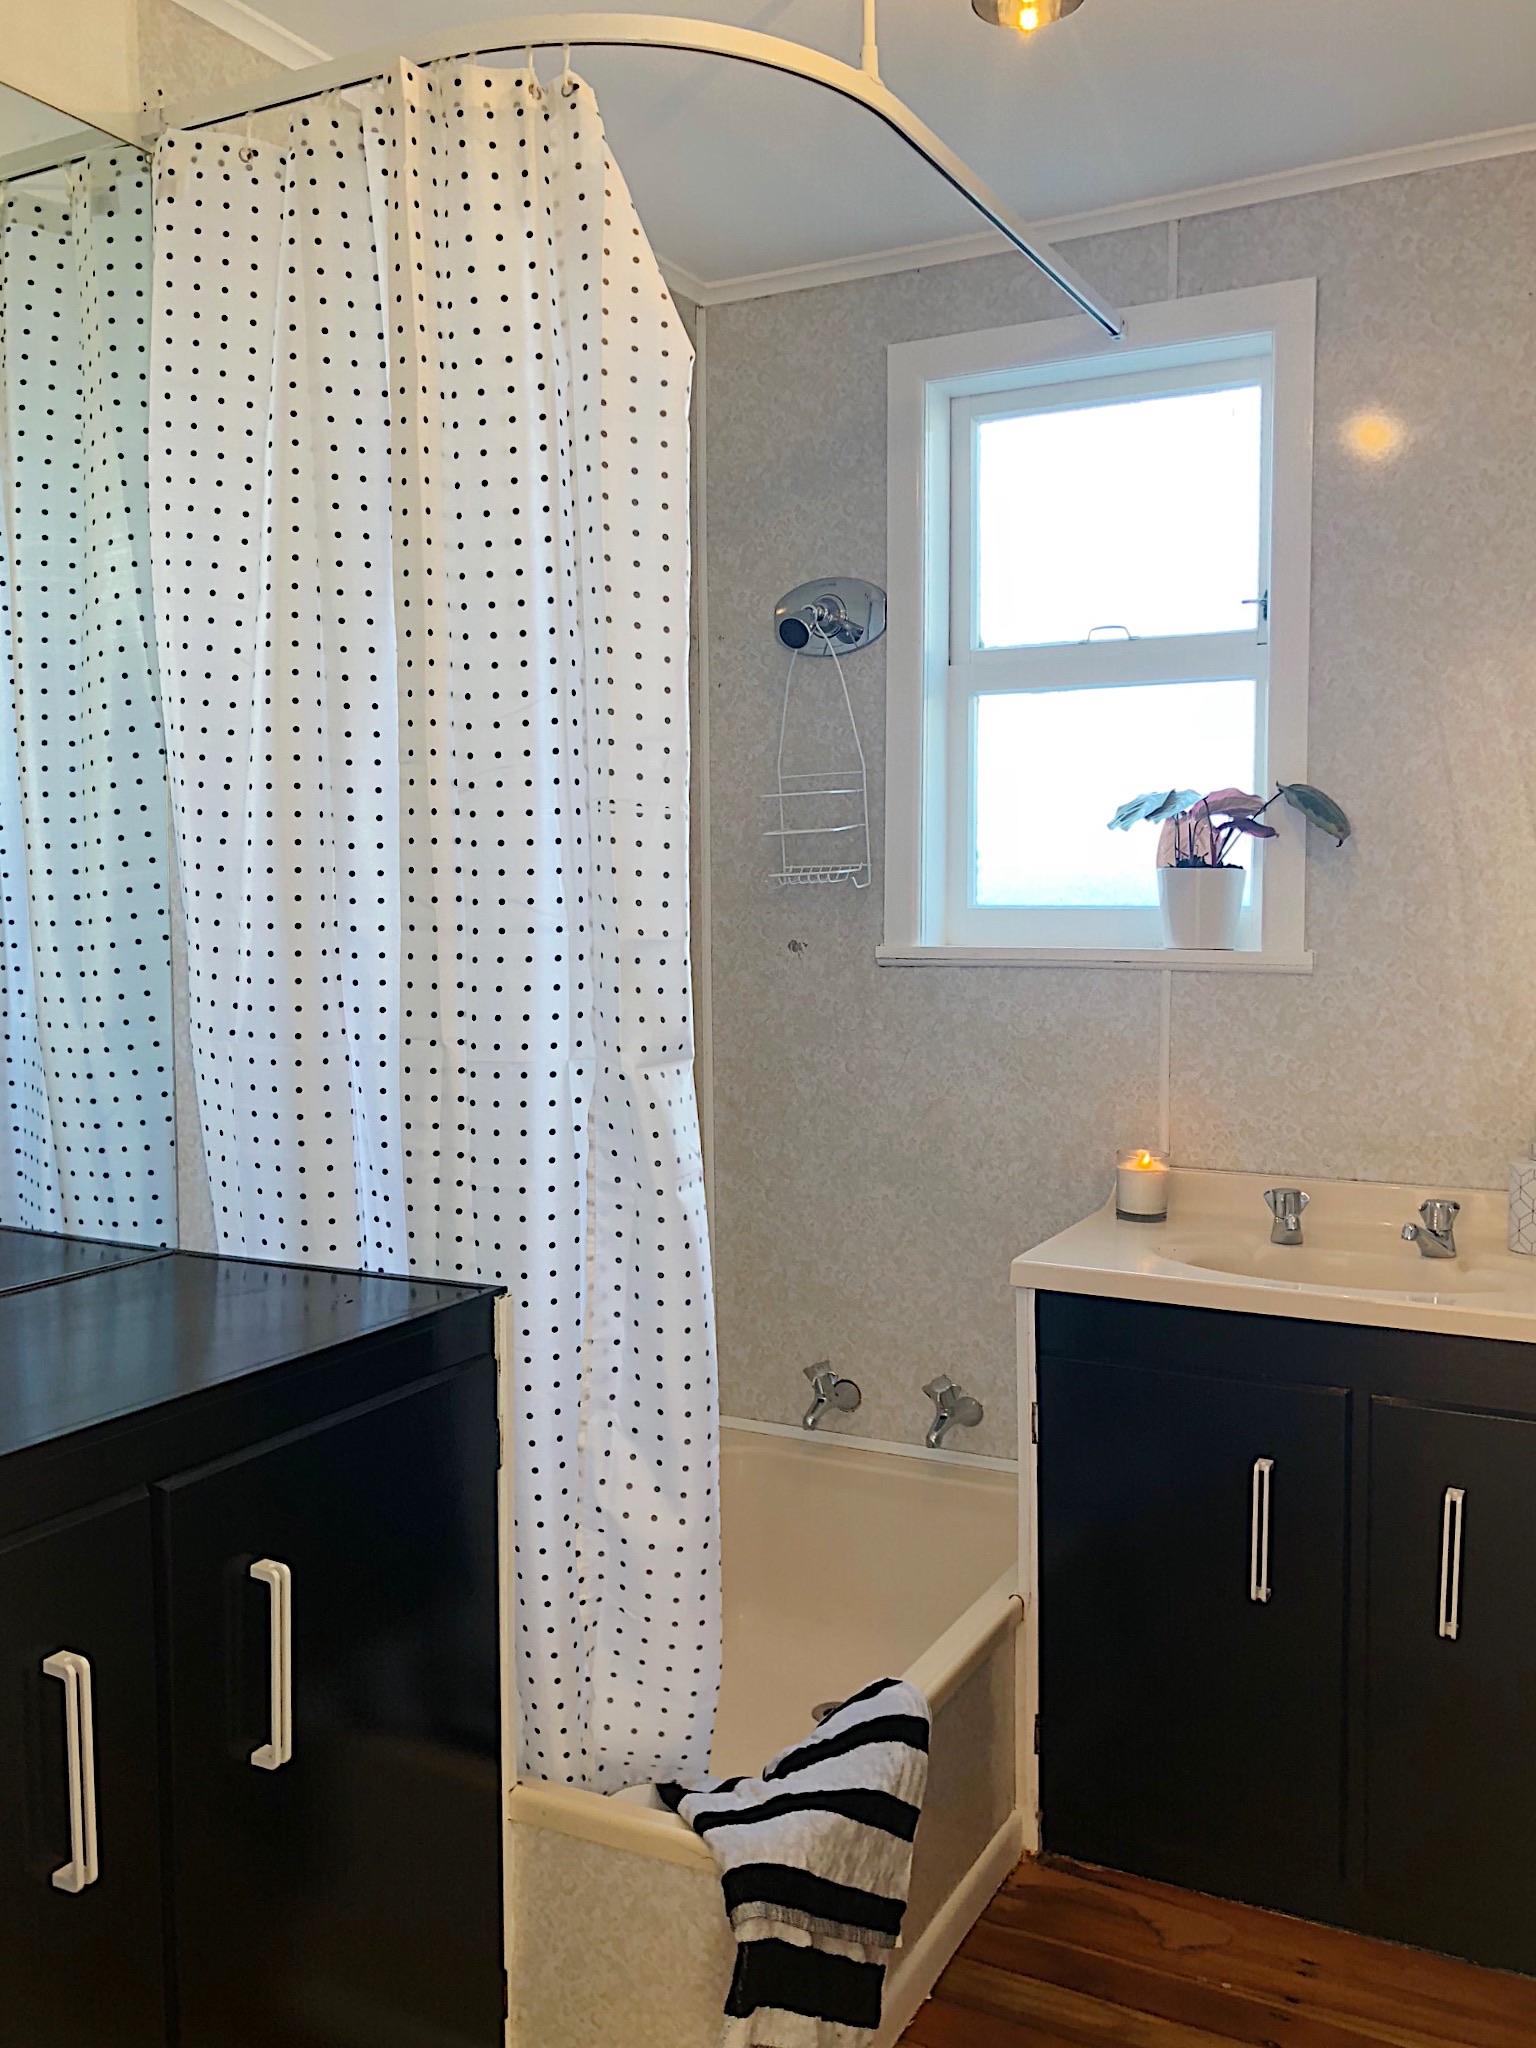
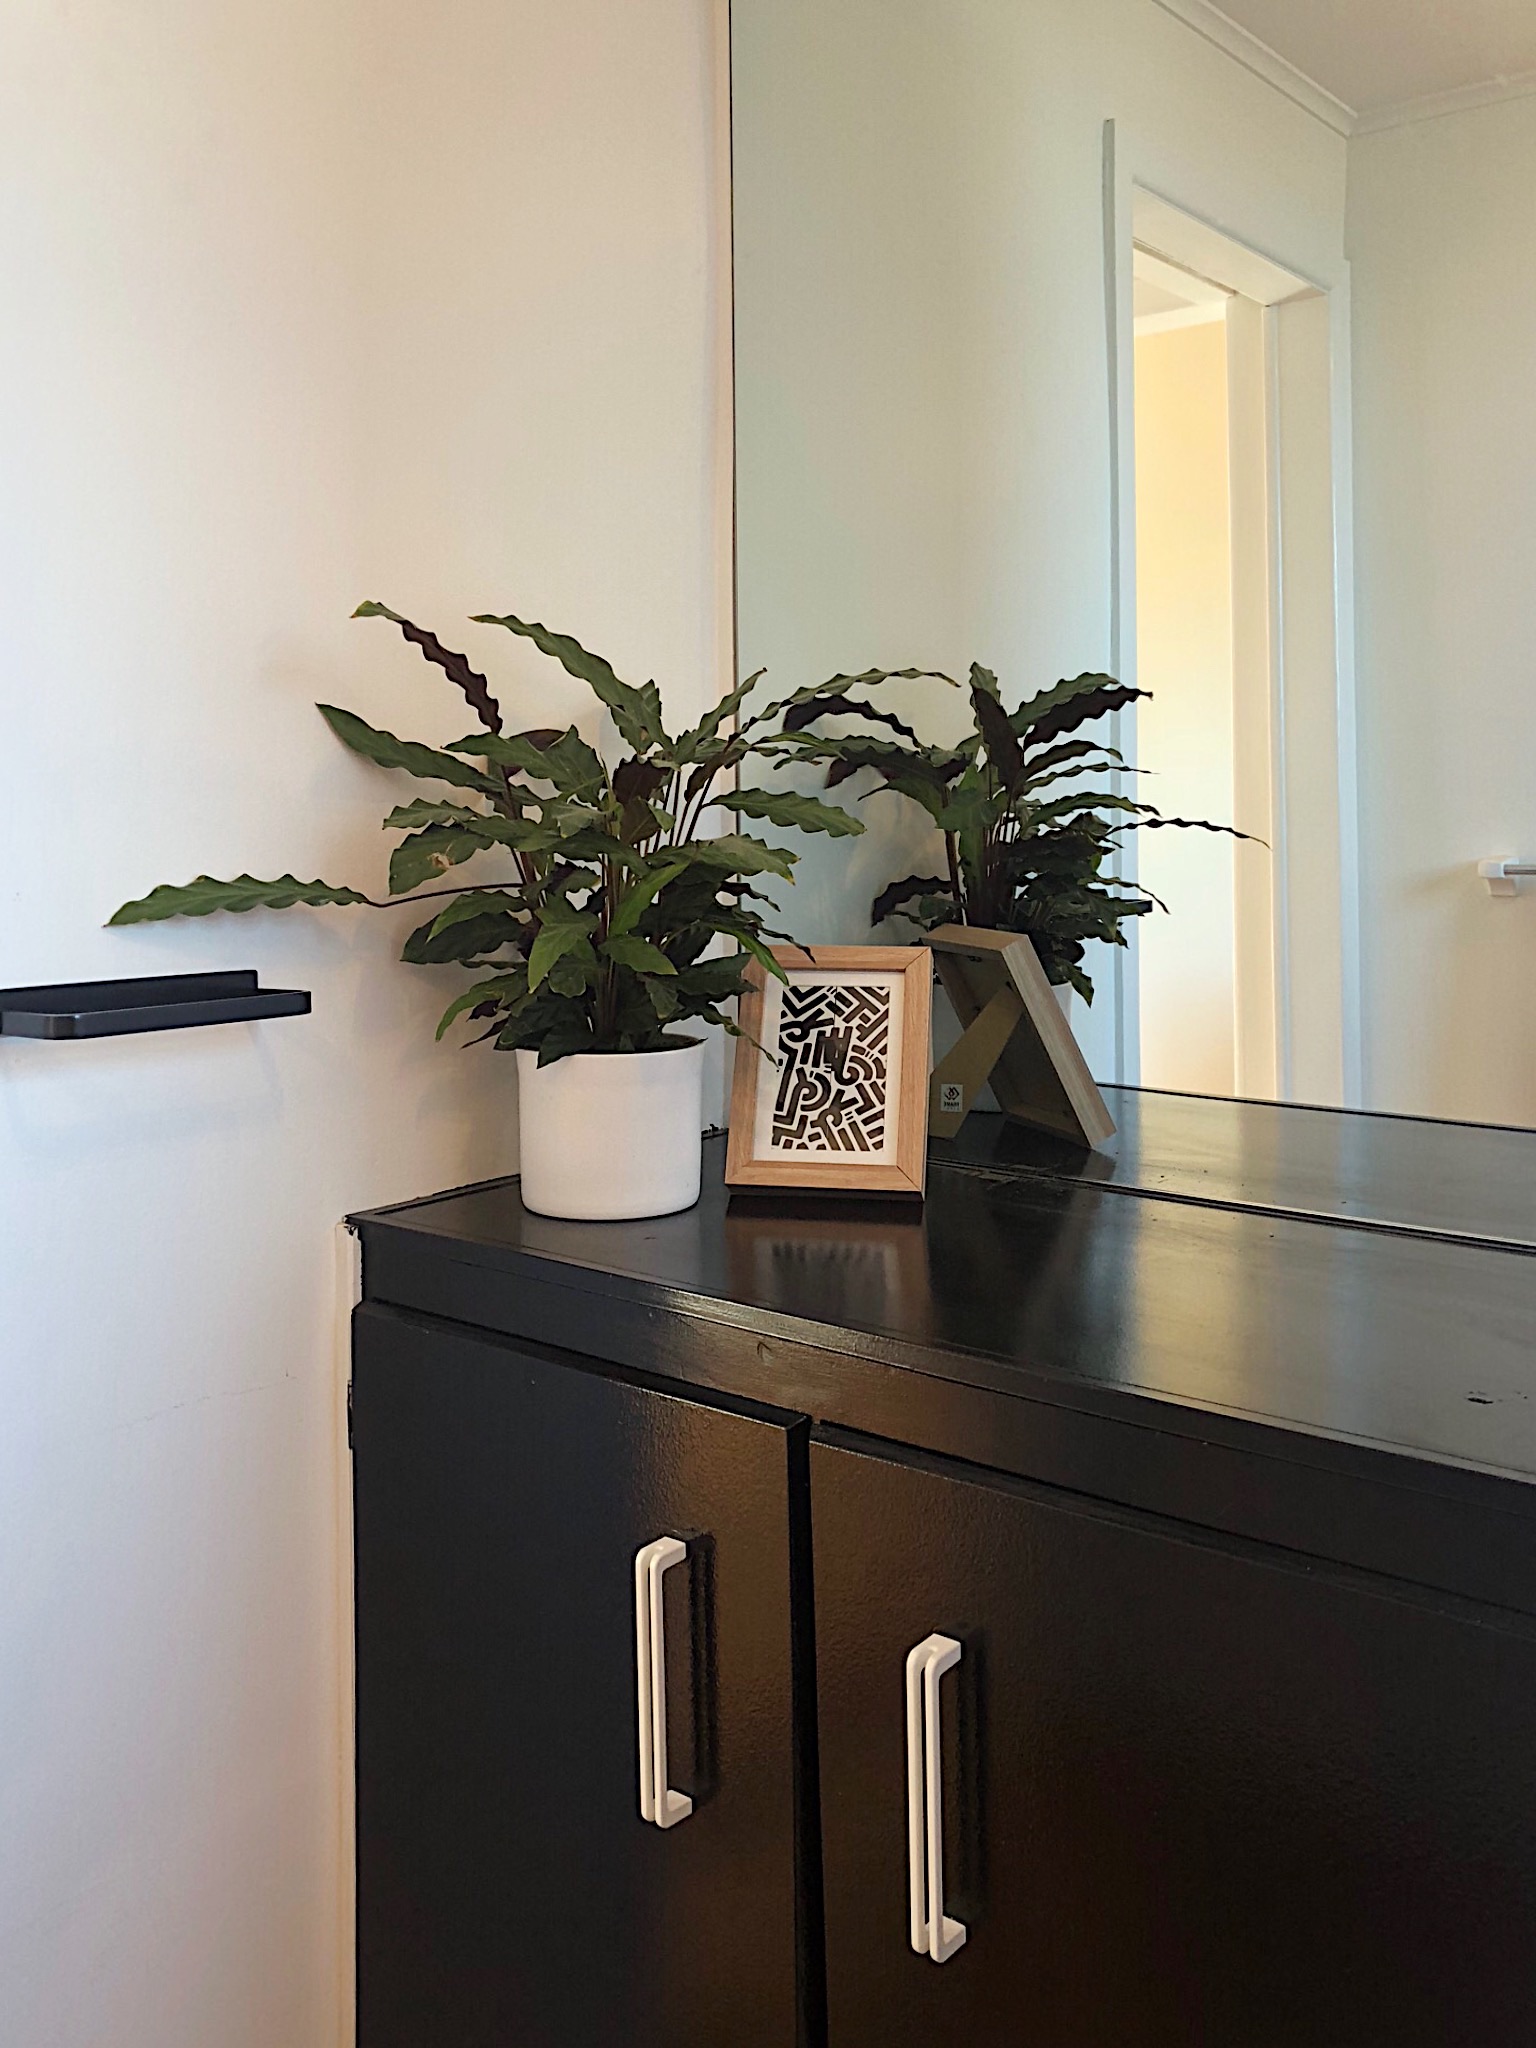
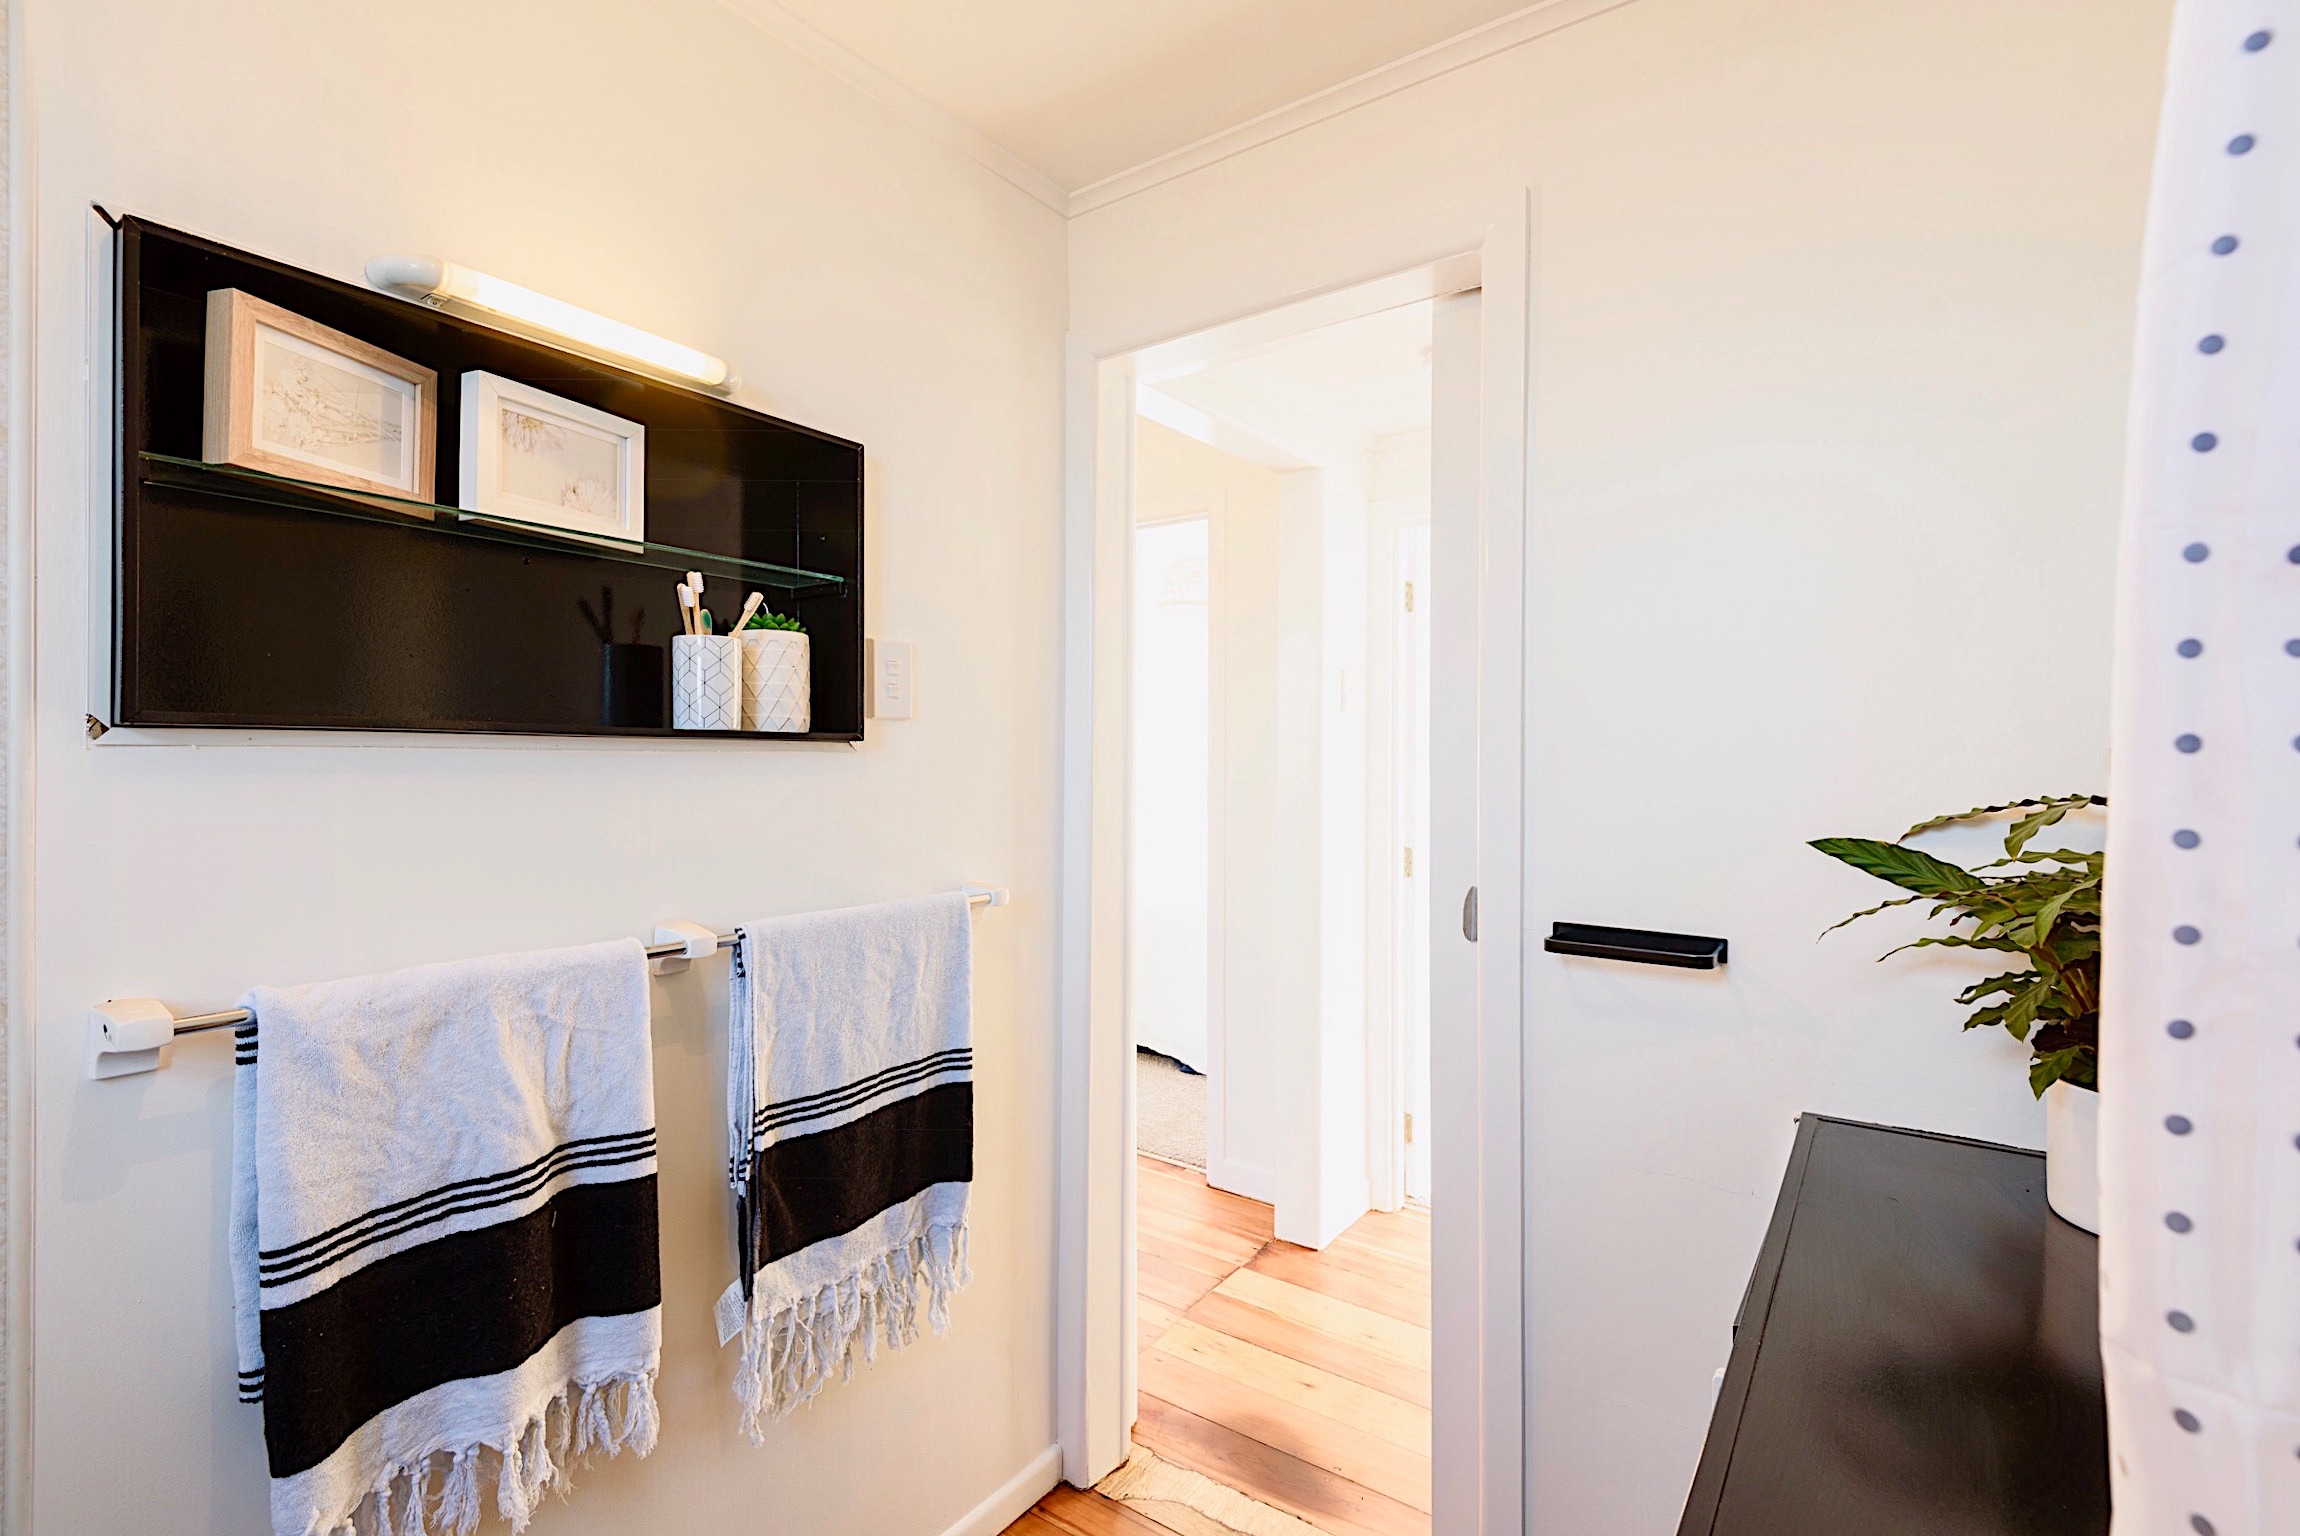
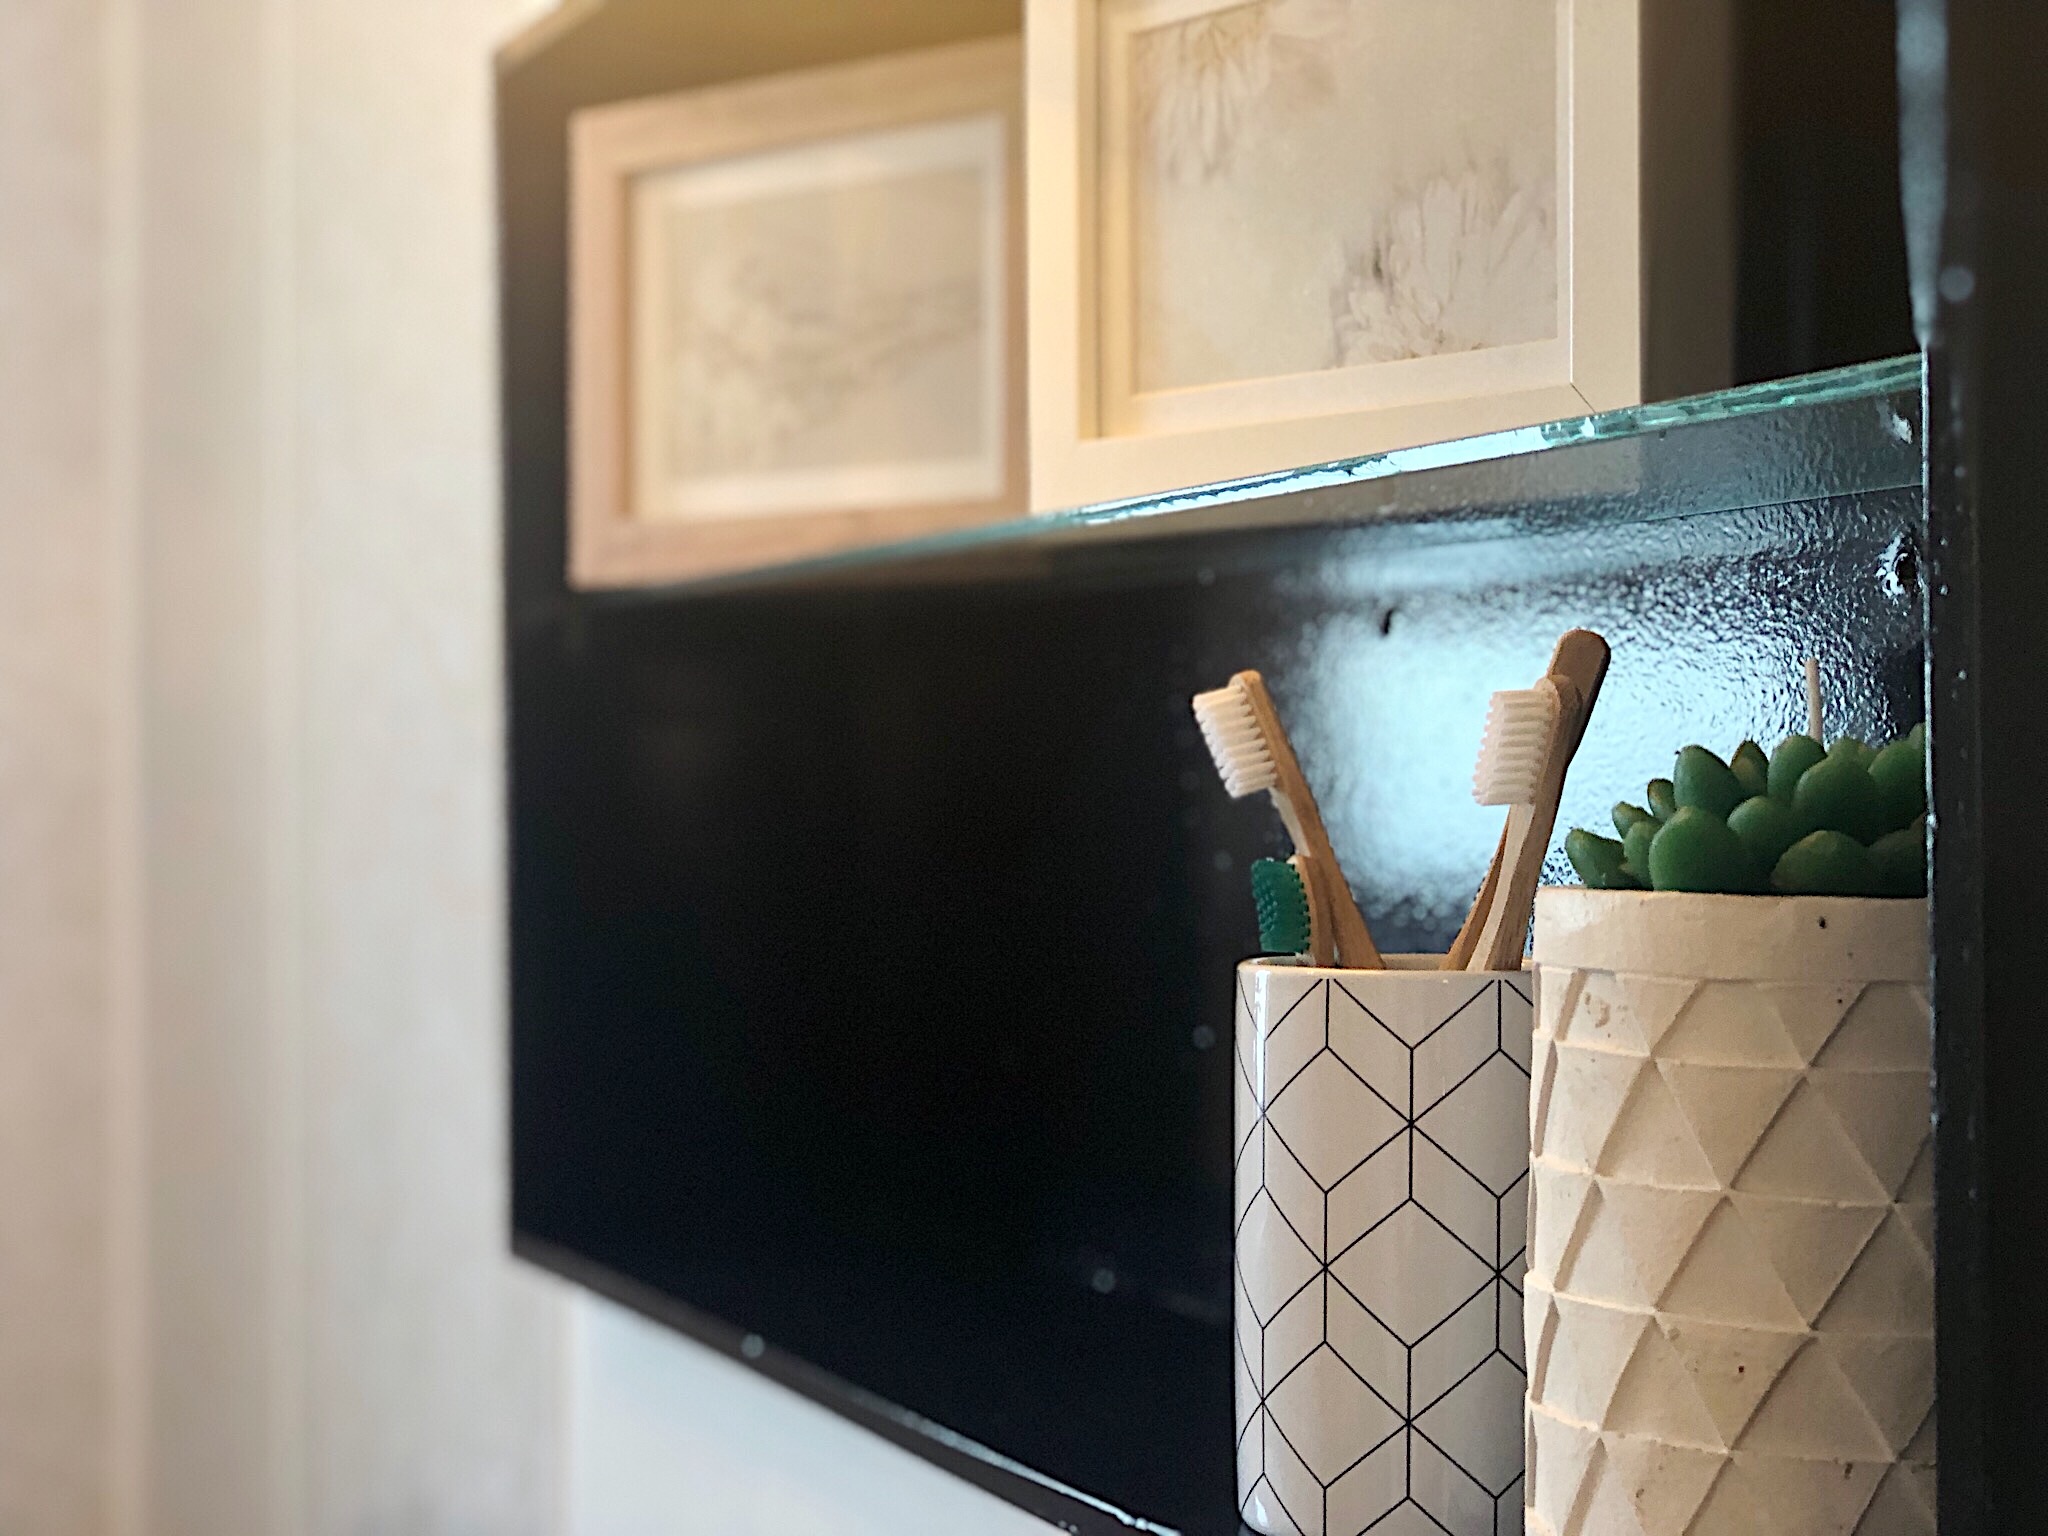
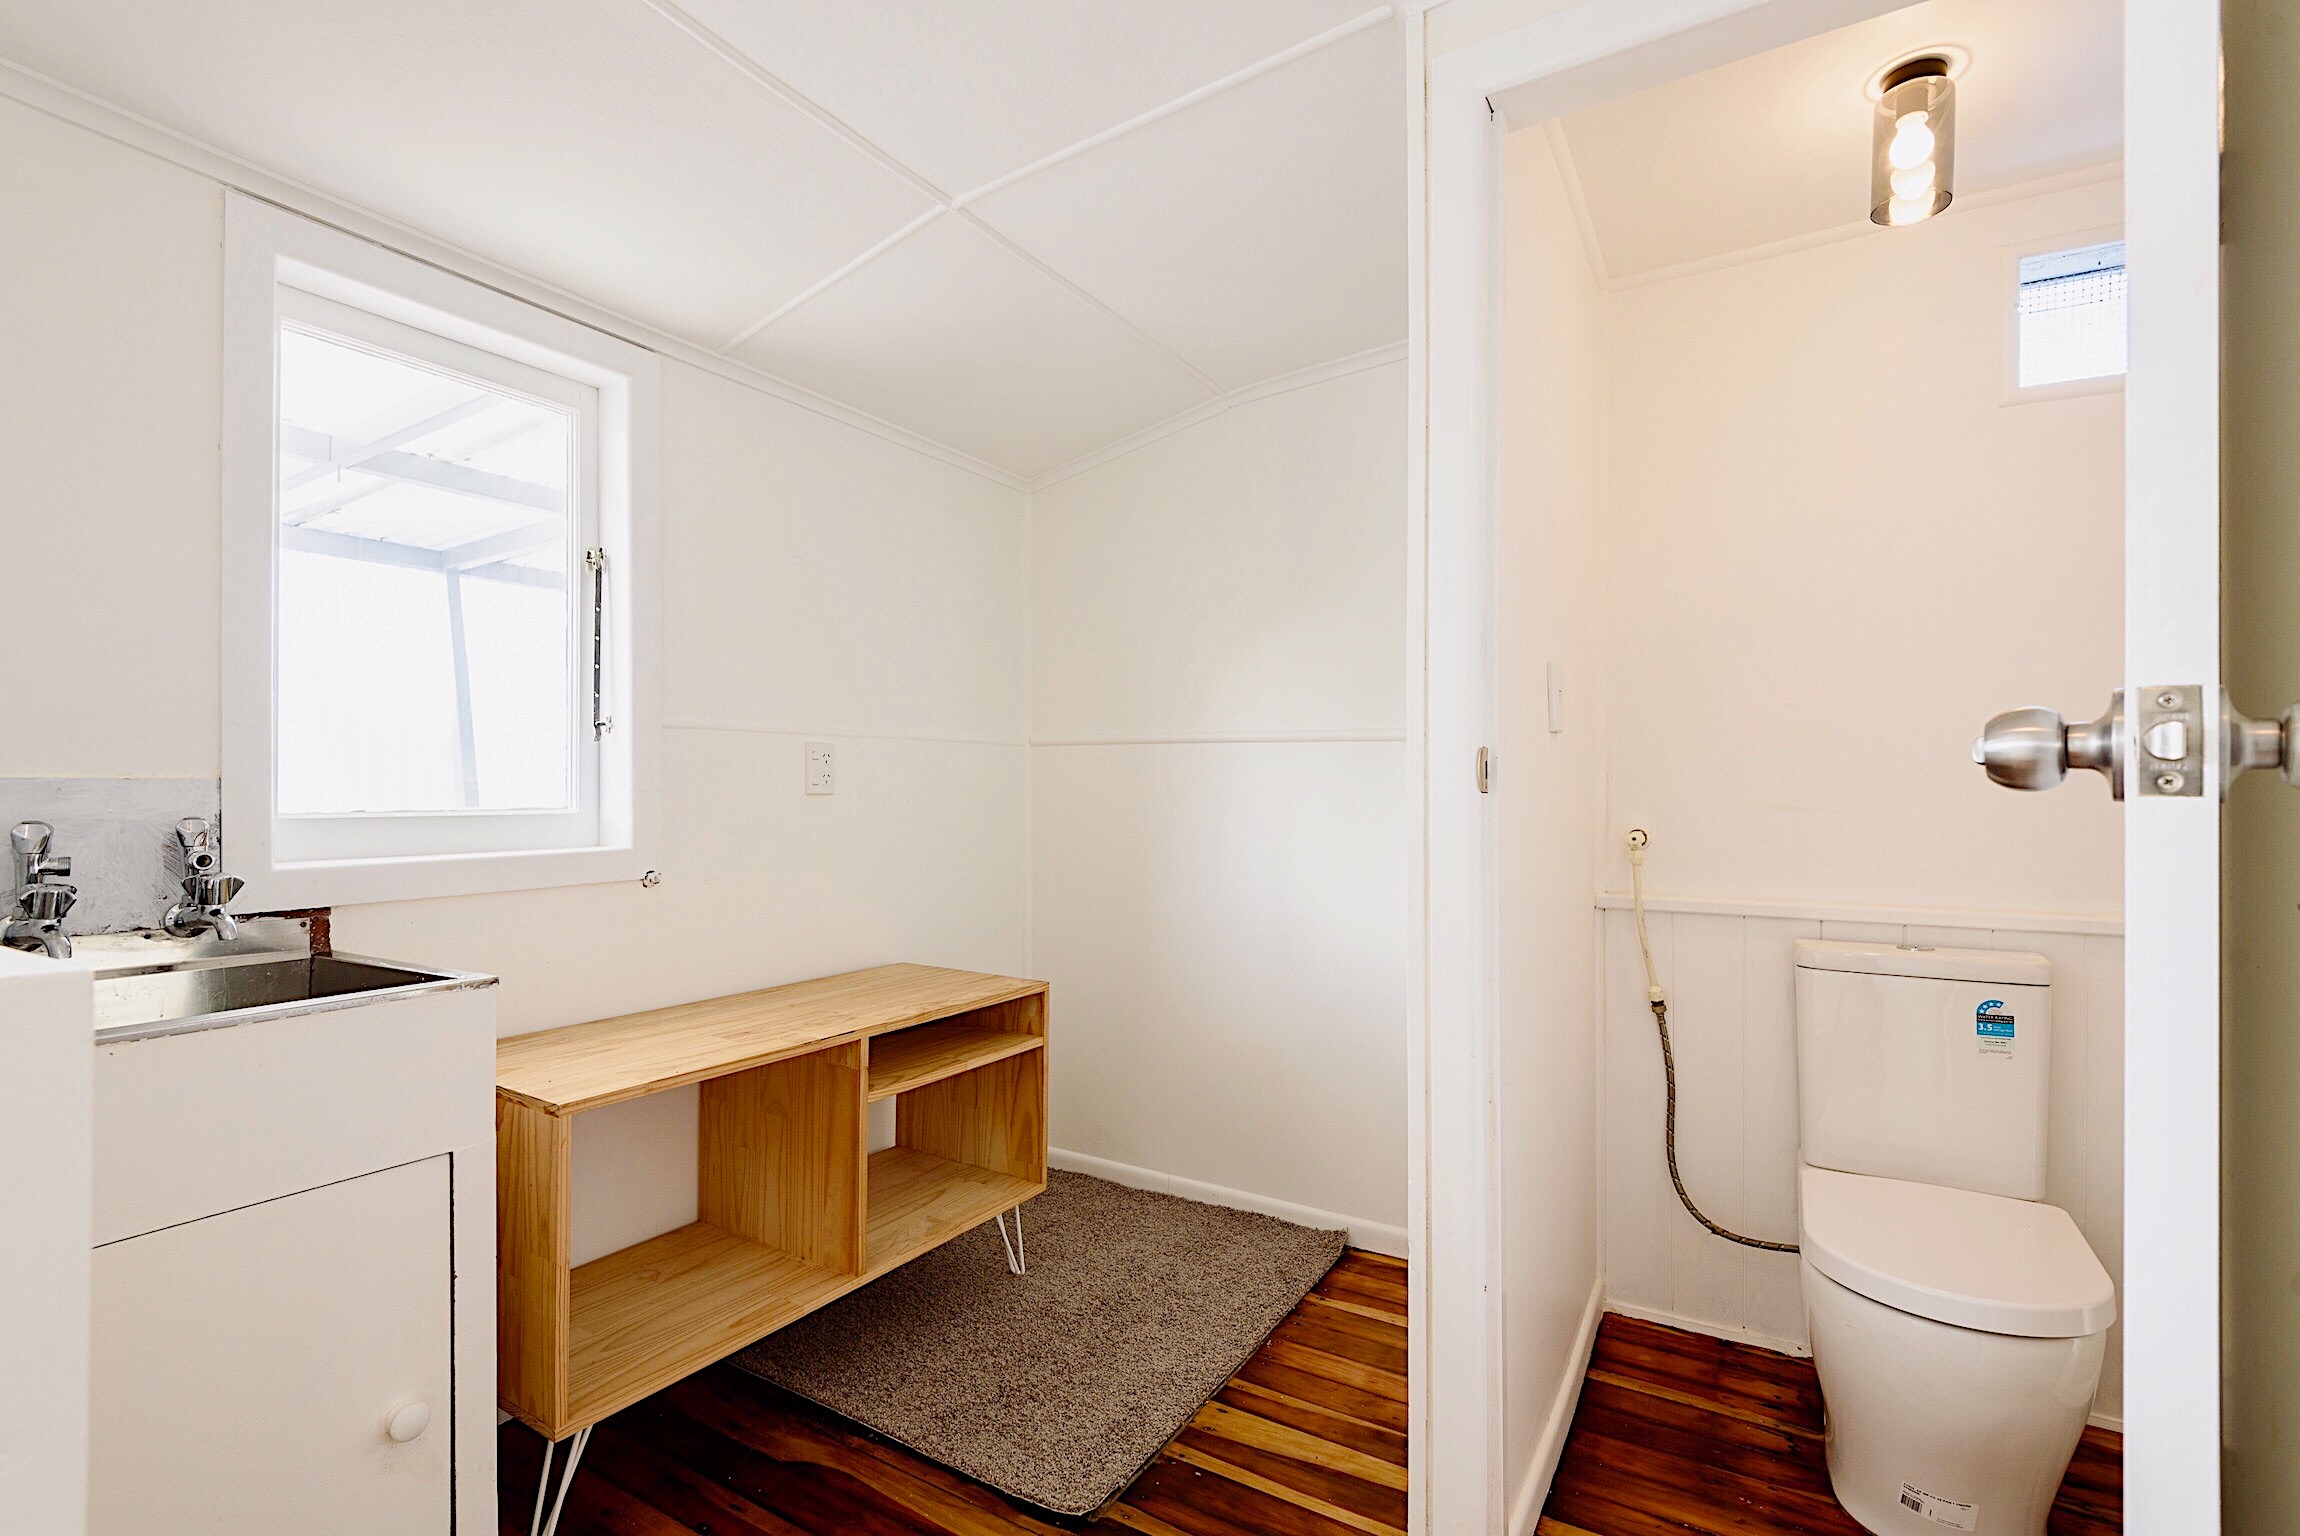
It was the same with the bathroom, as hard as it not demo it and start again, we kept what we had and tried to make it look as good as possible (no small feat I may add). It was the small details we changed, like painting the whole room including the vanity, storage and recess shelf. We also added little touches like new handles, a large mirror and a new shower curtain.

Keep it light and bright
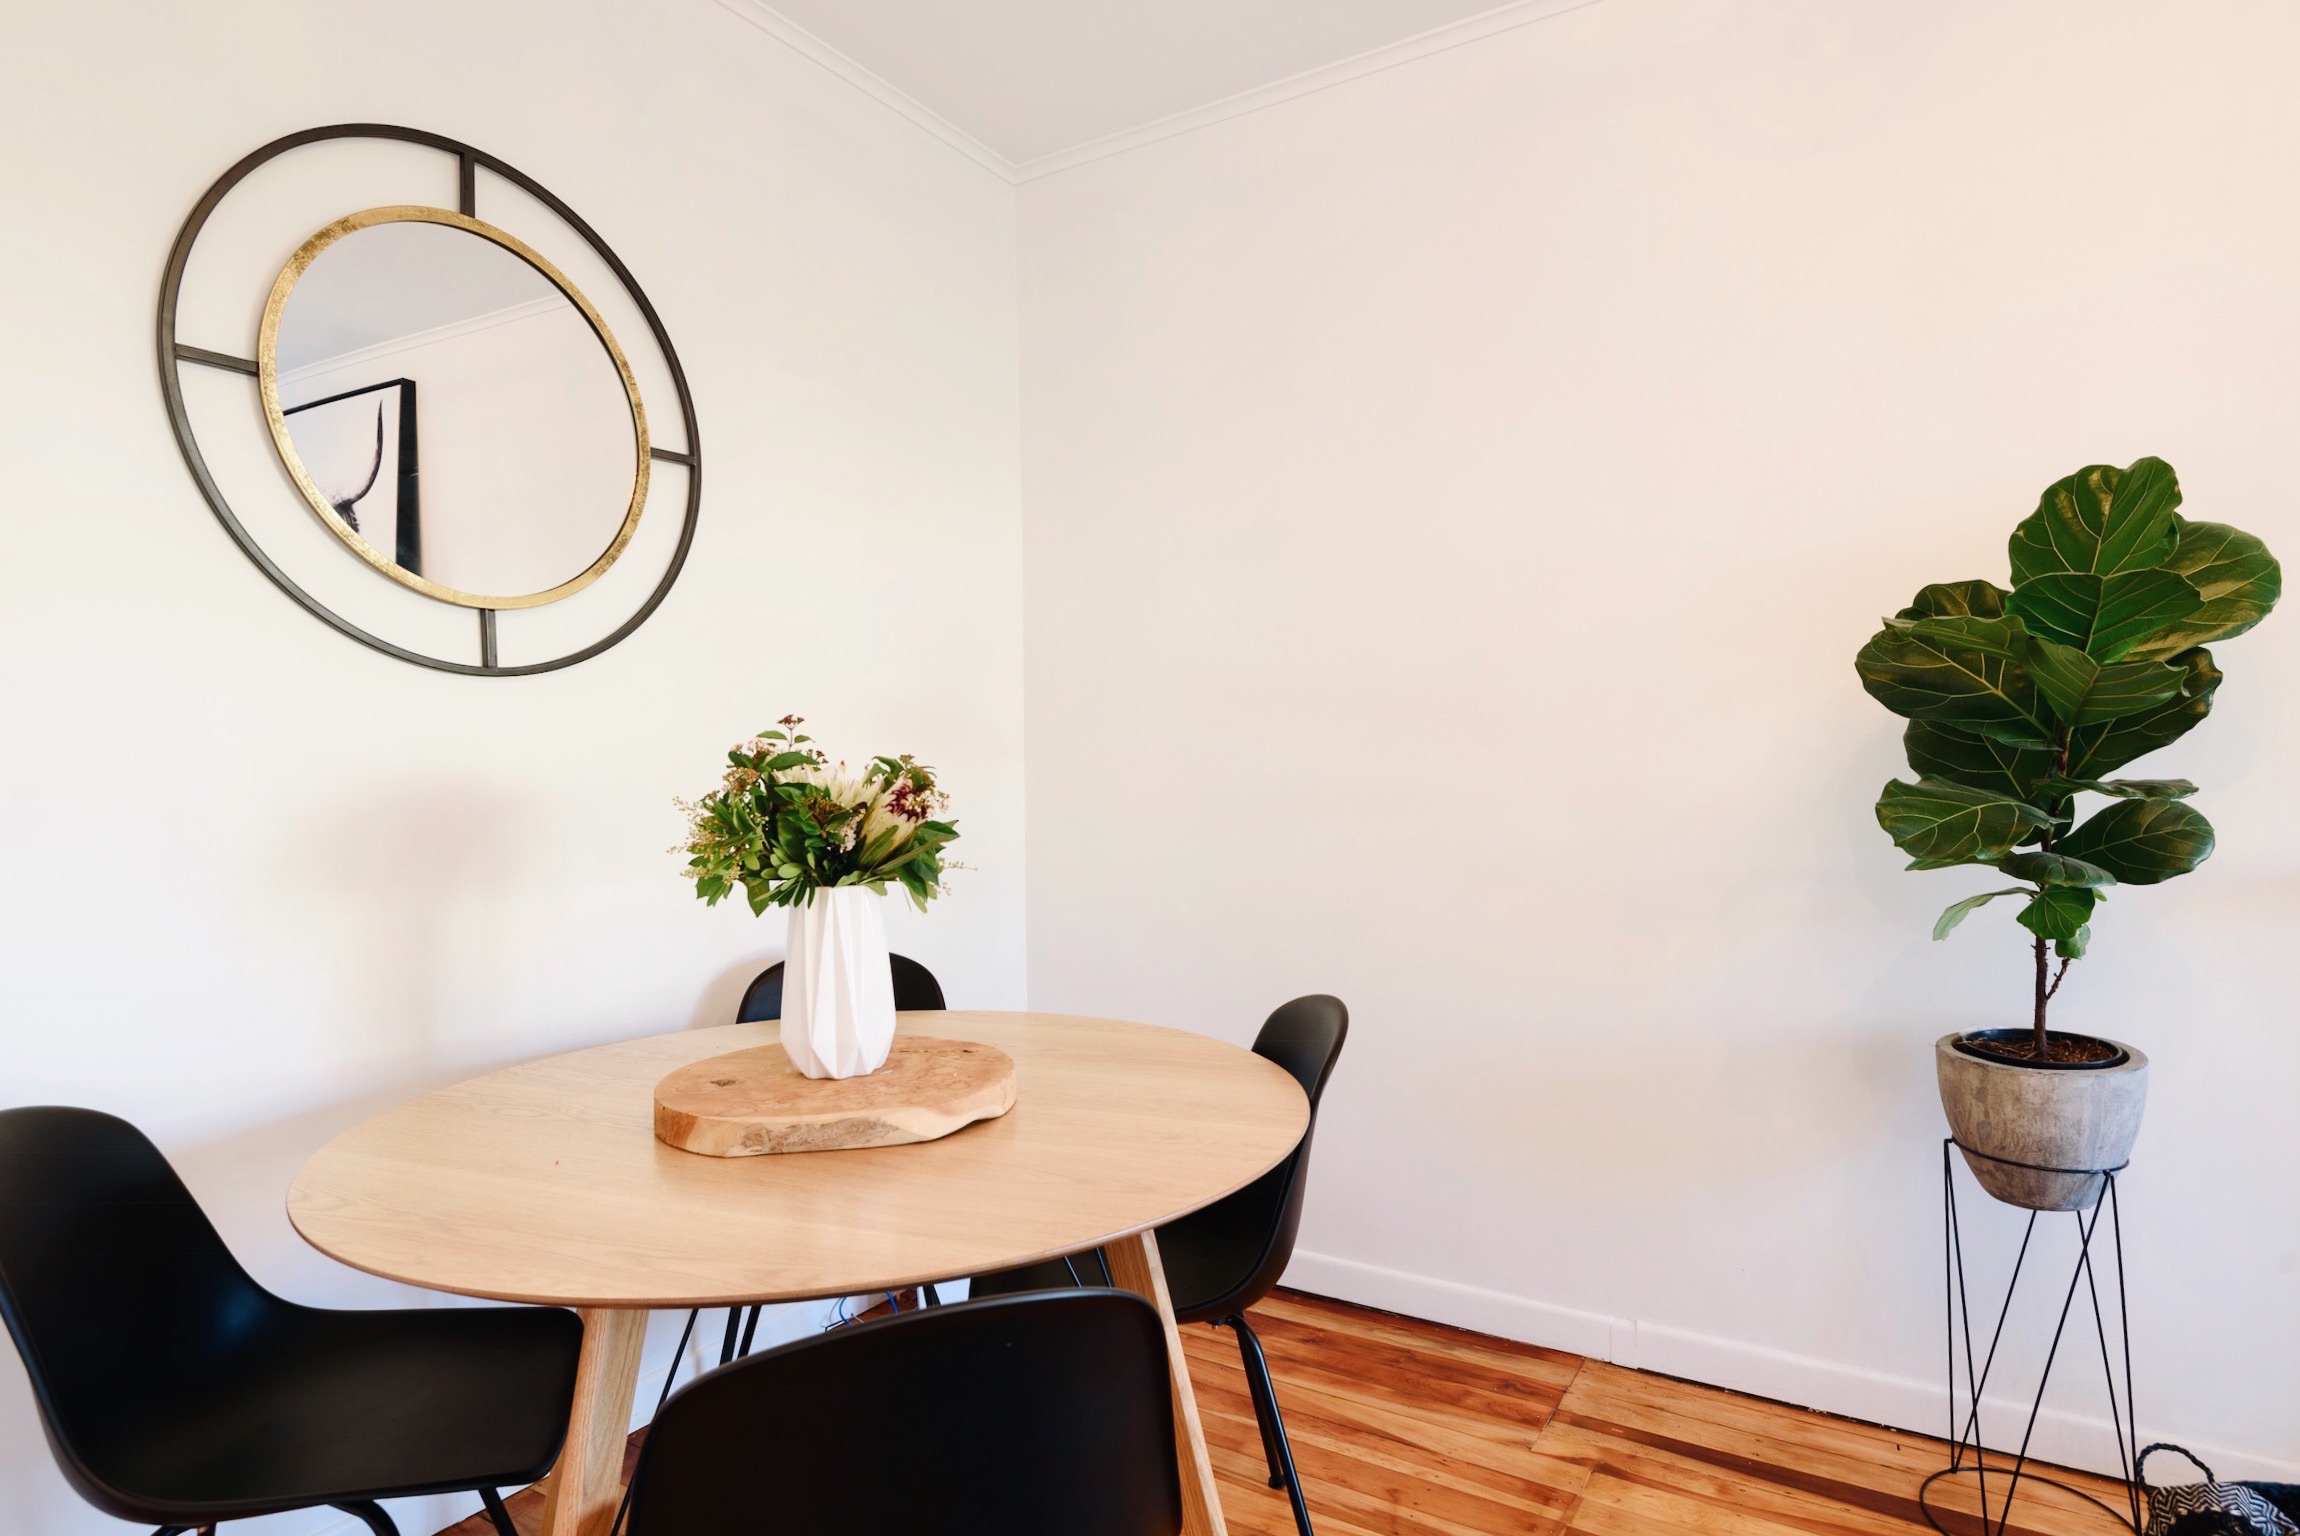
When you are trying to save your time and money, don’t underestimate the value of designing spaces that feel open and full of light. Your selections in terms of colour schemes, lighting and window furnishings create that feeling - so you need to be diligent in your design process.
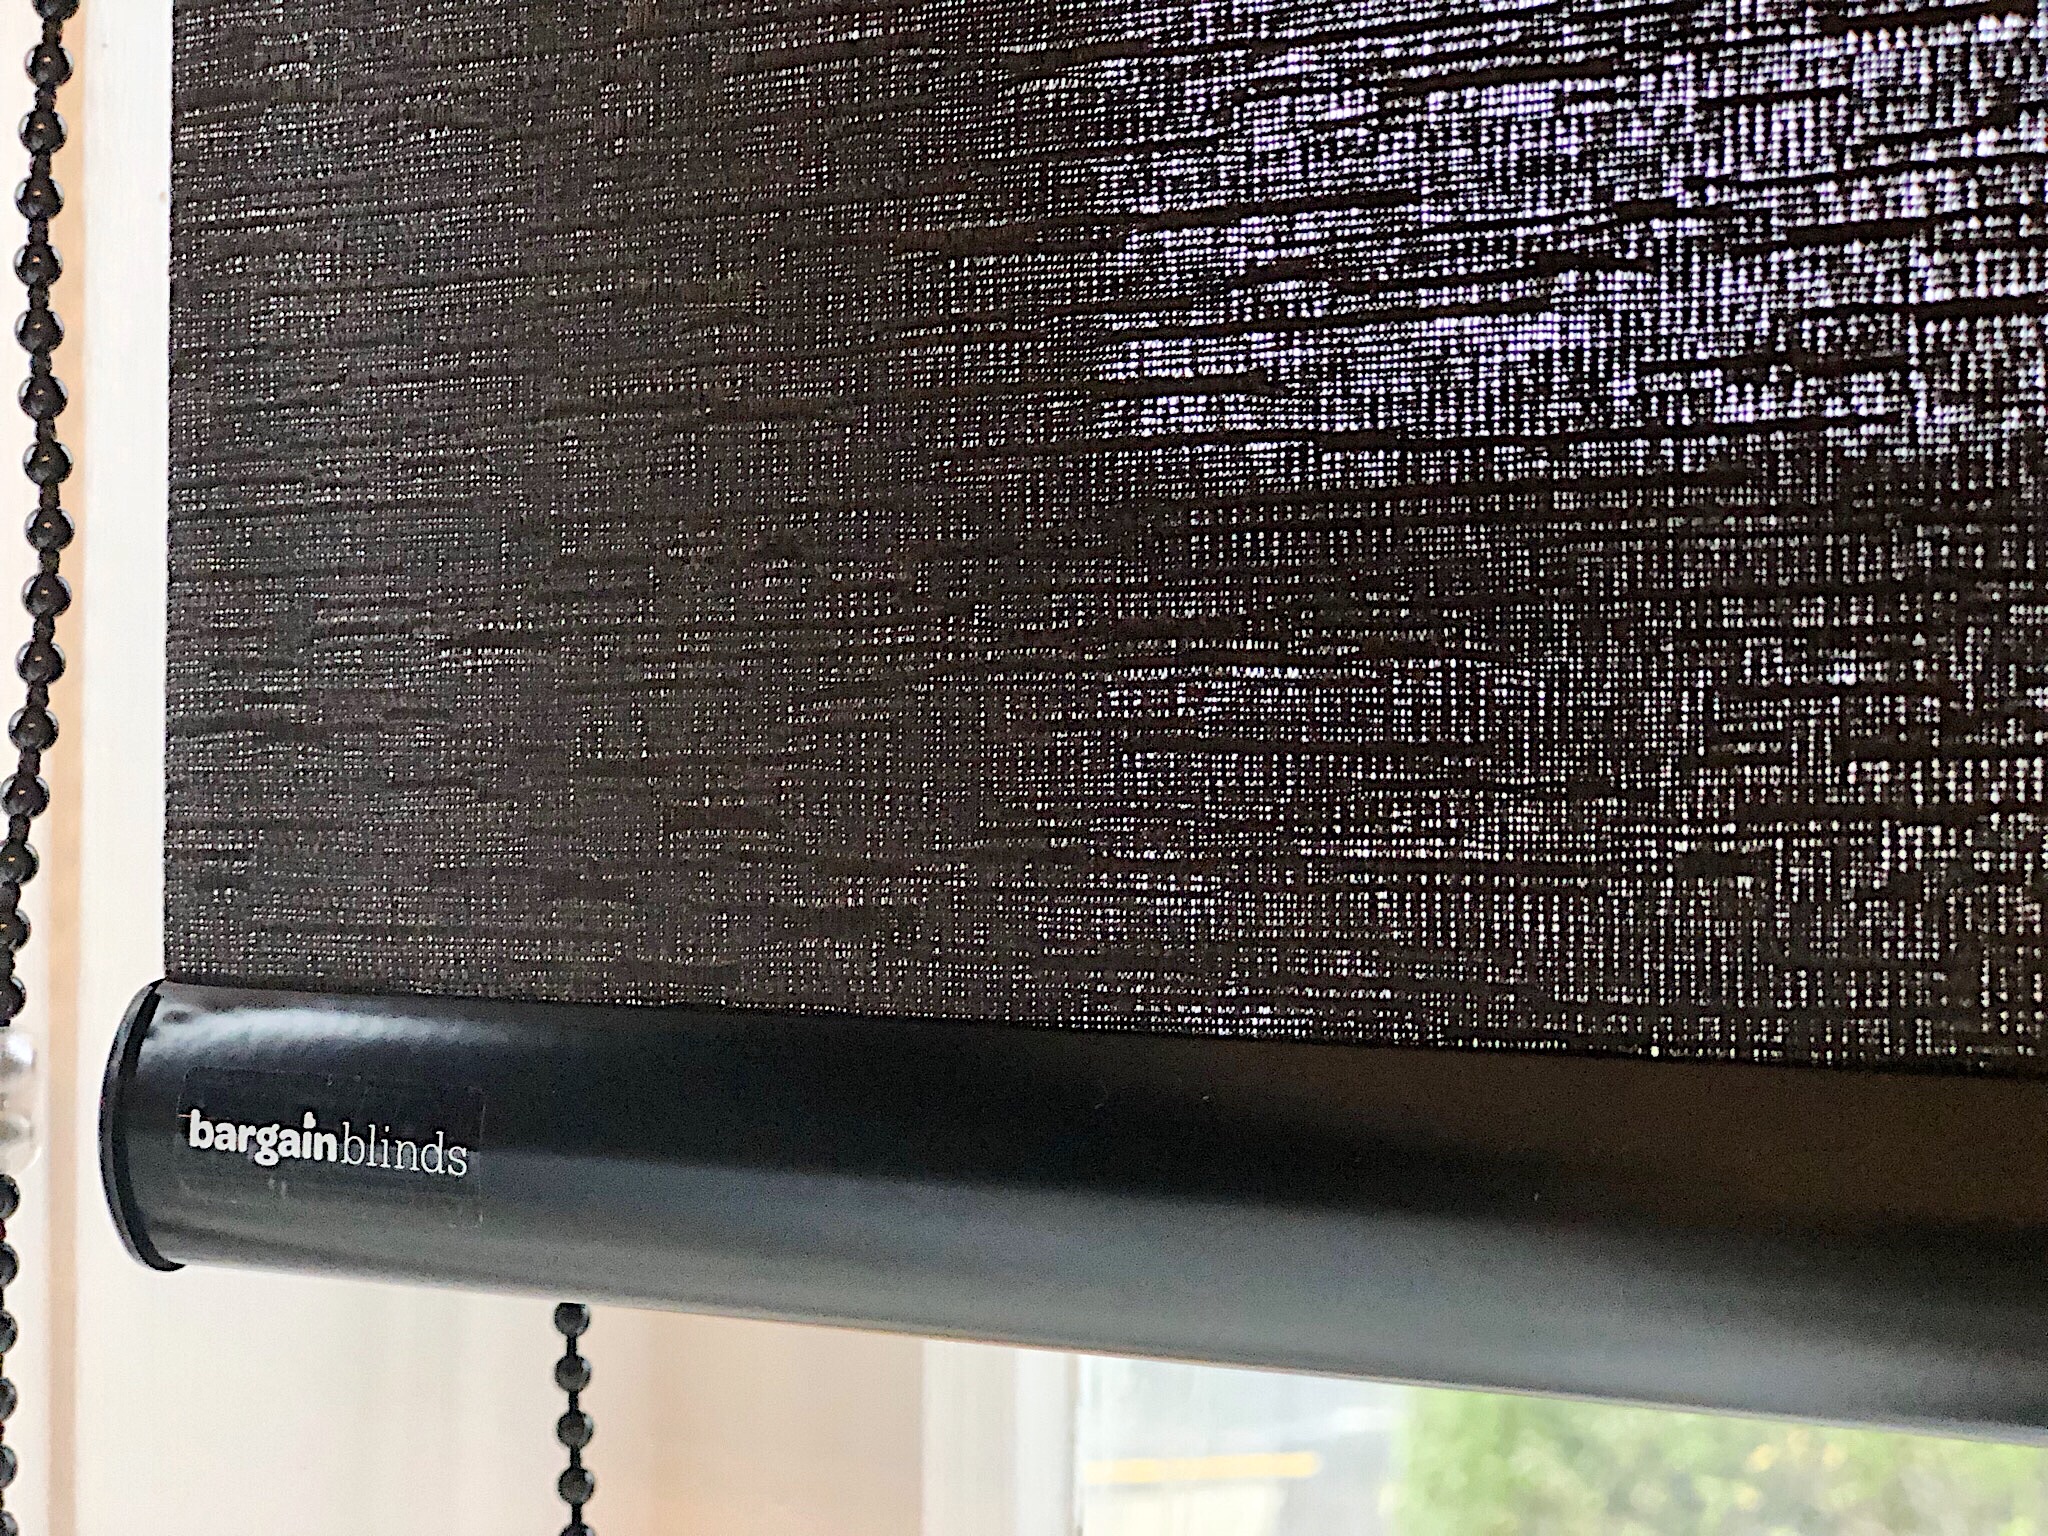
With our spaces I went for a warm white for the walls called Mt Aspiring alongside a strong white for the trims and ceilings. A white colour scheme will make a space feel larger and bounce around light. Roller blinds are the best option to save money, they are easy to install and they are compact in size. It means during the day a lot of light and when they are down you get extra insulation and privacy.
Finally investing budget on lighting that will illuminate throughout the whole space. Lighting can add so much to the design in your house, but also create warmth and light when you need it. I invest about 10% of my design time for the renovation solely on lighting selections.
Work out the true cost
How much something actually costs is a complicated concept in renovation. For example in this renovation (for the first time) we used a painter for interior painting. You would assume that painting it ourselves would be cheaper, but we worked out the true cost of doing it ourselves. For us it meant considering the cost of: plasterer, having our schedule go from 5 weeks to potentially 10 weeks, hiring a sprayer and the extra paint we’d go through, hiring childcare and an extra team to assist me. It was clear that hiring a painter was the most cost effective option.
Another example of this was our toilet, we needed to get a new one due to damage in the existing toilet. However we didn’t go for the cheapest toilet we could find, because often what save in the cost of the product you pay for when it comes to the install it. A quality toilet means less time for the plumber install and less maintenance long term, therefore being more cost effective in the long run.
Cost Breakdown
Contractors
Electrical by www.pro-spec.co.nz $805
Floor Sanding and Oil by Active Floor Sanding Services $2,300
Painting by Contractor $2,588
Plumbing by Contractor $223
Total Cost: 5,916
Lounge and Hallway: Products
Lounge Light by Lighting Direct $230 (purchased on On Sale with 40% discount)
Hallway and Bathroom Light by Lighting Direct $40 No electrician required
Paint Ceiling: Dulux Ceiling Paint Flat in Okarito $64.40. Windows, Doors and Trims: Dulux Aquanamel Semi Gloss in Okarito $52.50. Walls: Dulux Low Sheen Wash&Wear in Mt Aspiring $64.50
Fireplace Dulux Aquanamel Gloss Black Base $68 and Rust-Oleum Black Specialty High Heat Spray. $19.93
Blinds Sunscreen Roller Blinds in Black by Bargain Blinds $309
Total Cost: $328.93
Bathroom and Laundry: Product
Toilet Luna Square Cleanflush Toilet by Caroma $899. Luna Toilet Roll Holder by Caroma $47
Shower Head and Taps from Trademe $200
Cabinet Handles Altare 160mm, White by Archant $58
Mirrorfrom Bunnings Warehouse $35
Shower Curtain from Kmart $12
Total Cost: $1,251