
DIY Project | Outdoor Cross Base Table
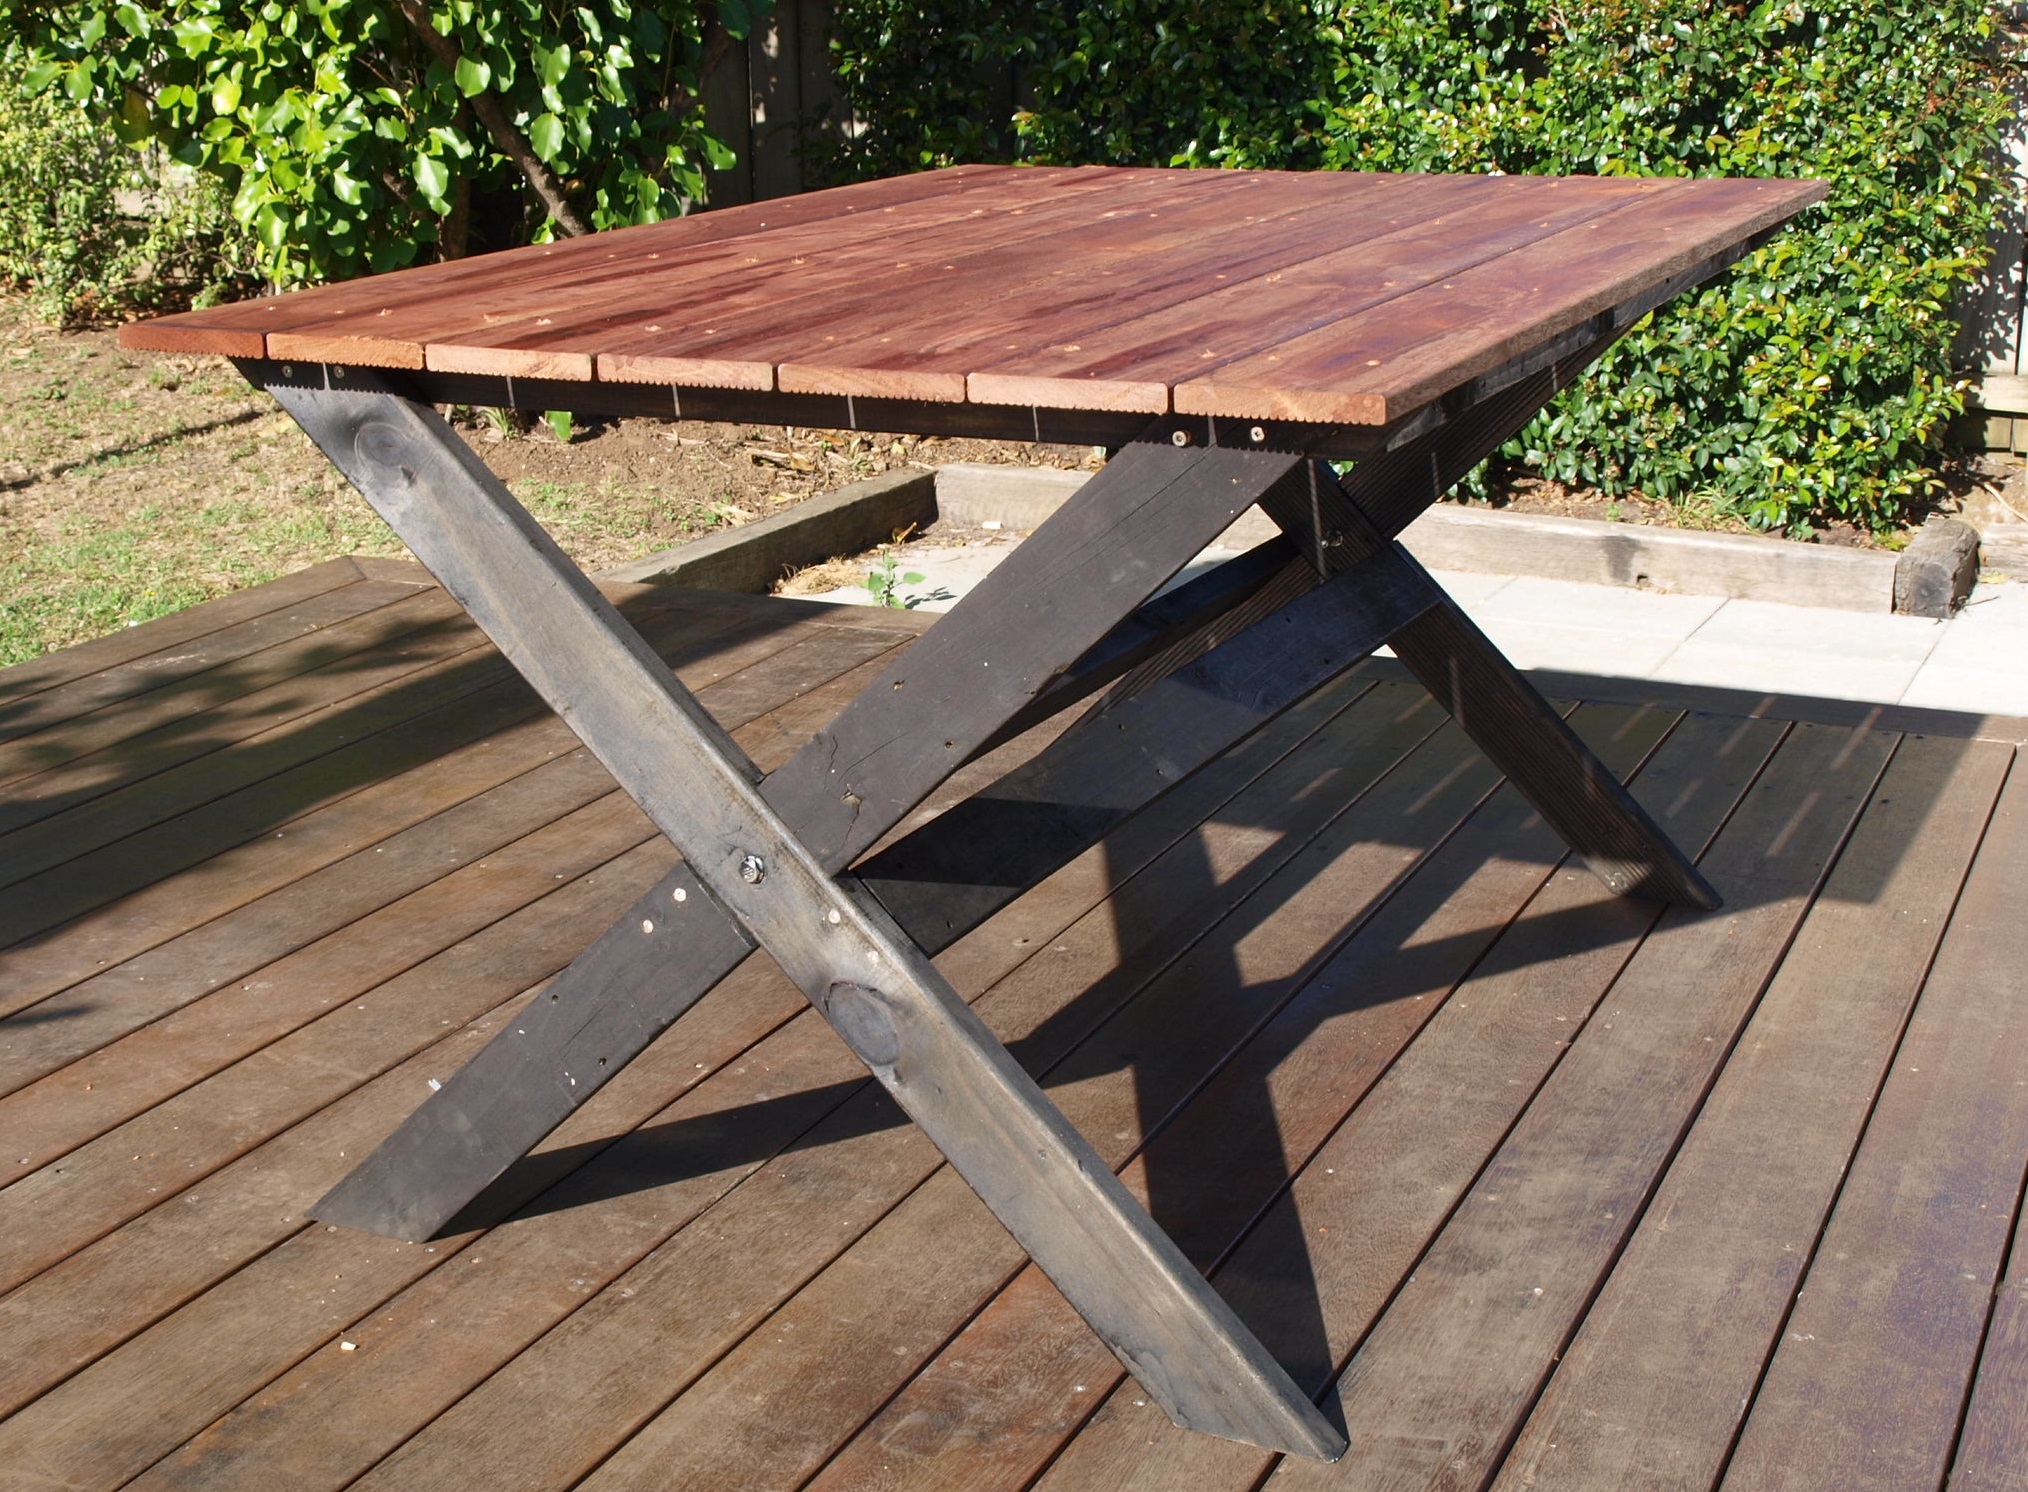
With some leftover Kwila decking timber from building our deck, I had the idea to put this to use and build an outside table. My goal was to make something quick, reuse as much existing timber and something that looks decent. This is what I ended up with, a X table frame with hardwood top:
The first step is to always work out a plan and make sure you have the materials and equipment to complete the project. Confirm the size of the table you want, then sketch up the 3 layers of the table. The more you plan the easier the project will be. I made this table 1,000W by 1,600L – to suit the space I was going to put the table, but measurements can be adjusted to suit.
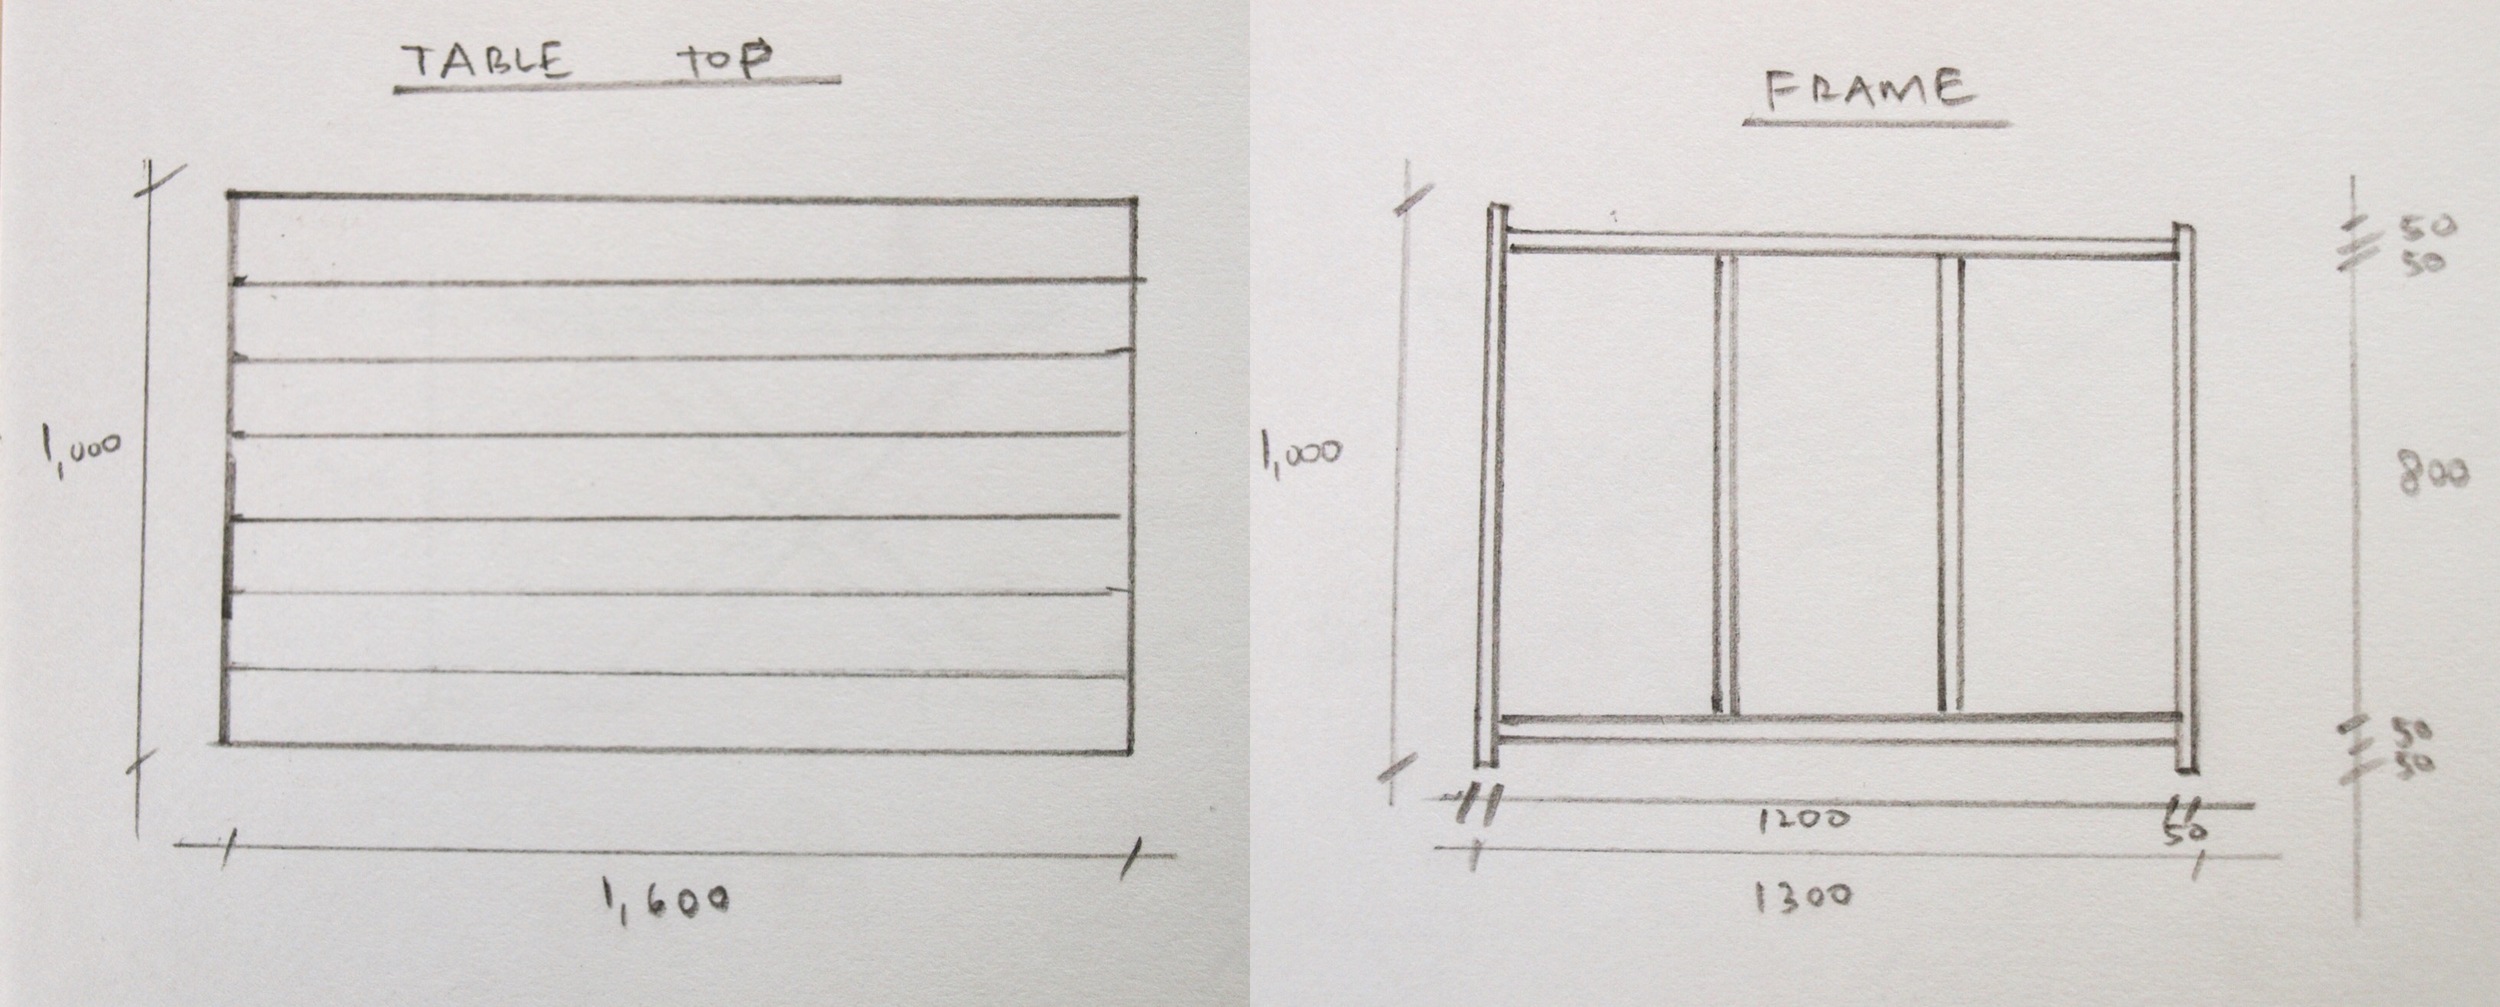
Hand sktches of the top 2 layers of the table: Table Top and the Table Top Frame

Material cut complete. Check lengths by putting together upside down before fixing together.
This project is essentially made up of 3 layers of timber. Being:
1. Table top
2. Table top frame
3. Table legs and stringers

Steps:
- Cut the lengths of the table top, frame, legs and stringers to correct length. Refer Materials list below for lengths used for this project.
- To check all correct, lay the timber and frame on top of each other upside down.
- The simple way to join the X legs is just to overlap them and bolt through. A nicer finish is to notch out half of each leg and overlap them and make flush. To do this, mark out exactly where each leg will cross the other; adjust the depth of your skill saw to half the thickness of the leg. Make multiple passes next to each other within the area to be removed. Using a chisel and hammer, remove the fillets of wood. Use the chisel to level the inside of the notch.
- Stain frame prior to fixing together (optional).
- Fix the table frame together.
- Fix the strips of table top to the frame. I recommend pre-drilling holes and also counter-sinking the screws to get a cleaner surface.
- Bolt the 2x X legs together
- Fix the 2x X legs to the table frame.
- Fix stringers between X legs.

Legs and frame stained prior to fixing the 3 layers together.
And after this work, the finished product. Ready to have friends over and celebrate with a bbq and a beer.

Materials Required:
This is the wood I used, but substitutes can be used
Table top
- 7x 1,600L of 140x19 decking (pine / hardwood)
Table Top Frame (50x50 treated pine)
- 2x lengths at 1,000, with ends angled
- 2x lengths at 800
- 2x lengths at 1,200
Table Base
- Legs - 4x lengths of 100x50 at 1,000 (with 45 degrees cuts on each end)
- Stringers - 2x lengths of 50x50 at 1,200
Fixings
- Screws
- 2x Bolts for X legs
Stain
Tools Required
- Dropsaw (preferable, but skill saw adequate)
- Chisel
- General tools (hammer, drill, tape measure, etc)
Cost:
I used existing timber I had available to me on the most part for this project. If you were to use pine decking, then I estimated that this would be in the order of $170-$200 to make.
Timeframe:
4-6 Hours (excluding allowing stain to dry)
If you do make this table, would love to hear how you went, any comments and of course some pictures of your finished product. Email them through or add your comments below.