Paving the Way - Transforming Old Pavers
As we were planning our outdoor paving area around our deck, Alice had grand design plans but we didn't have a grand budget. When Alice considers “the look”, Caleb considers "the cost" of a project. It causes that balance of what do we want and what do we need, where do we spend money and where do we intentionally save money. We had existing concrete pavers from our old courtyard and it seemed like a waste to buy new ones. But then again - old tired pavers beside our brand new deck and freshly painted fences was not a design Alice was approving. Our solution – PAINT THE PAVERS. This transformation is straight forward and total cost is under $300.00. Here is a simple overview of the process.
Laying the Paving
- Create a clear plan before you start. How large is the area you want to pave, material and tools required. What pattern you want to lay in, where will you start your set out, where will cuts need to be made, how much basecourse is required.
- Set it out. Measure and mark out the area to be paved.
- Excavate. Dig out that area allowing for depth of your pavers and required basecourse. Typically 50-100mm of basecoure is sufficient, but will vary based on the quality of ground beneath (soft vs hard) and what you intend to use your paving for (ie, walking vs vehicles).
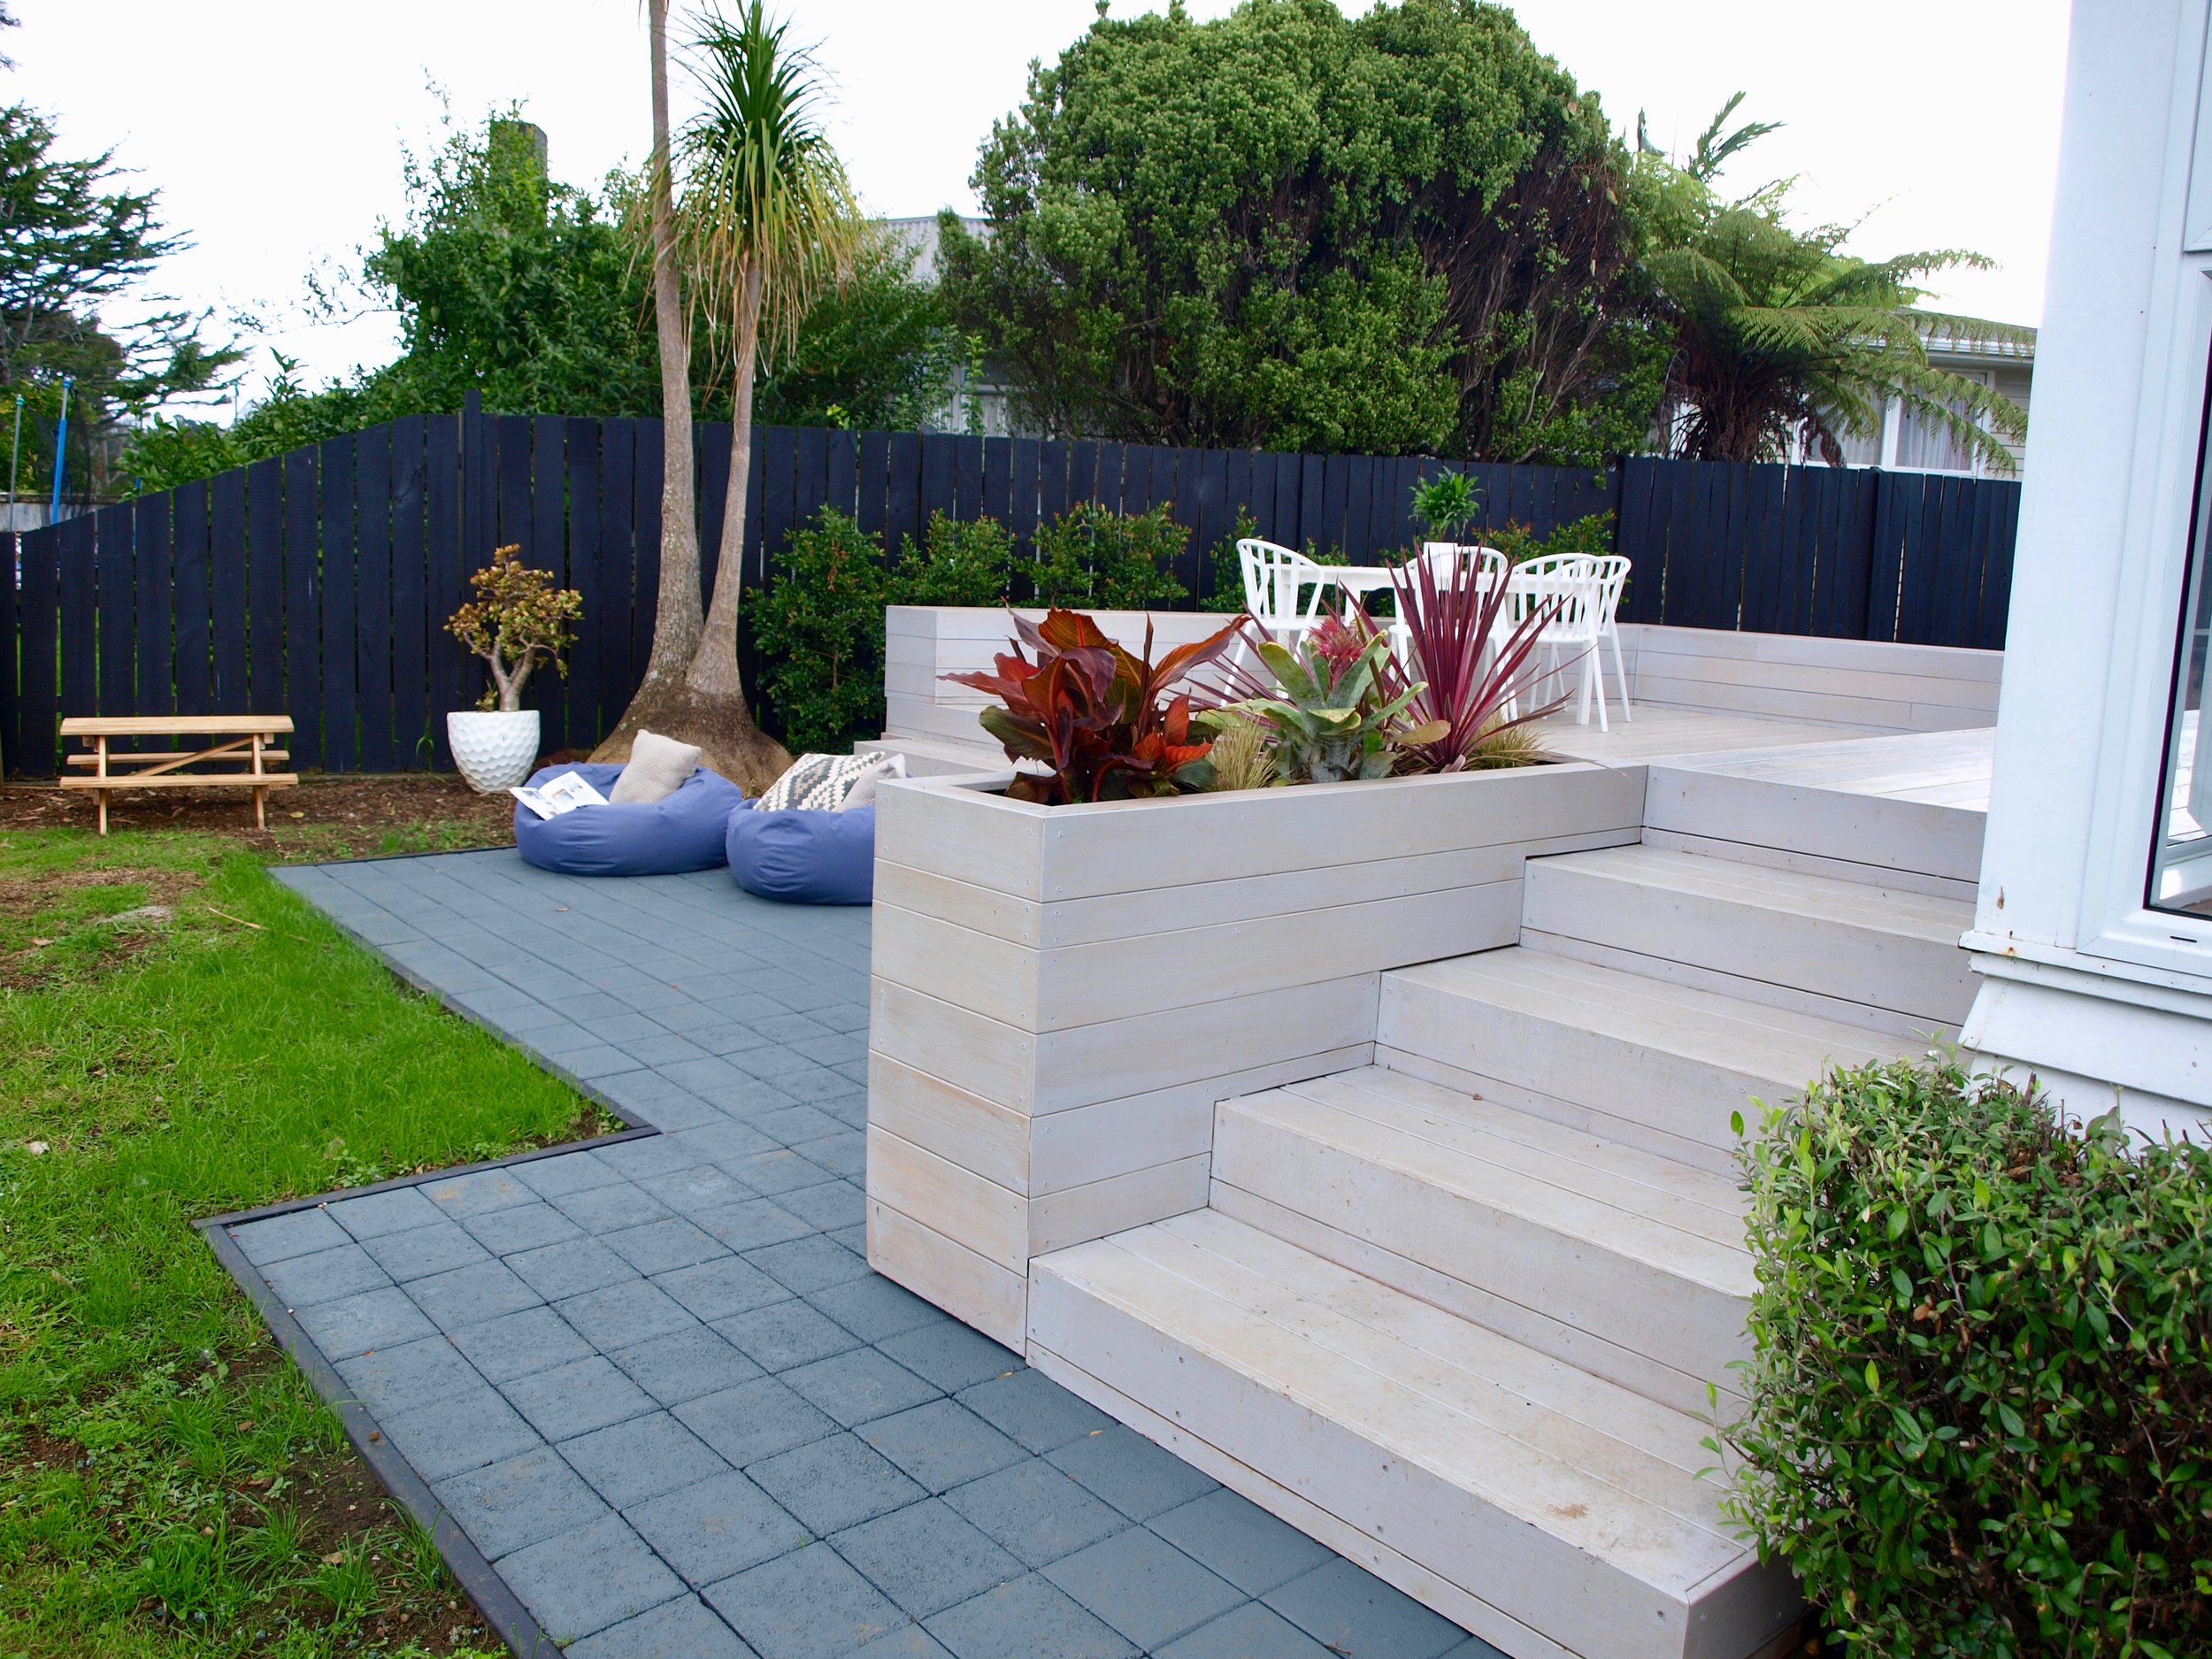
- If you want an edging or to enclose your pavers, create timber boxing for the paving, making sure it is level and considering size of the pavers as well as the paved space as a whole when deciding the layout. Double check your setout.
- Level the excavated area with basecourse (and sand if needed), use a large level to screed. Compact the fill to increase quality of the basecourse.
- Place the pavers, starting with the beginning from your setout point. Make sure each paver is tight and straight. Use a rubber mallet to make tight and lay a couple string lines as a check to make sure everything stays straight as you progress.
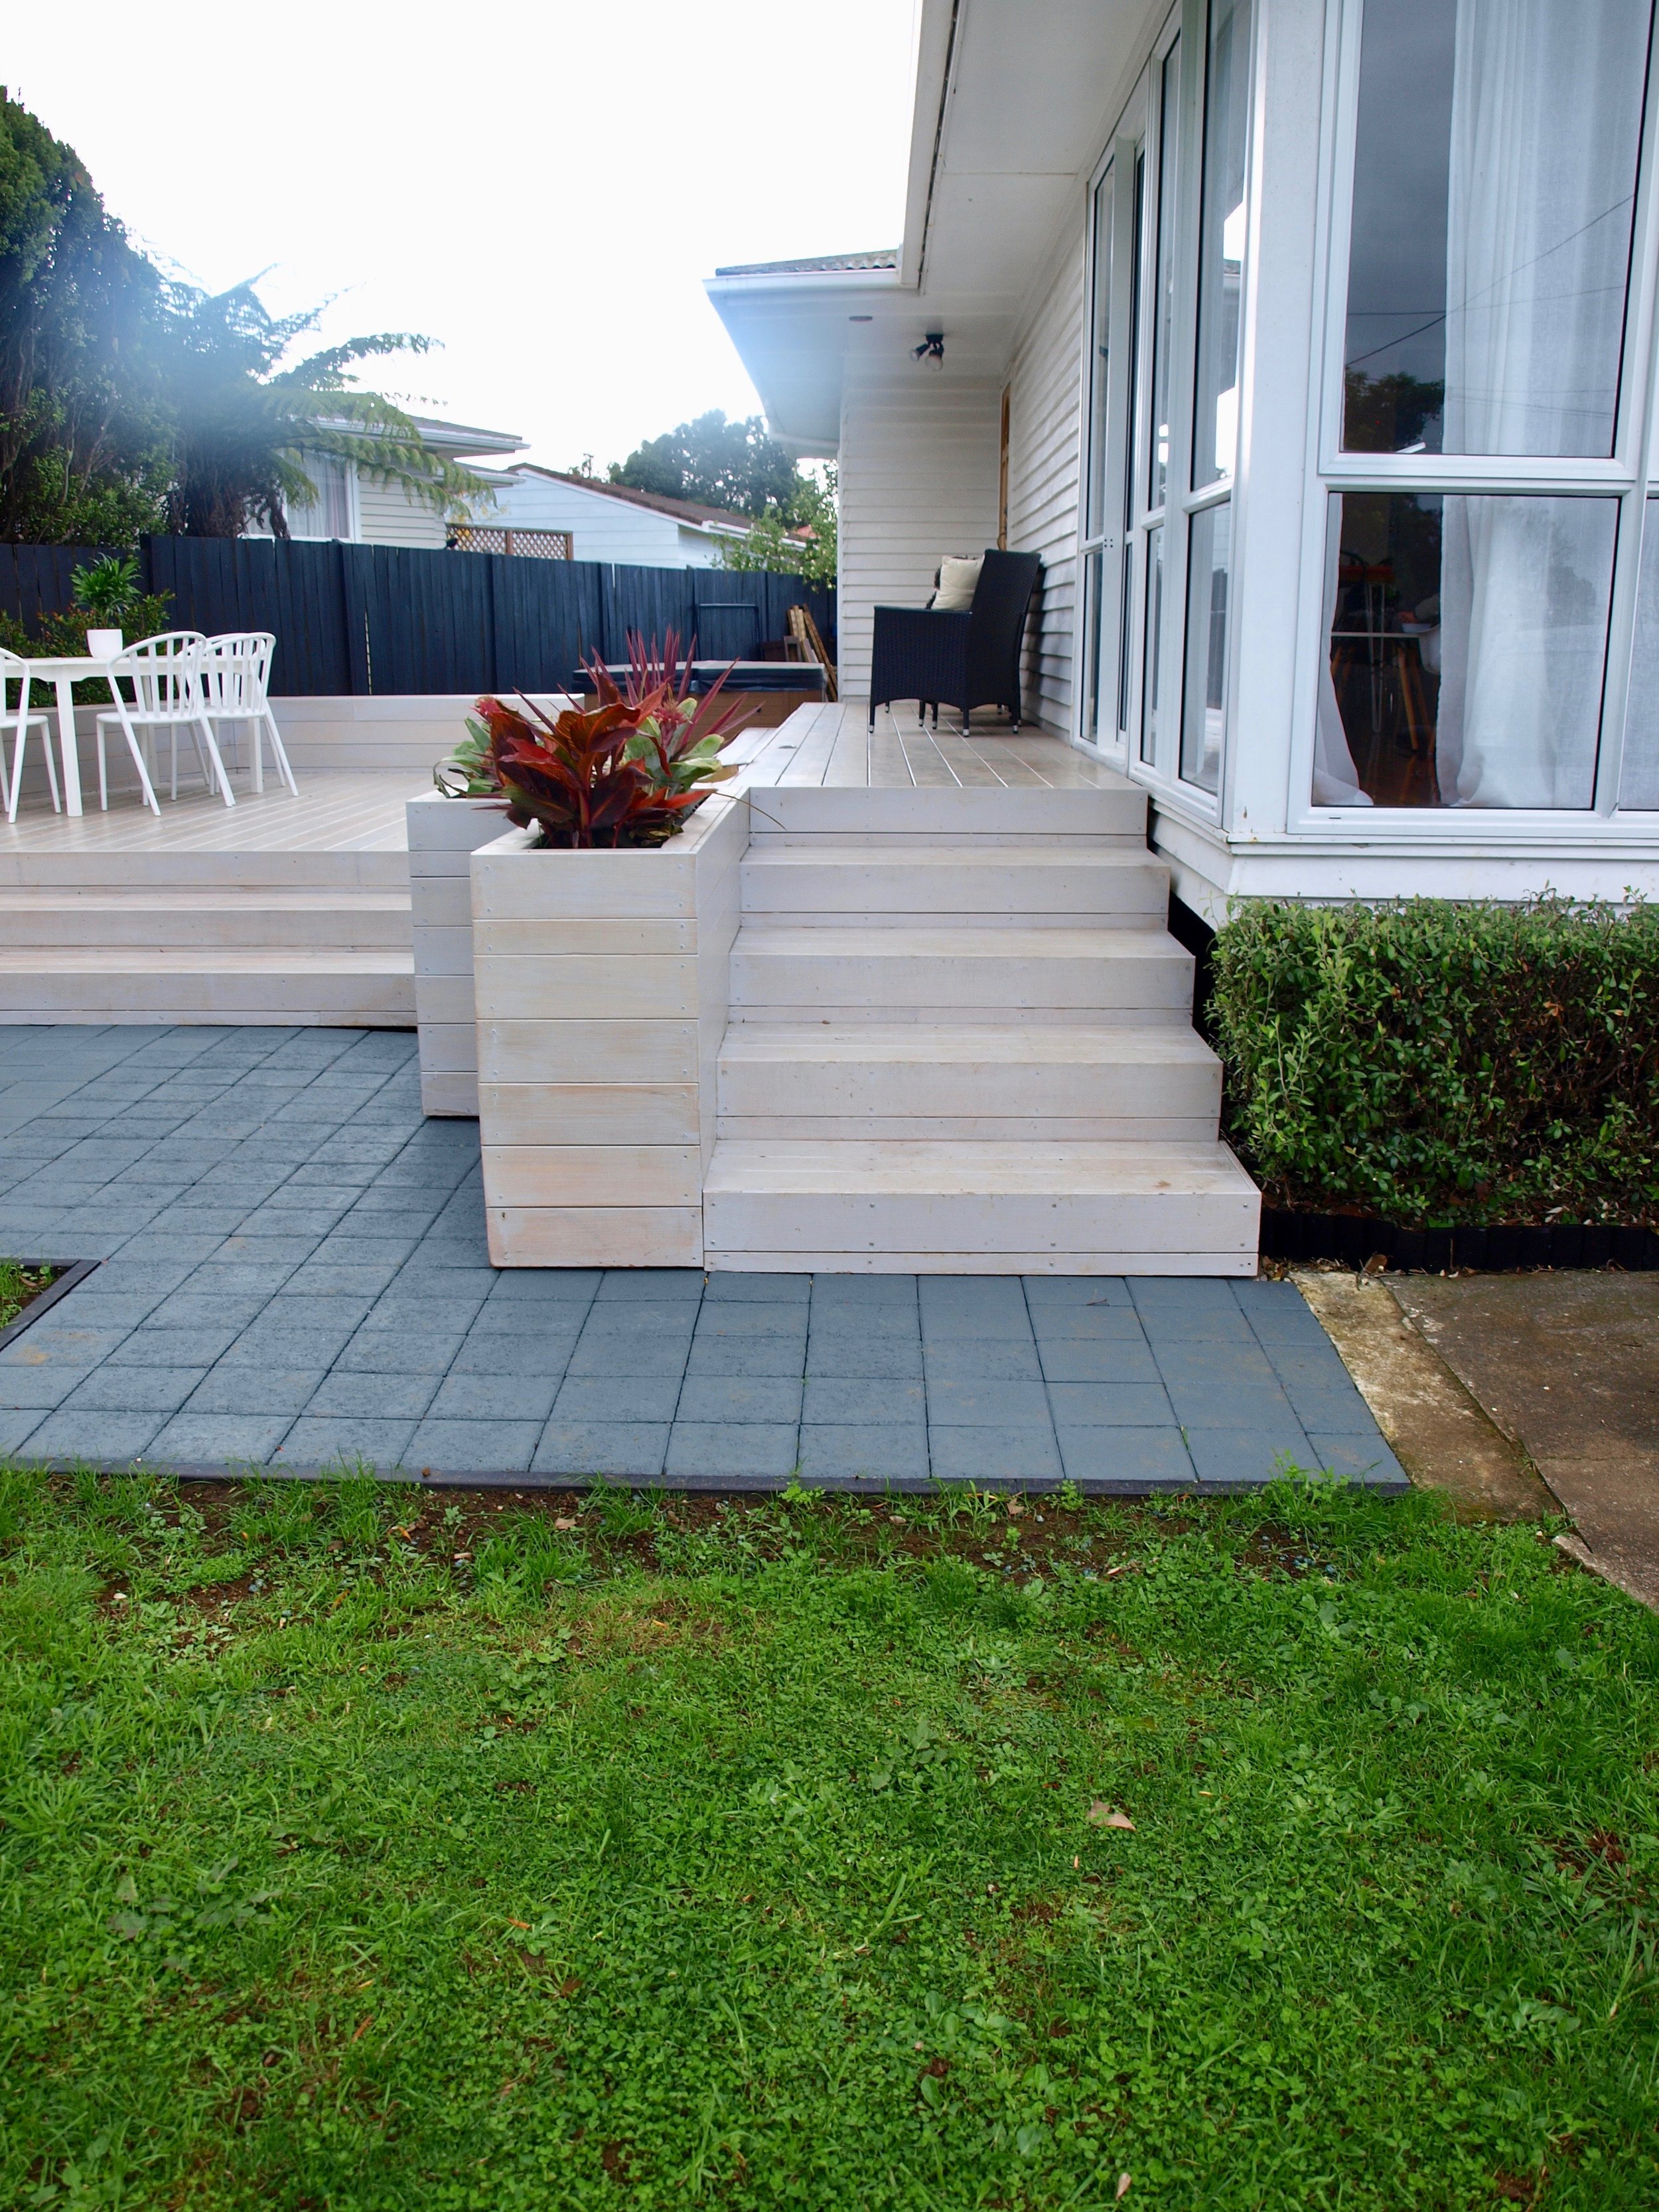
- Use a level to make sure pavers are straight in all directions. A very slight fall away from your house/deck is a good idea to direct any water away from these areas.
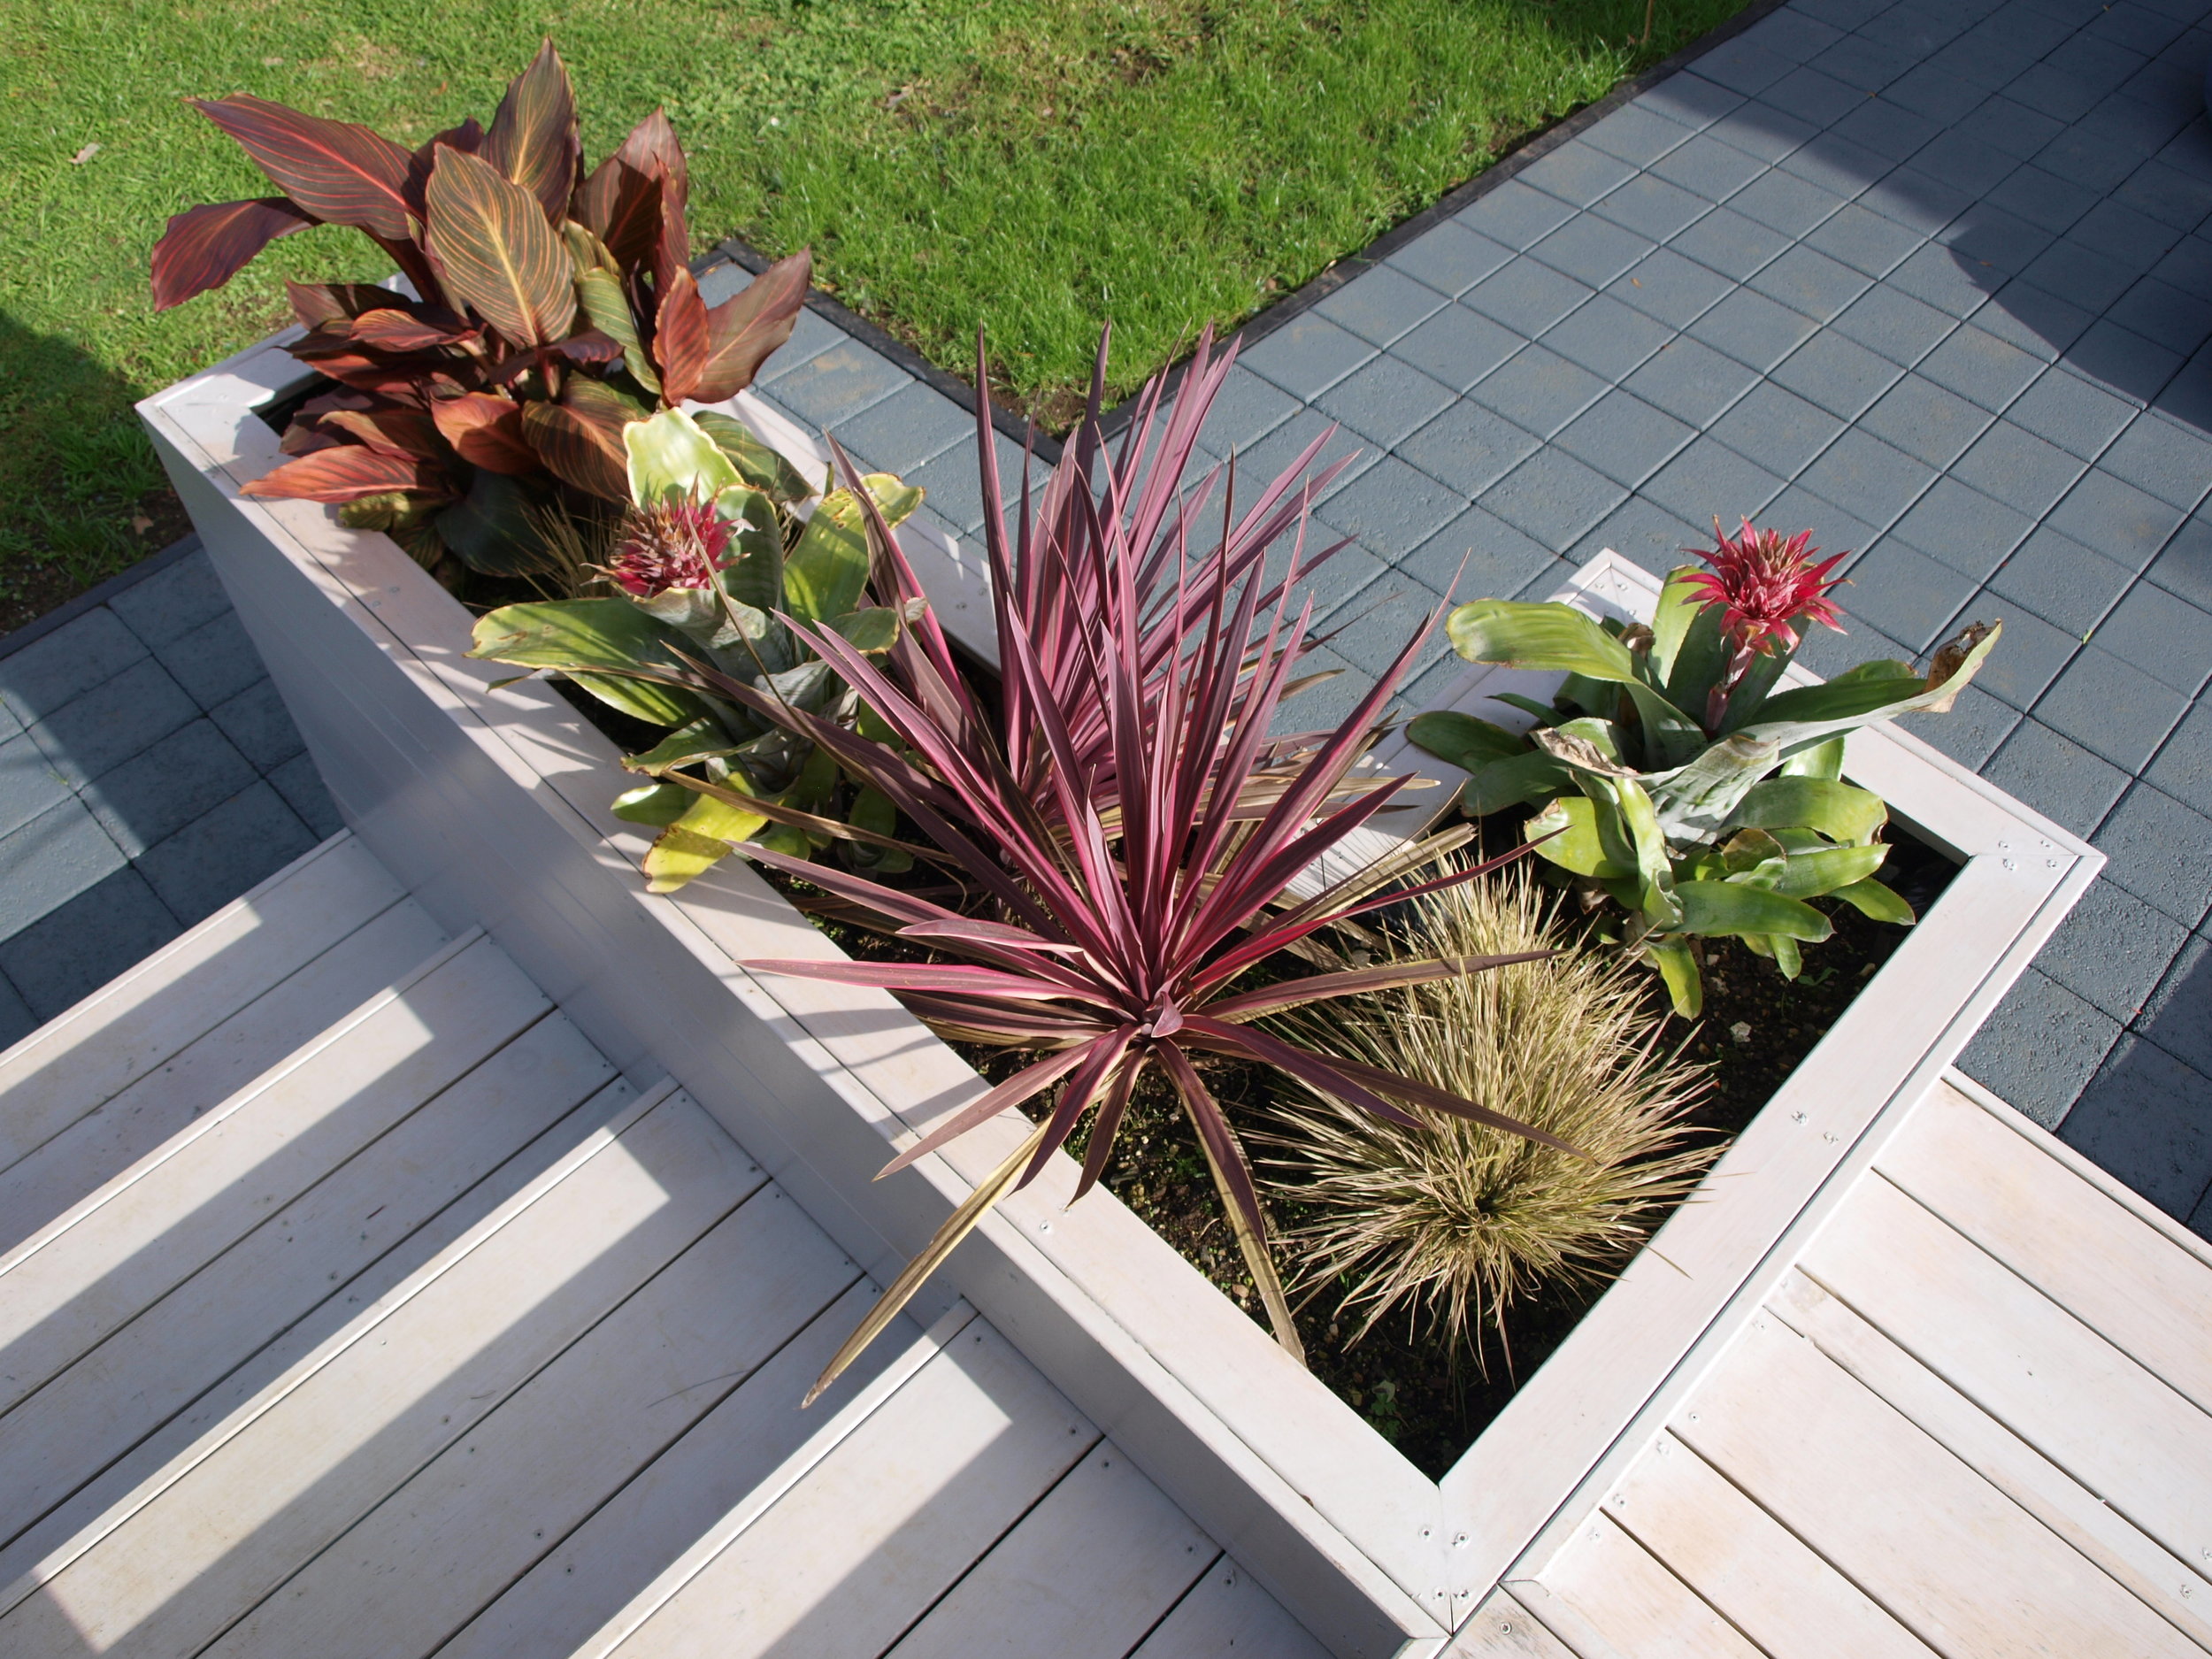
- Once all pavers are laid (and painted), on a dry day brush sand into all the gaps to lock the pavers into place and stop any movement.
Painting the Paving
- Talk to a local paint store about the best option for painting cement pavers. Test colours on pavers to see how the colour wears and looks on the pavers before making your final decision.
- Clean the pavers. When the pavers are not in direct sunlight, spray all the pavers with an appropriate cleaner and then wash it all off. If there is mould on the pavers, you way need to scrub them off or waterblast a few times.
- Allow pavers to completely dry.
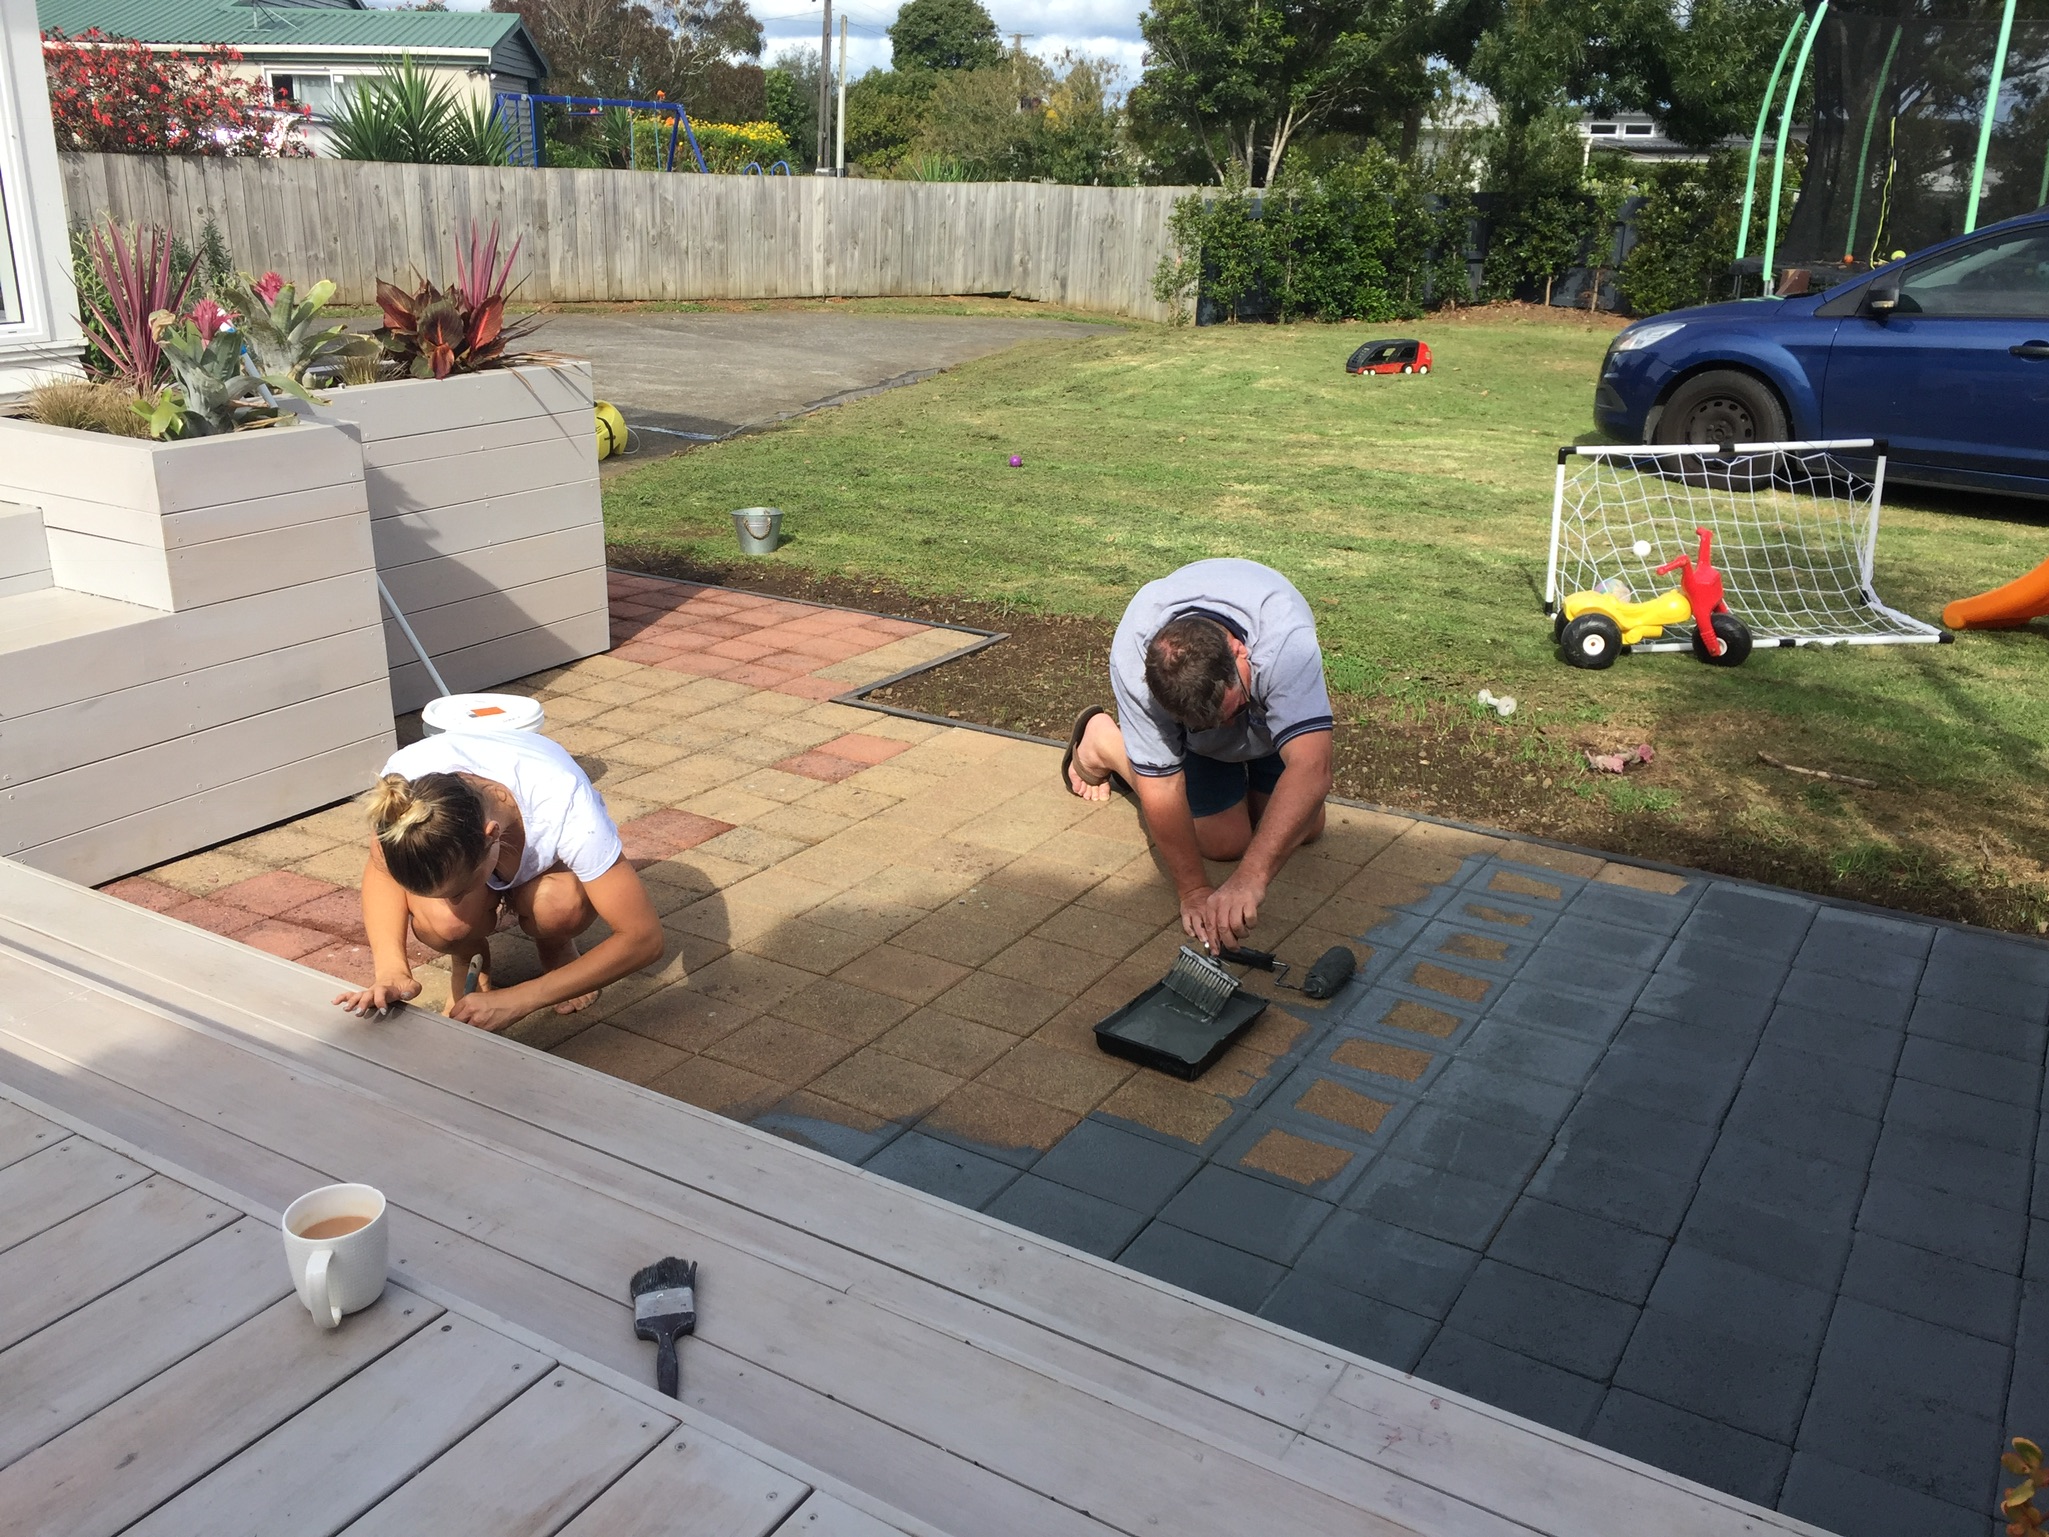
- Invite your Dad around for tea and hope he helps.
- Concrete soaks up the paint, so generously apply the paint using a bristle fence brush for the edging of the pavers and then use a fence roller to paint the surface of the pavers.
- Leave to dry and then re-coat at least once.
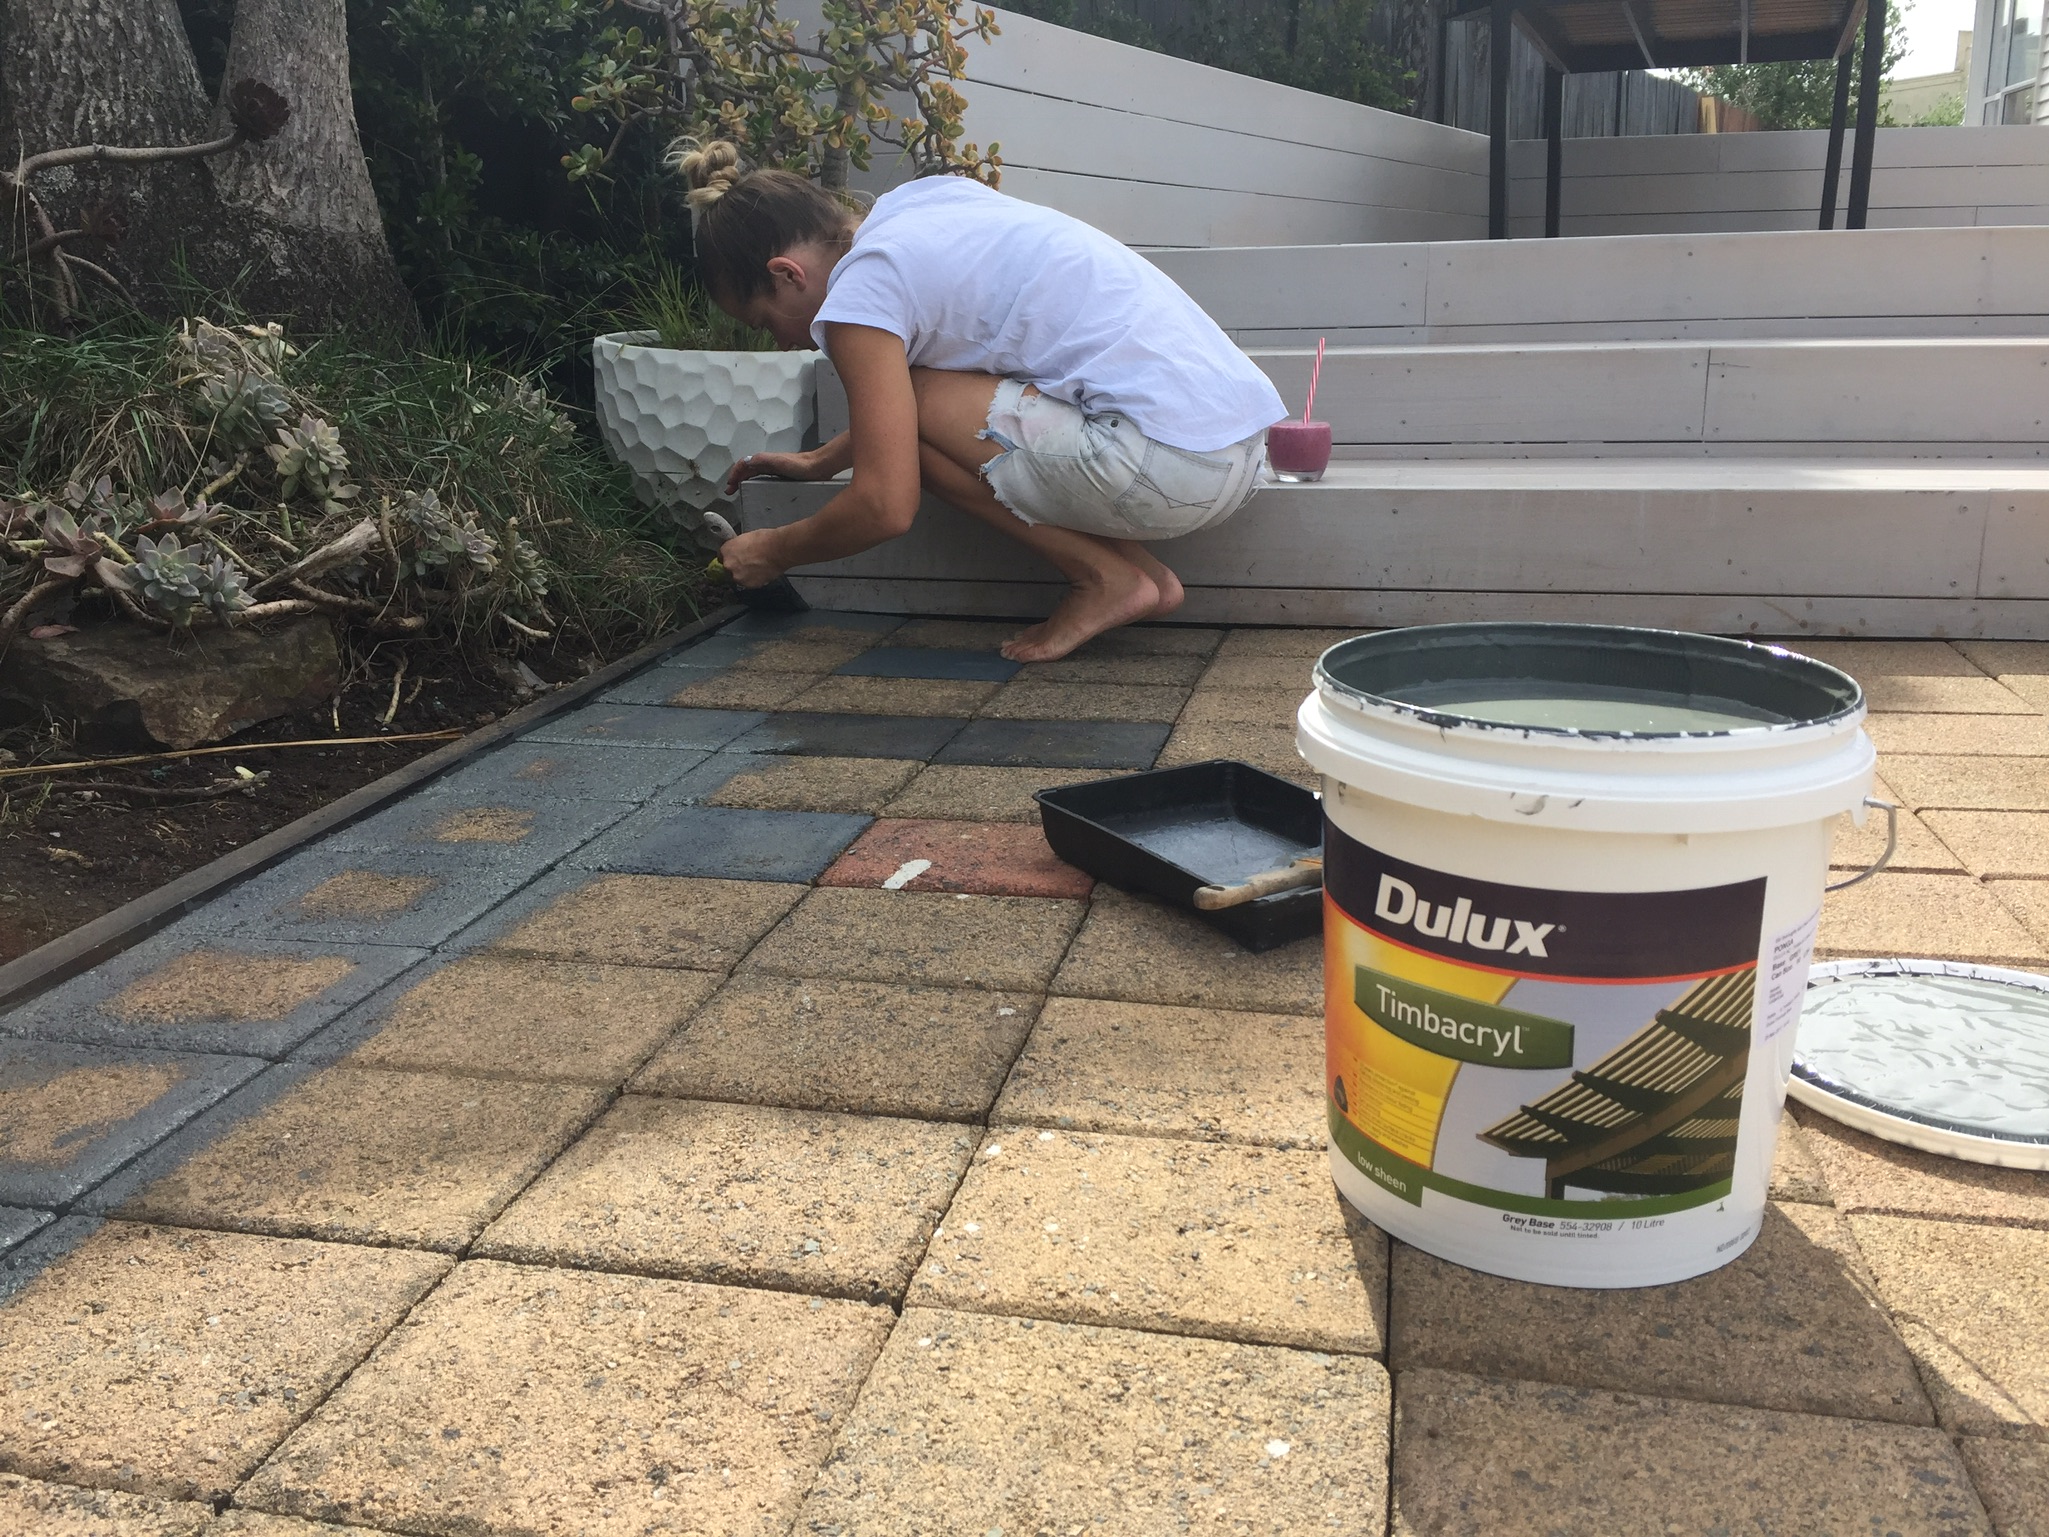


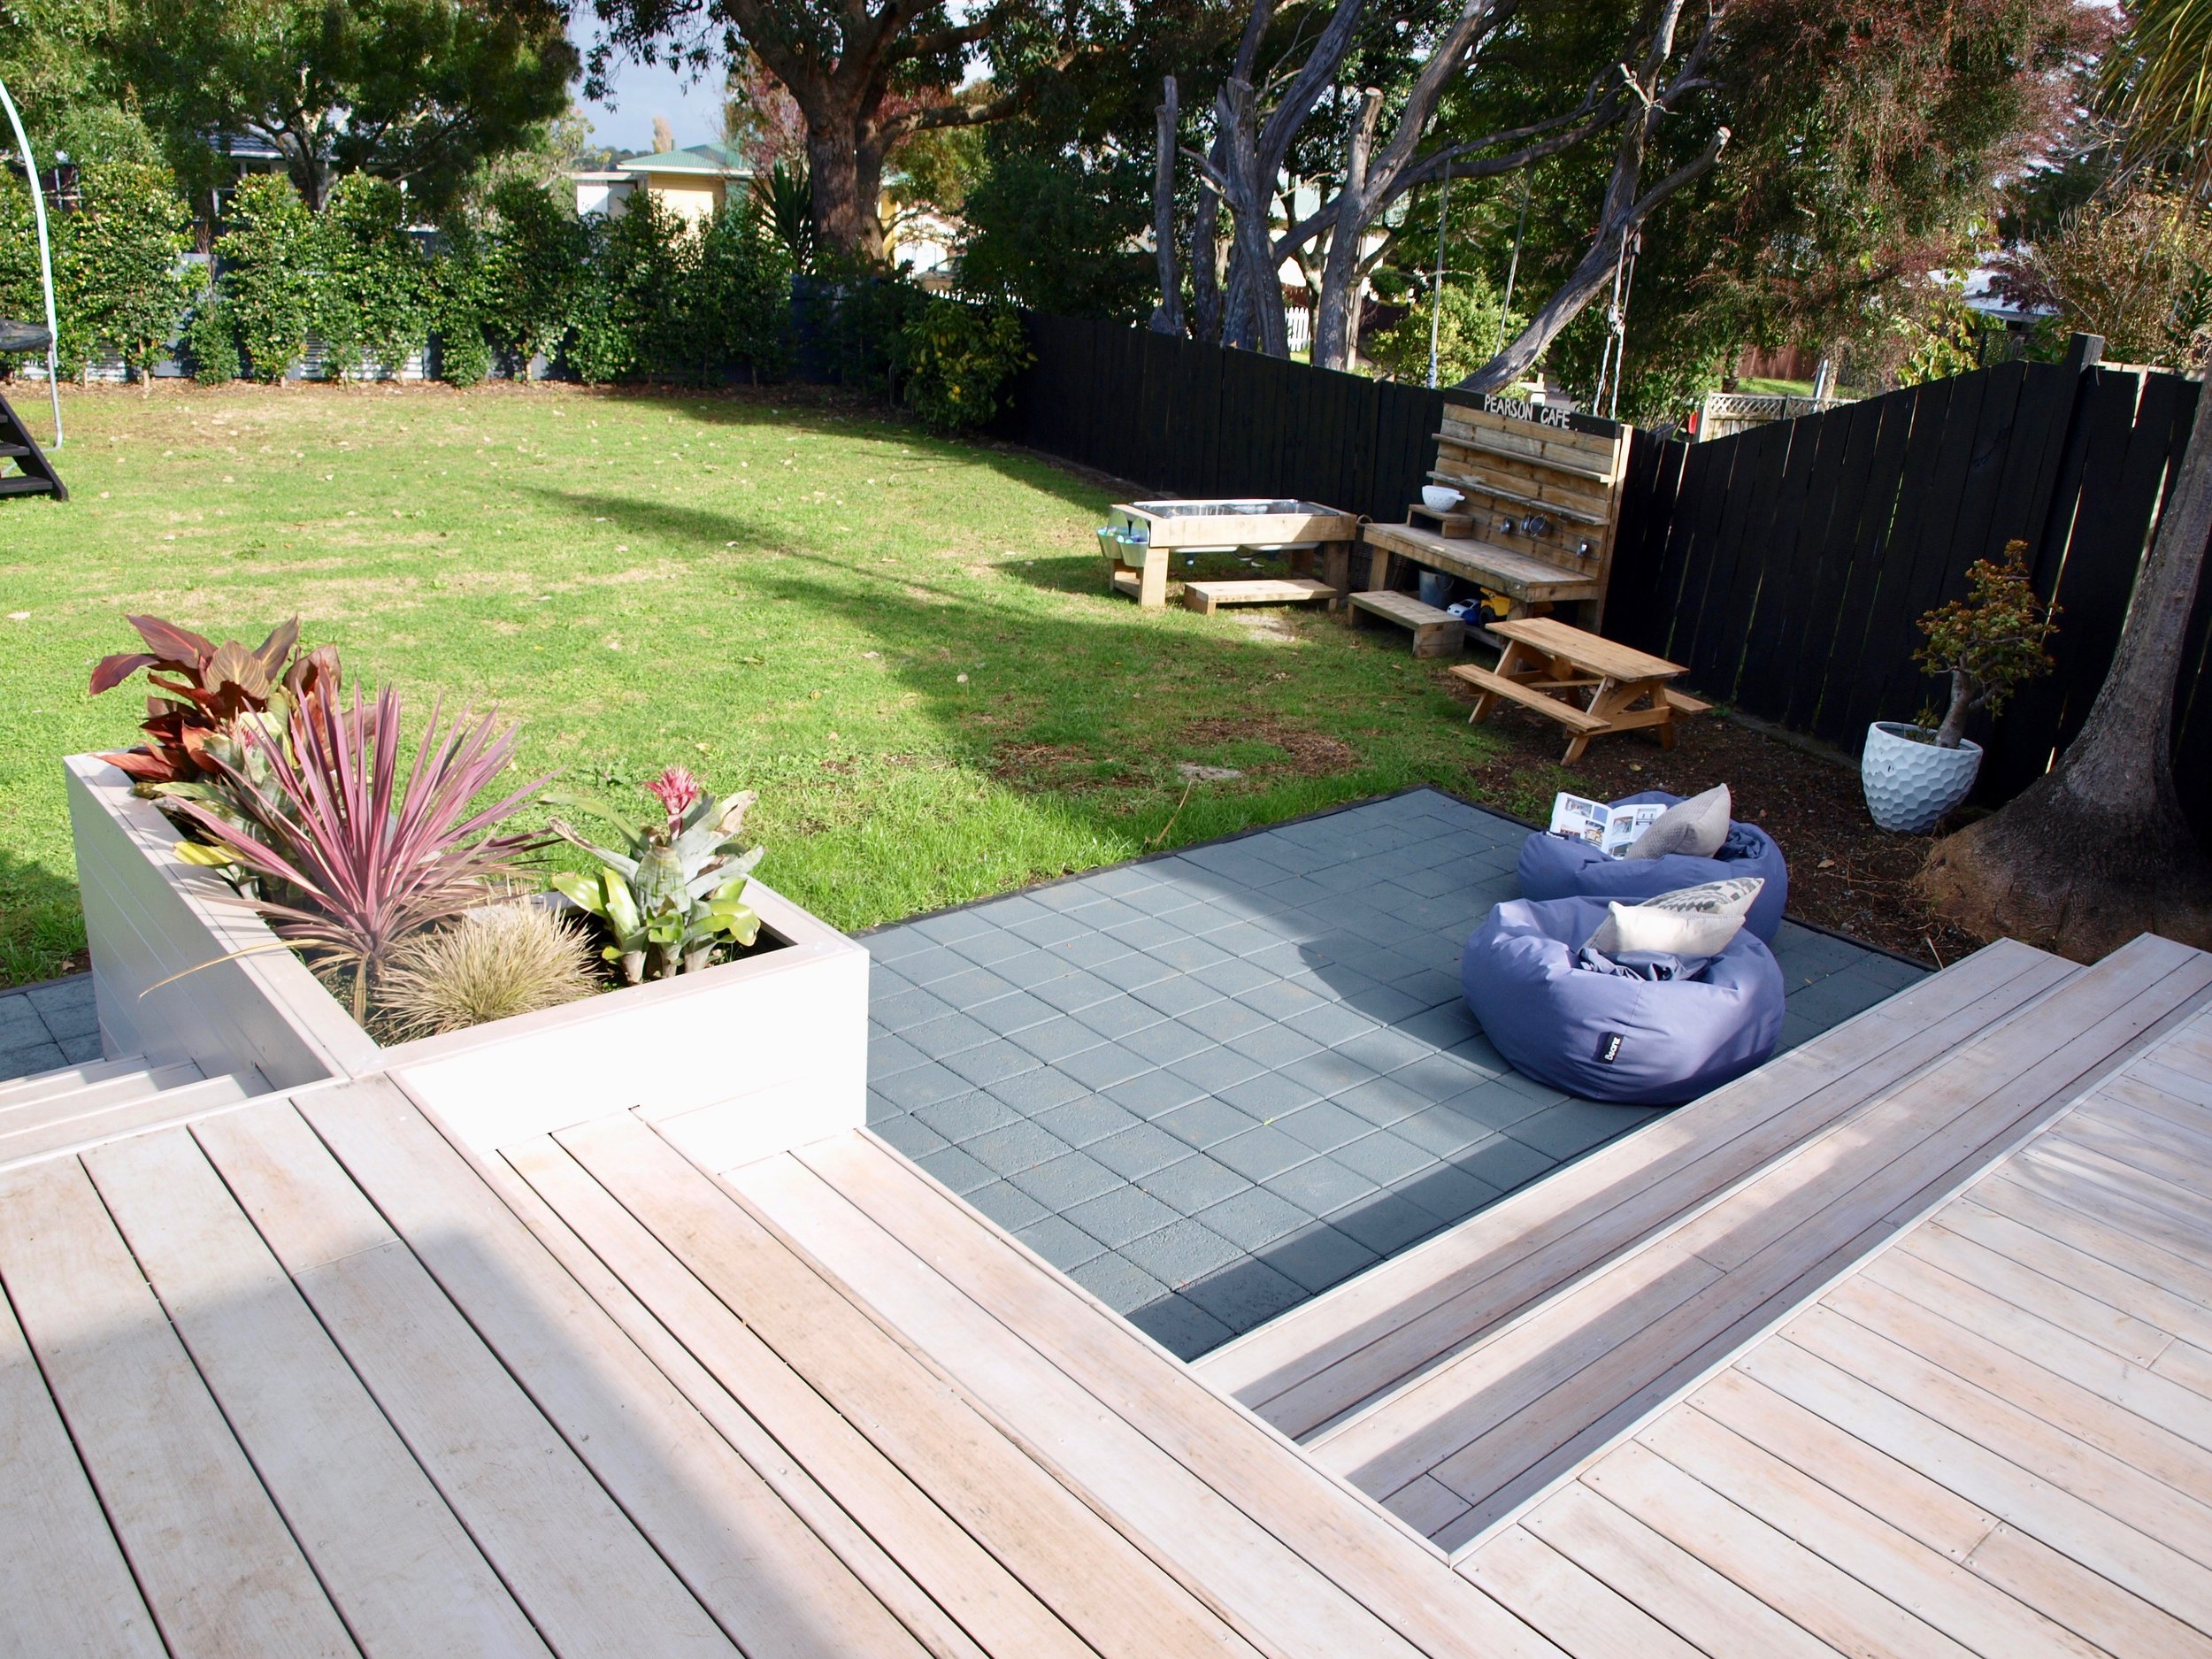
We selected Dulux Timbacryl paint in Ponga. It’s a high opacity 100% acrylic, self priming, low sheen paint designed for exterior features such as decking, fences, fascia boards, timber furniture, bricks, masonry, fibre cement sheeting and galvanised iron.
Next week we will reveal the finished outdoor renovation, so keep tuned for the end result of this paving project.