How To | Paint A Feature Wall
Time: 2 days | Need : Masking Tape | Paint Brush | Roller | Paint Tray
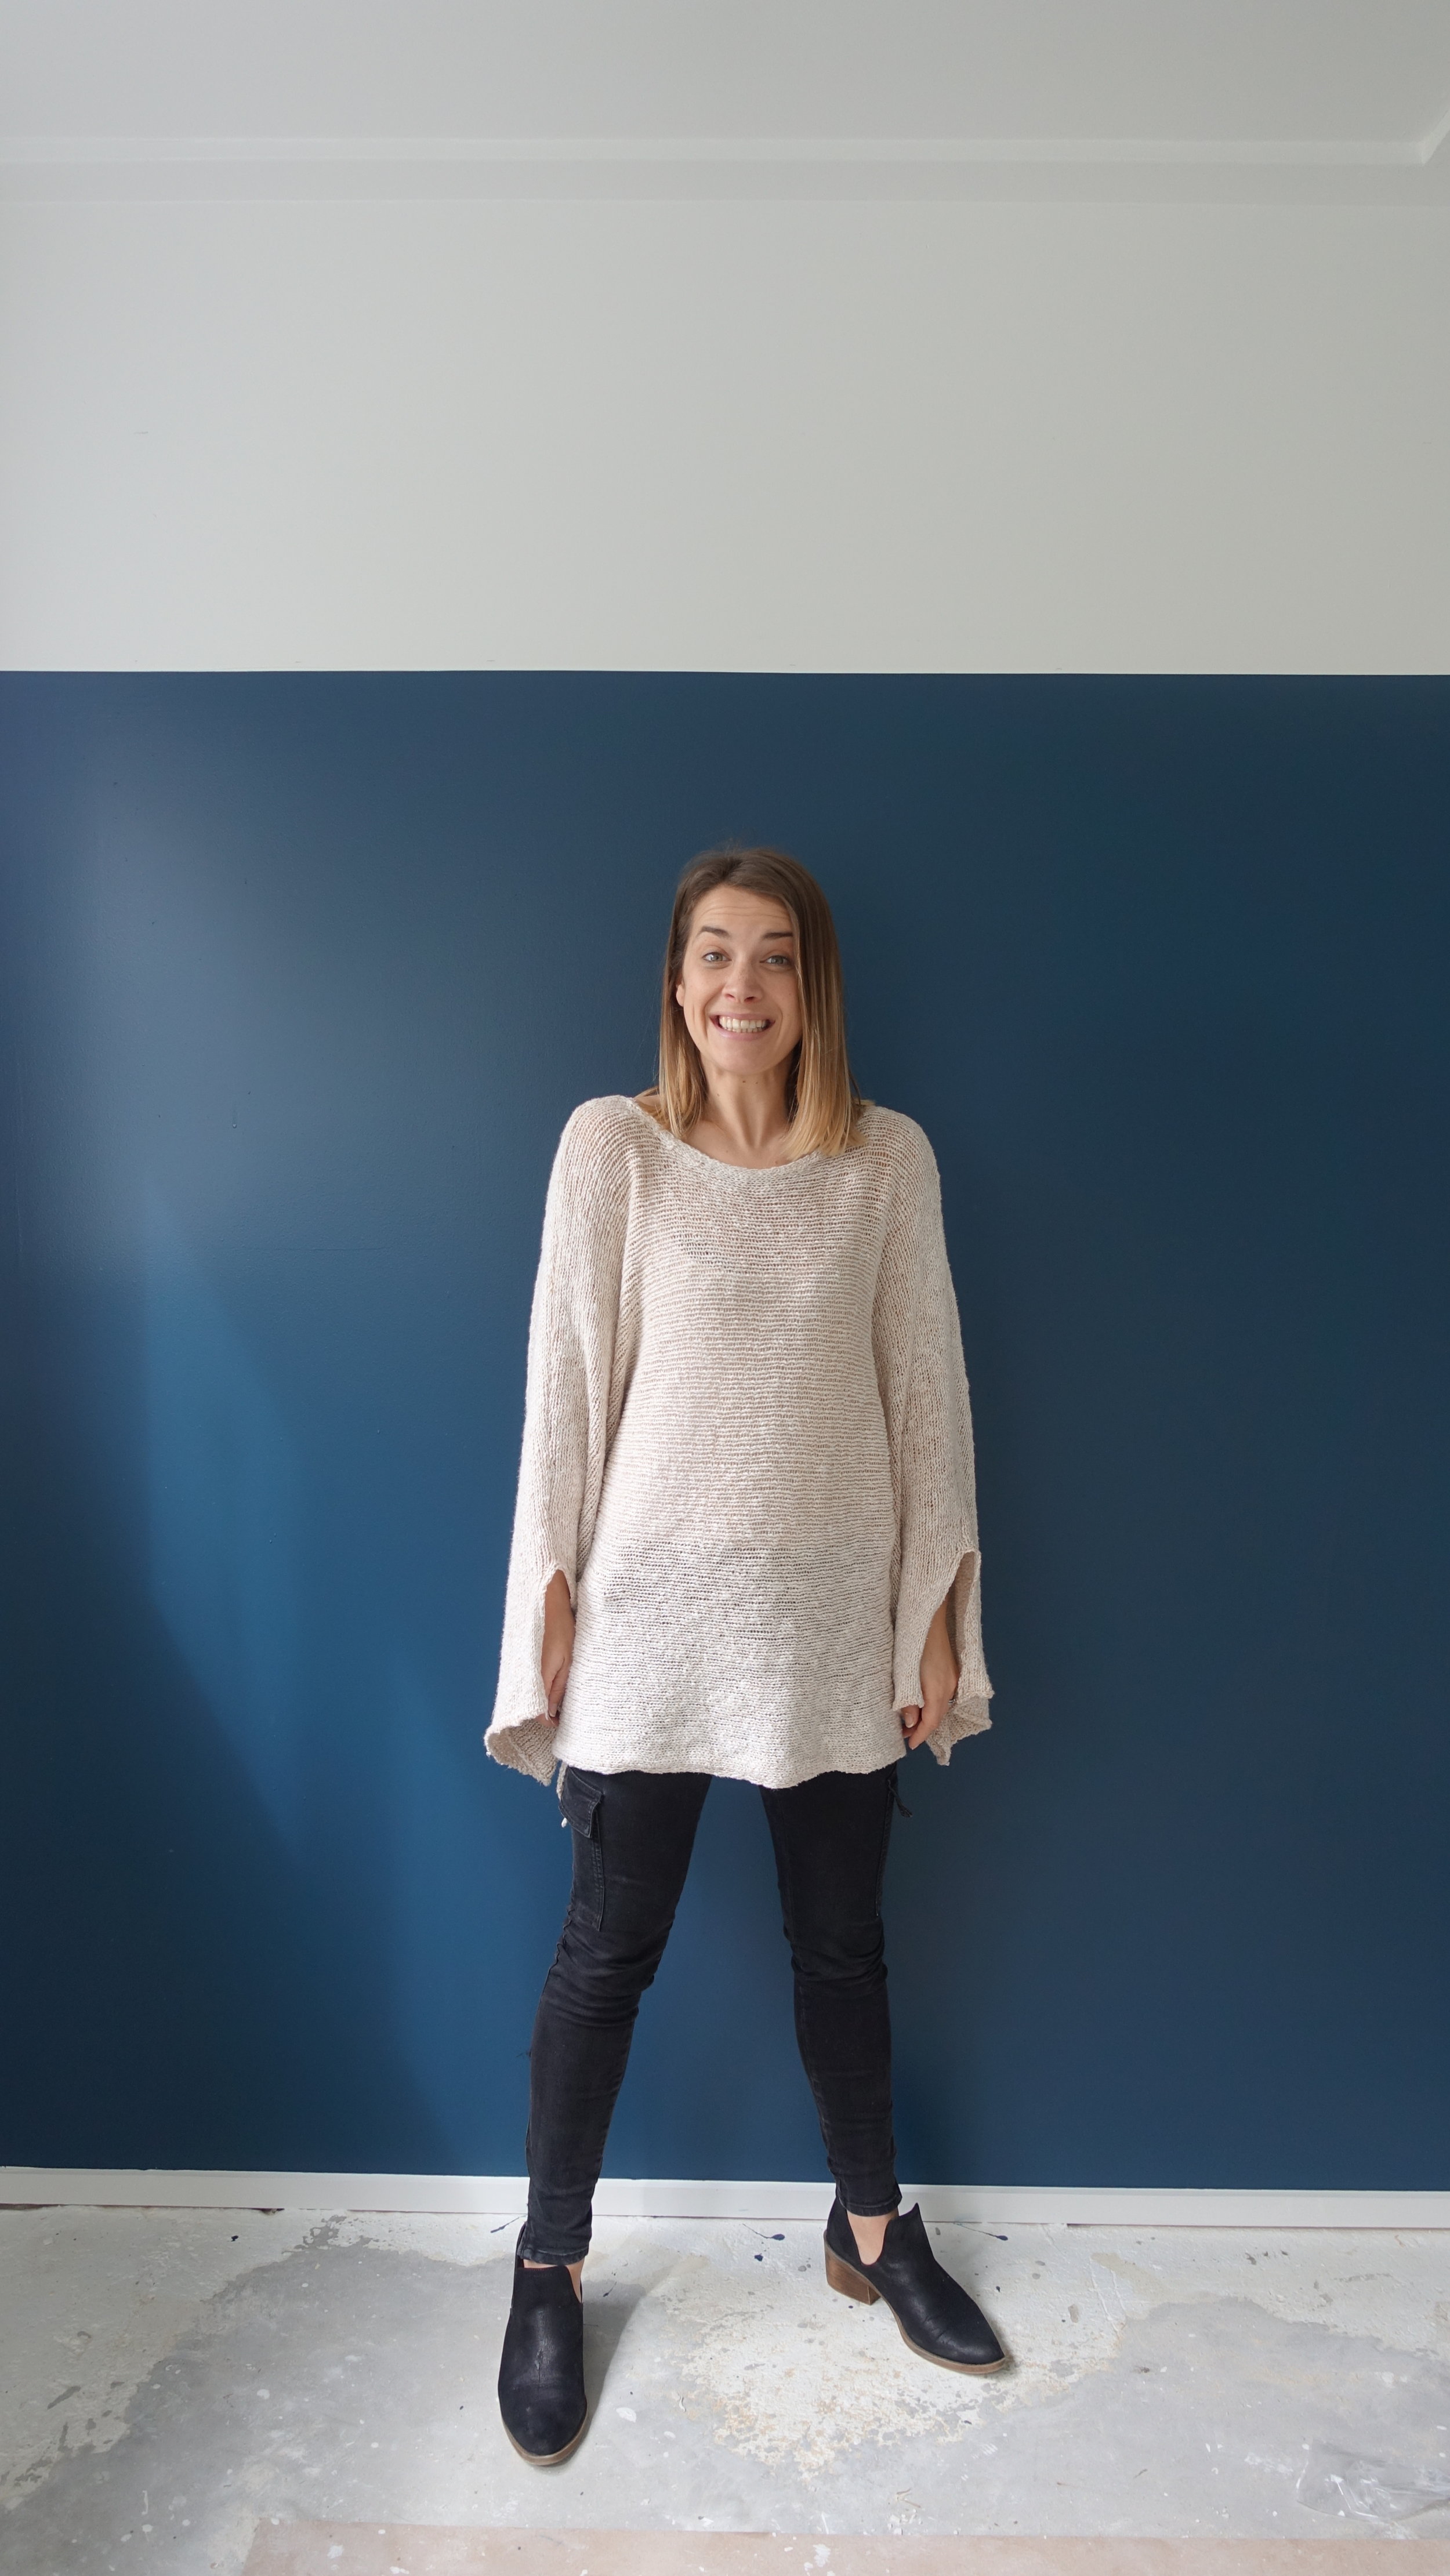
In our current Rumpus Reno we have been hearing that there is a lot of white. If you know anything about me I like a wee bit of colour and so, to add some depth and life to the space we opted for a bit of colour with a feature wall in both the main office space and the kids play room. Below is a video and a step-by-step guide to executing the perfect paint job for any space you are wanting to spruce up.
Step 1: Tape your frame - Using masking tape, place the tape along the edges of your wall you wish to paint within to ensure you get a clean and crisp line in the finished product.
Step 2: Seal the Tape - This is a step most often missed but a crucial part of getting that perfect slick finish. With your existing wall colour and paint over the meeting point of tape and wall. This ensures that your tape is fully sealed and prevents any paint leakage through gaps in the tape.
Step 3: Cut in first - When we talk about ‘cutting in’ this refers to painting the edges of your space first. Whether that be around a wall socket that is masked and/or the trim. This gives you the ‘closest shave’ result and allows you to get into each corner with precision unlike a roller would.
Step 4: Roll Paint on the Wall - Now that you have cut in, it's time to go in with the roller in the middle space of your wall. A roller is a great way to ensure an even finish and covers a whole lot of space in a small amount of time.
Step 5: Re-coat - You know that saying ‘good things take time’? This couldn’t be more true in this context. You need to leave at least 2 hours before you do another coat, but in my case I did 4 hours. Sand between each coat, and while you can get away with just two coats, I will always do 3 coats.
Step 6: Peel off - The timing between the paint being dry and removing the tape is crucial as leaving the tape on any longer than 7 days can result in the paint hardening too much that it is damaged with the removal of the tape. To peel off, start at one end, add a bit of tension to the tape and start to pull away in a fluid, slow and controlled speed to reveal you’re oh so perfect lines.
Step 7: Admire - Take a step back and stop and stare at the masterpiece you have just created. Take it all in and admire it while you can, before the bumps, the grubby hand marks and the masterpieces your kids may want to create on it with crayons as it is just that darn beautiful.